
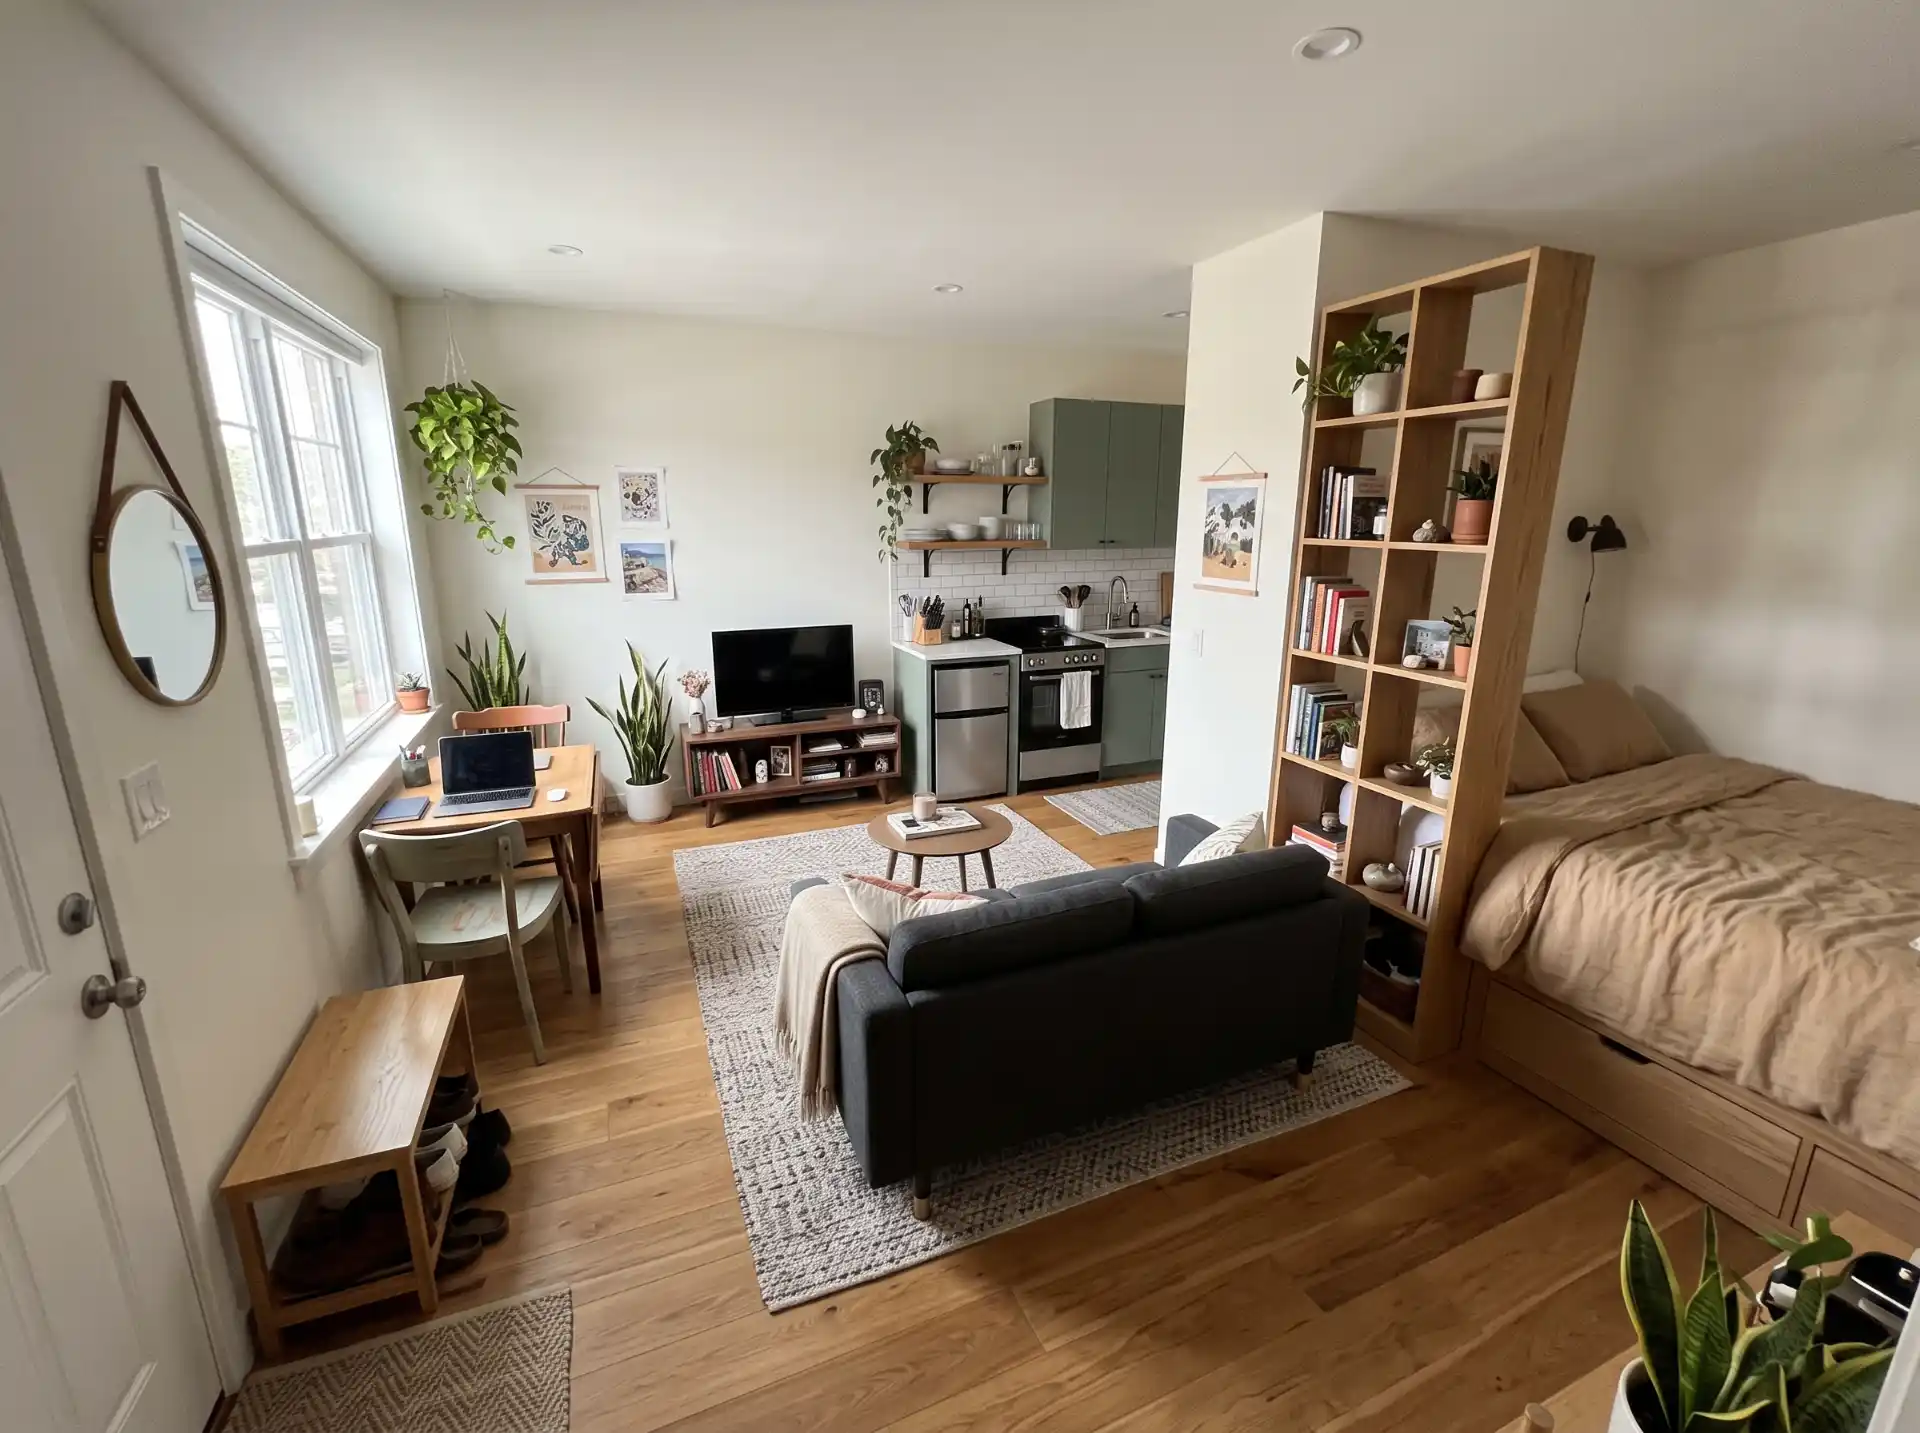
For the first four months in my 410-square-foot studio, my bed was pushed against the one wall that made sense on paper and made zero sense in real life.
Every morning I climbed over the foot of it to reach the kitchen, and every night I ate dinner on that same bed because the “dining area” was a pile of boxes. I thought the apartment was the problem. It wasn’t. The layout was.
Here’s the thing about studio apartment layout ideas: most of what you’ll find online assumes a clean, rectangular box with a window on the short wall. Real studios are weirder than that.
They have a radiator in the worst spot, a kitchen that opens straight onto your bed, or a floor plan shaped like a bowling lane. So instead of giving you one “perfect” setup, I’ve sorted these 24 layouts by the floor plan you actually have.
Before you start, do one thing: measure everything and sketch it on graph paper (or use a free floor plan app).
Mark the windows, doors, outlets, radiators, and the swing of every door. I skipped this step once and bought a sofa that blocked my oven door from opening more than six inches. Returning it cost me a $75 restocking fee and a very annoying Saturday.
Quick Guide: Which Studio Layout Fits Your Floor Plan?
| Your floor plan | Best starting layout | Biggest trade-off |
|---|---|---|
| Long, narrow rectangle | Zoned “railroad” layout (#1) | Hallway feel if you don’t break up the sightline |
| Square | Corner-anchored layout (#4) | Easy to make it feel like one blob |
| L-shaped | Sleep nook in the “short leg” (#6) | Awkward corner furniture |
| Under 350 sq ft | Murphy bed or loft (#9, #10) | Higher upfront cost |
| 350-500 sq ft | Bookcase divider (#13) | Less natural light for the sleep area |
| 500+ sq ft | Full zoned layout with a rug-defined living area (#17) | Furniture can float and feel scattered |
| Shared by two people | Split-zone layout (#22) | Needs real storage discipline |
Layouts for Long, Narrow Studios
Narrow studios are the ones people complain about most, and honestly, they can be the easiest to fix. The core problem is the “bowling alley” effect: you walk in and see the whole apartment in one line, which makes it feel even skinnier. The fix is to break the line without blocking light.
1. The Zoned Railroad Layout
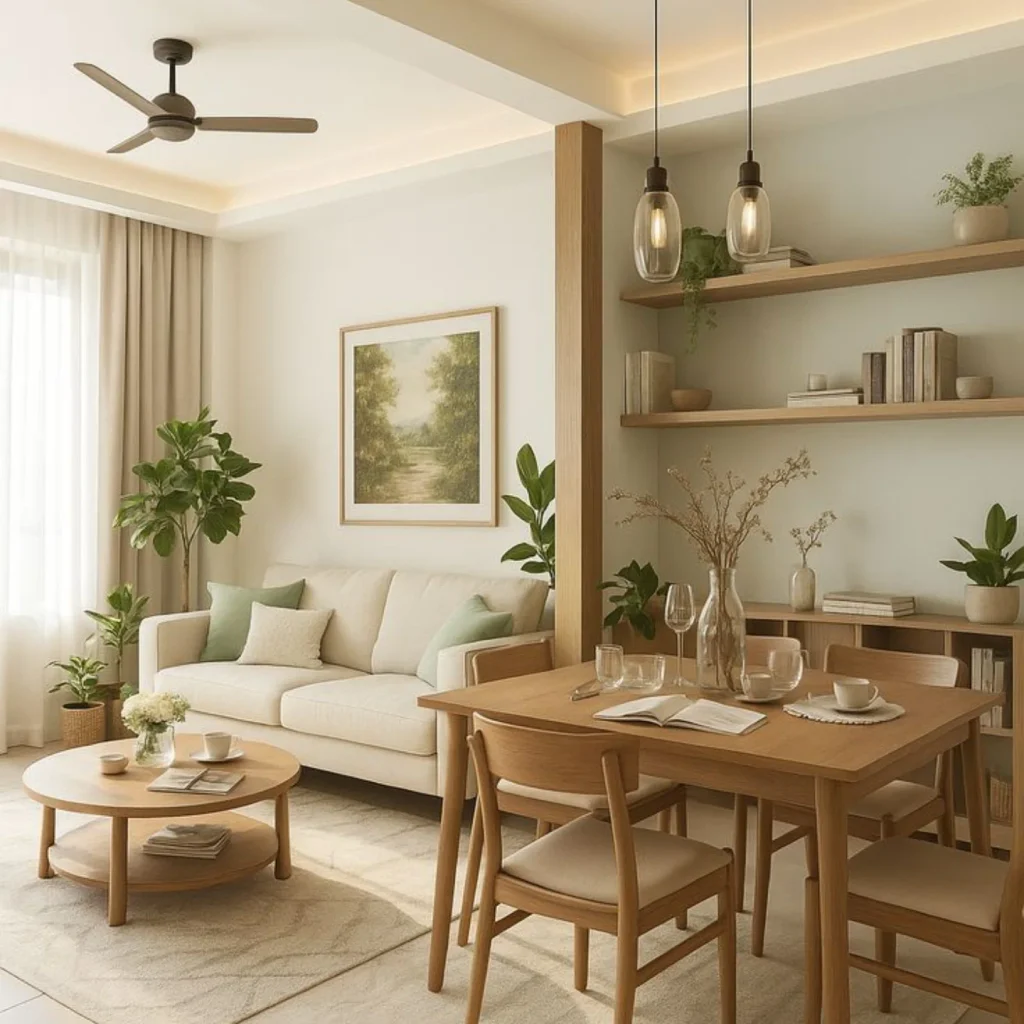
This works because it gives each end of the room a clear job. Put the sleep area at the back (farthest from the door), the living area in the middle, and keep the entry and kitchen near the front. When you walk in, you shouldn’t be staring at your bed.
To do it, float a sofa with its back toward the sleeping area so it acts as a soft divider. A low sofa (under 32 inches tall) keeps the sightline open.
The trade-off is that you lose wall space for the sofa, so you’ll want a slim console behind it for lamps and a bit of storage.
Pro tip: Run your rug lengthwise only if it’s at least 8 feet long. A short rug in a long room makes things look chopped up. Two smaller rugs side by side in different patterns can look intentional and cost far less than one huge one.
2. The Window-End Desk Setup
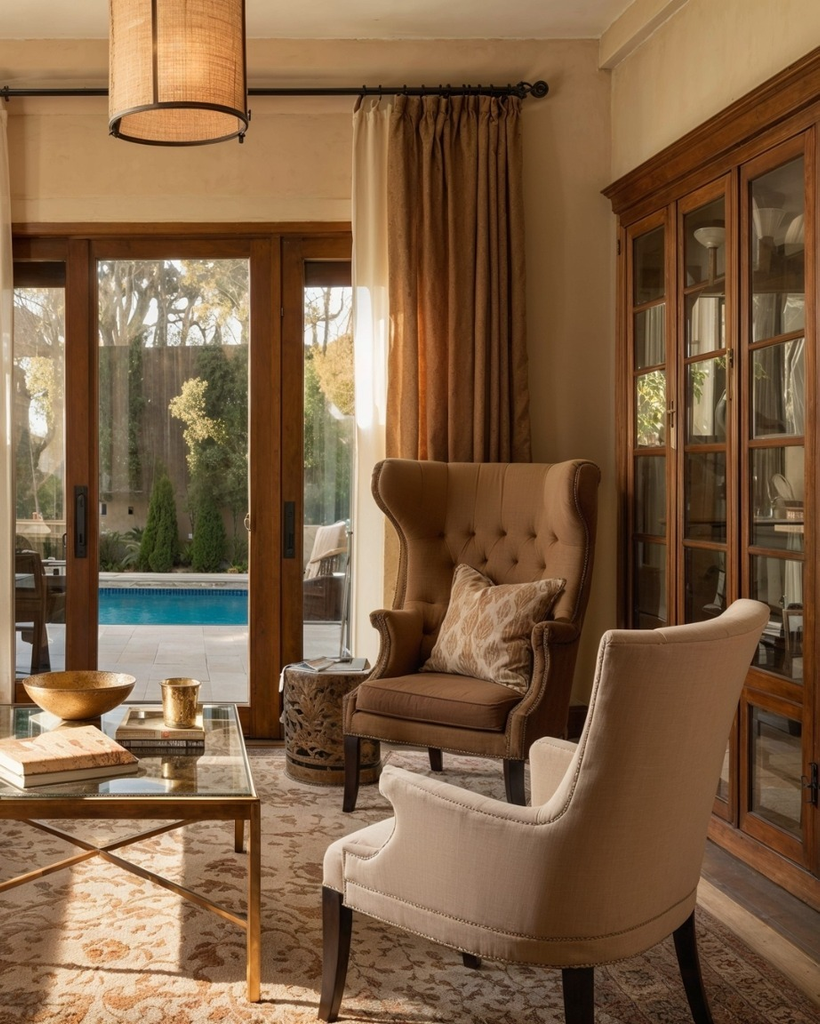
If your narrow studio has a window on the short wall, that’s your best real estate, and a lot of people waste it on the bed.
Put a desk or a small dining table there instead. You’ll use it all day, so you’ll actually benefit from the light.
A 36-inch-wide drop-leaf table is perfect here because it can fold down when you need to walk past. My coworker Dani did this in her 380-square-foot place and said the daily light made her stop dreading working from home.
The downside: the window end is often the coldest spot in winter, so add a thick curtain.
3. The Side-Wall Bed Layout
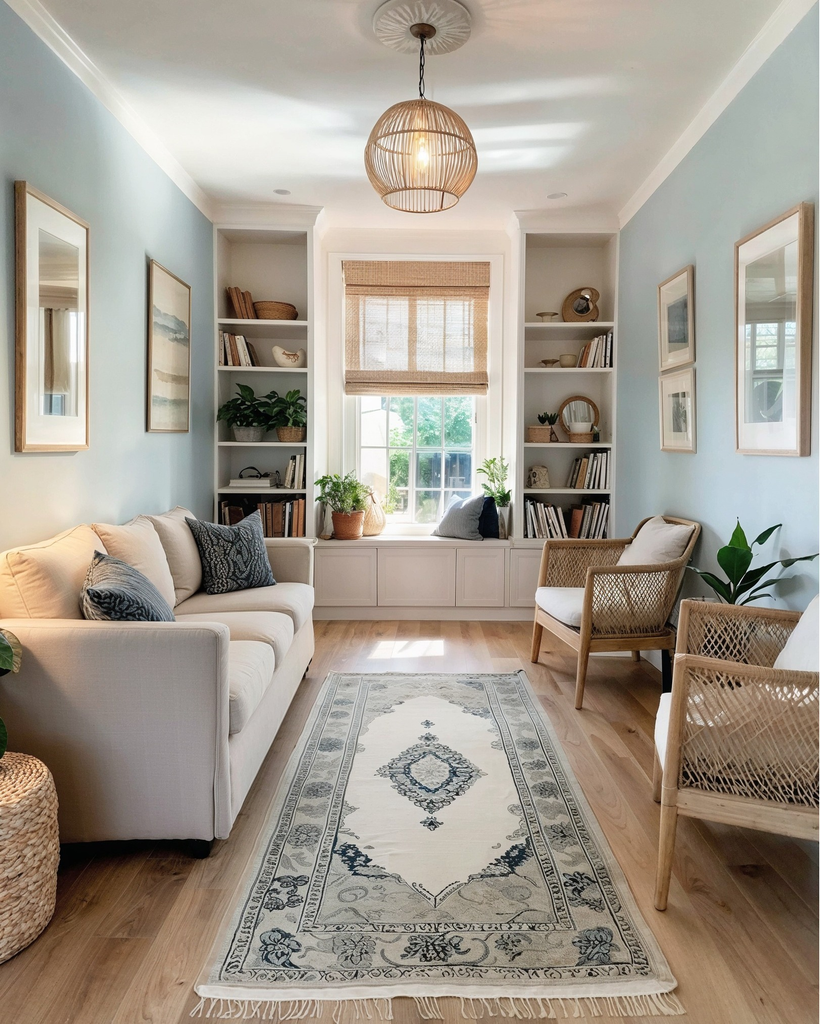
Pushing the bed lengthwise against a long wall frees the center of the room for walking and keeps the apartment from feeling like a corridor. It’s a classic studio apartment furniture arrangement for a reason.
Use a platform bed with drawers underneath, since you’ll likely lose a dresser. The real trade-off is that sleeping with one side against a wall means one person always has to climb over the other. If you’re solo, no problem. If not, skip to #22.
Layouts for Square Studios
Square rooms are forgiving but bland. Without any natural “zones,” everything can blur into one big room where you’re sleeping, eating, and working in the same eight-foot radius.
4. The Corner-Anchored Layout
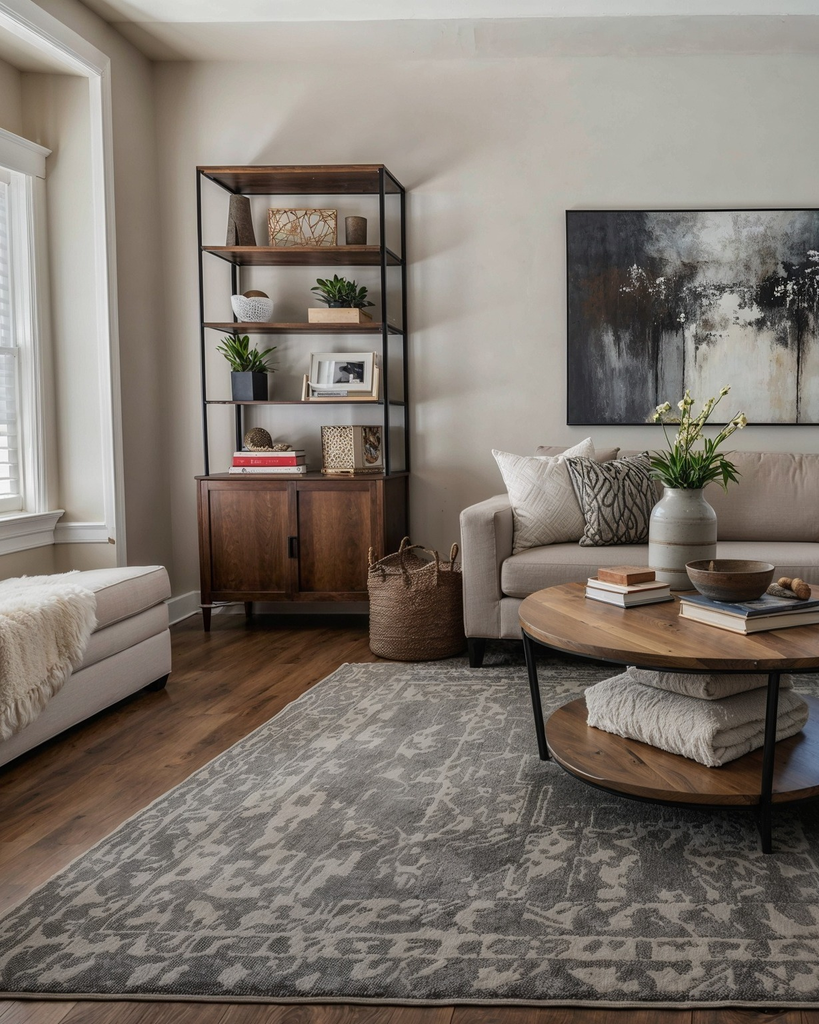
Start by putting the bed in one corner and the main seating in the opposite corner. That diagonal separation gives you the biggest possible distance between “sleep” and “live.” Use the leftover corners for a desk and for storage or a dining spot.
This layout depends on your door location. If the door opens into a corner you need, the whole plan changes, so test it with painter’s tape on the floor before moving anything heavy.
5. The Center Rug “Living Room”
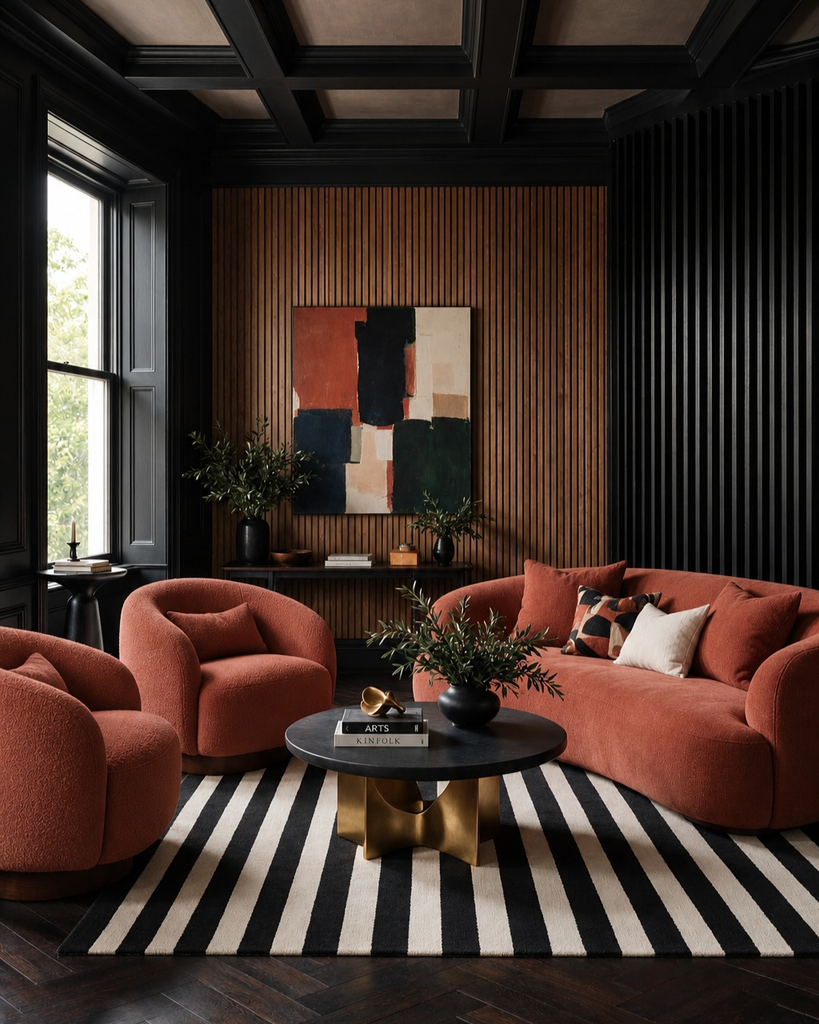
In a square studio, a large rug (at least 8×10) anchors the living zone and makes it feel like a real room. Put the sofa and a chair or two around it, and let everything else sit outside the rug’s edge.
I’ll be real with you: this costs more than people expect. A decent 8×10 runs $150 to $400 depending on material, and a cheap one will curl at the corners. A rug pad for $30 to $50 is worth it and keeps it flat.
Pro tip: Color-block your zones with paint instead of buying more furniture. A deep green or navy on the wall behind the bed makes it read as a separate “room” for the price of one gallon of paint (about $40 to $60). If you rent, peel-and-stick wallpaper works too, but test a small piece first.
Layouts for L-Shaped Studios
L-shaped studios are secretly the best. That bend gives you a built-in separation that other floor plans have to fake.
6. The Short-Leg Sleep Nook
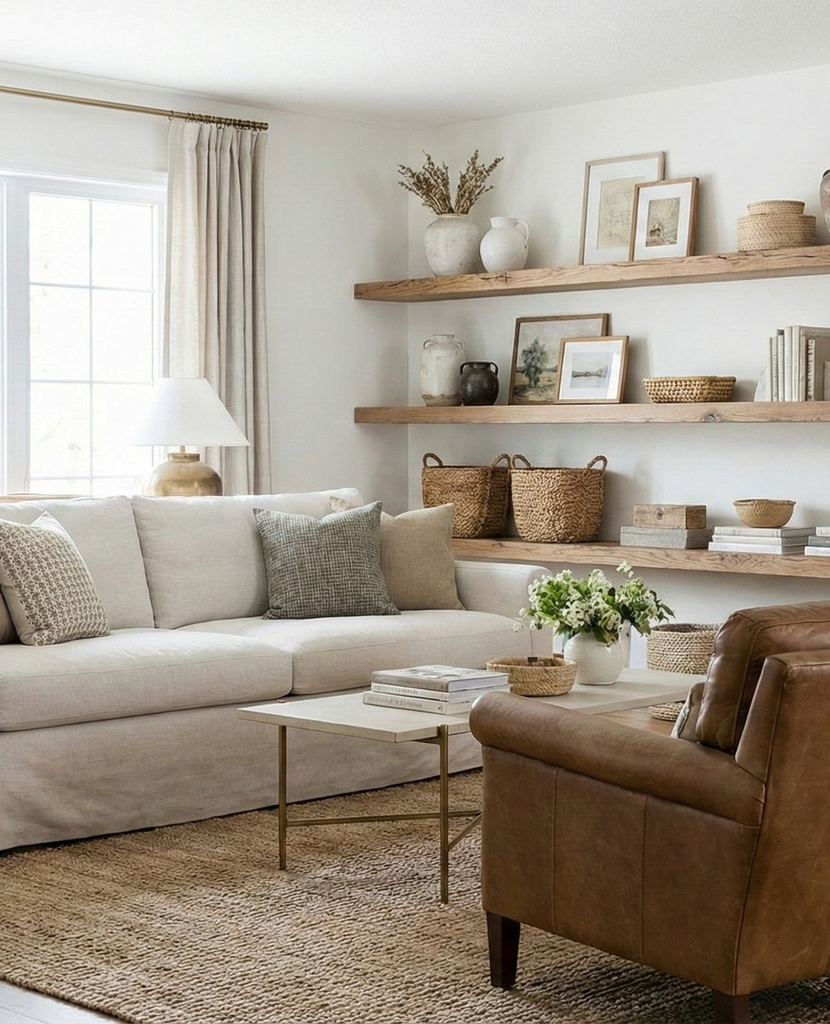
The short leg of the L is a natural bedroom. Put the bed there, add a curtain or a bookshelf at the bend, and you’ve got a sleeping space you can’t see from the front door.
The catch is that these nooks often have limited light. Use a warm bedside lamp and a mirror on the wall opposite the nearest window to bounce some light in.
7. The Corner-Turn Desk
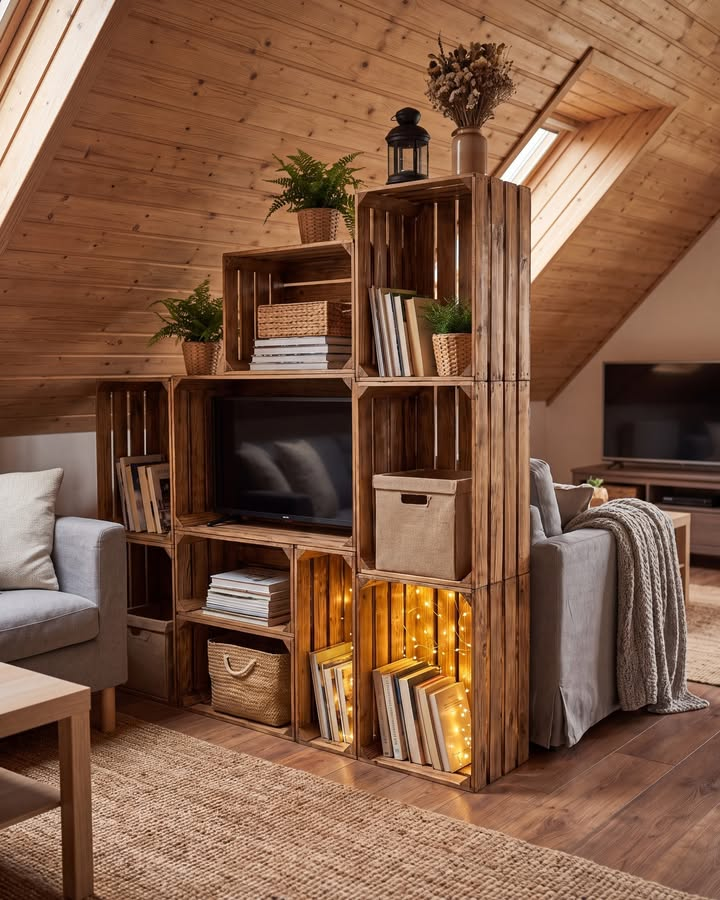
L-shapes often have a dead corner right at the bend. A small desk tucked into it uses space that’s otherwise awkward, and sitting facing the wall keeps work stuff out of your sightline when you’re relaxing.
A corner desk can feel like a trap if it’s too deep. Stick to 20 to 24 inches deep. Anything bigger eats the walkway.
8. The Kitchen-End Dining Zone
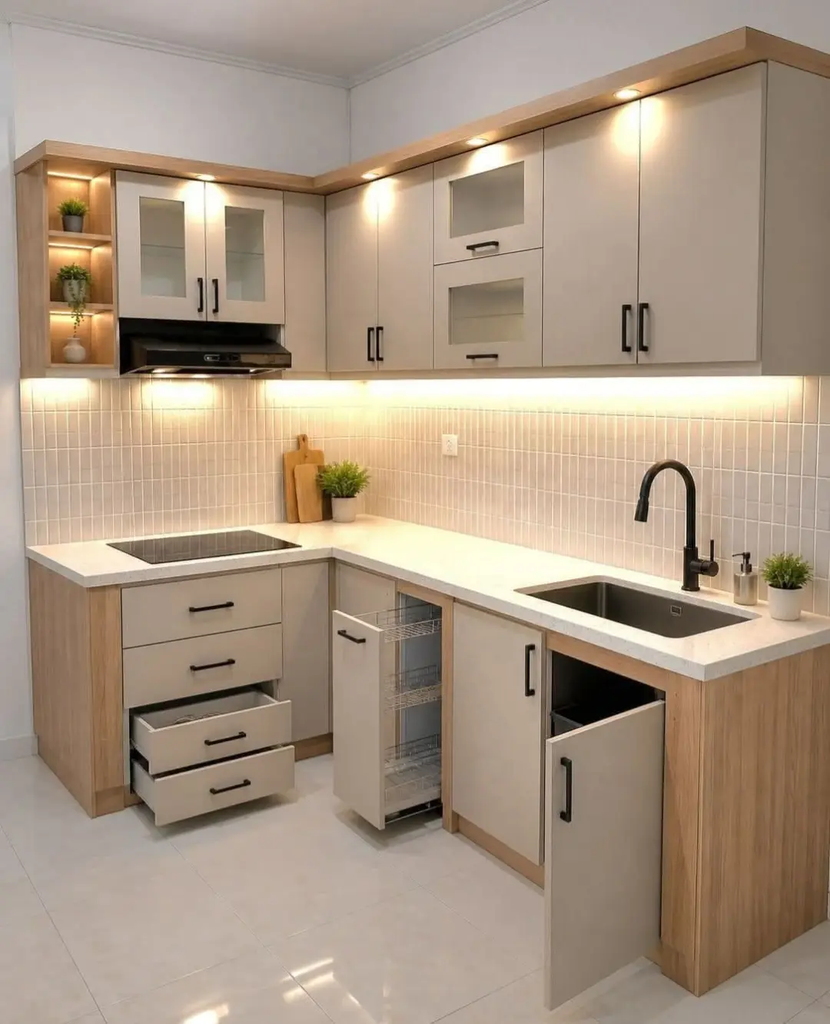
If the long leg of your L ends at the kitchen, a bar-height table or a narrow dining table there creates a clear “eating” area and keeps food away from the bed. A pair of backless stools tucks under it when you’re not using it.
This works especially well with a pass-through counter. If you don’t have one, a 14-inch-deep console table against the wall can serve as a wall-mounted breakfast bar.
Layouts for Tiny Studios (Under 350 Square Feet)
When you’re working with micro-studio space, you have to stop thinking in rooms and start thinking in functions. Everything needs to do two jobs, and anything that doesn’t gets sold.
9. The Murphy Bed Layout
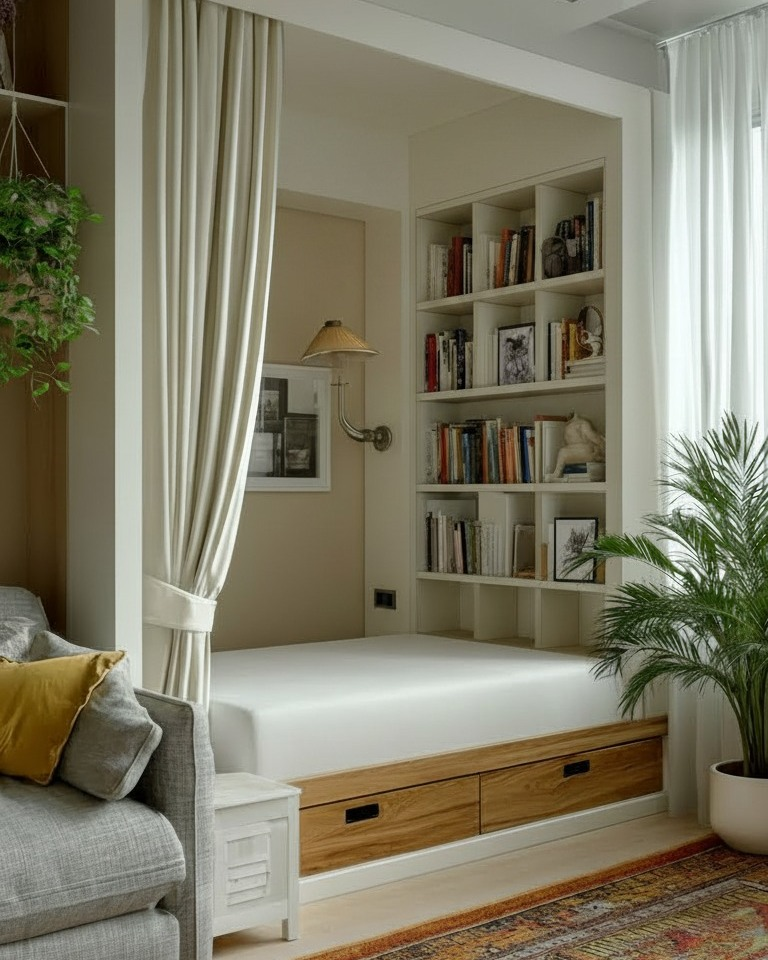
A murphy bed is the single most effective trade I’ve seen people make in a studio. Folded up, it gives you a living room. Folded down, it’s a real bedroom. For a studio under 350 square feet, it’s often the difference between feeling cramped and feeling livable.
Costs vary a lot. Built-in cabinet-style models usually run $1,500 to $4,000 installed, while DIY kits start closer to $500 to $900. Renters should check their lease first, since most models need to be anchored into studs. The trade-off: you’ll make the bed every single morning, because you have to fold it up.
Pro tip: Pick a murphy bed with a built-in desk or sofa if you can. A bed that doubles as a workspace in the same footprint is one of the best small space organization moves out there.
10. The Loft Bed Layout
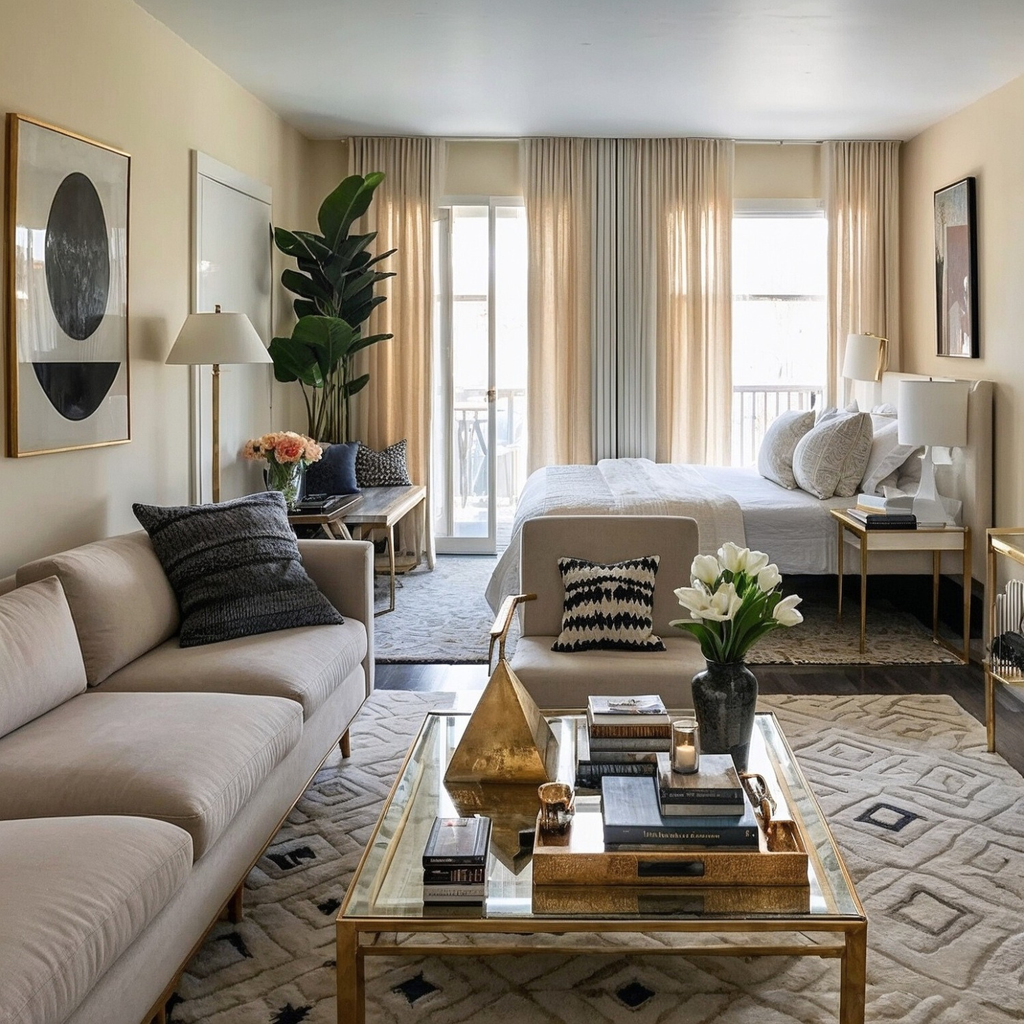
If your ceilings are 9 feet or higher, a loft bed frees up the entire floor below it. People put desks, sofas, or even a small wardrobe under theirs. I tried a loft in my first studio and it was great for about three months, until I realized I hit my head on the ceiling every time I sat up in bed.
Measure the clearance carefully: you need at least 30 inches between mattress and ceiling to sit up comfortably.
Lofts also get hot, since heat rises. If you’re a hot sleeper, this might not be for you.
11. The Daybed Sofa Layout
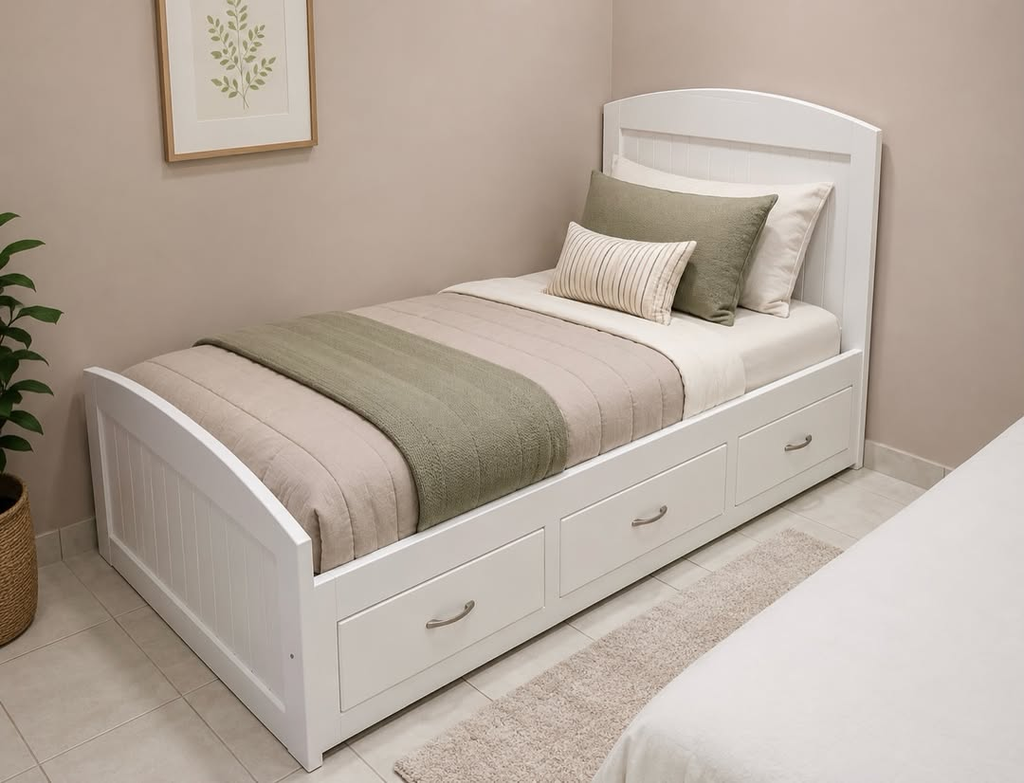
A daybed does the work of a sofa and a bed without any folding or mechanisms. Put it along the longest wall, add bolsters or cushions along the back, and it becomes your main seating by day.
The trade-off is comfort. Most daybeds make a good bed and a mediocre sofa, so only go this route if you rarely have more than one guest at a time.
12. The Vertical Storage Wall
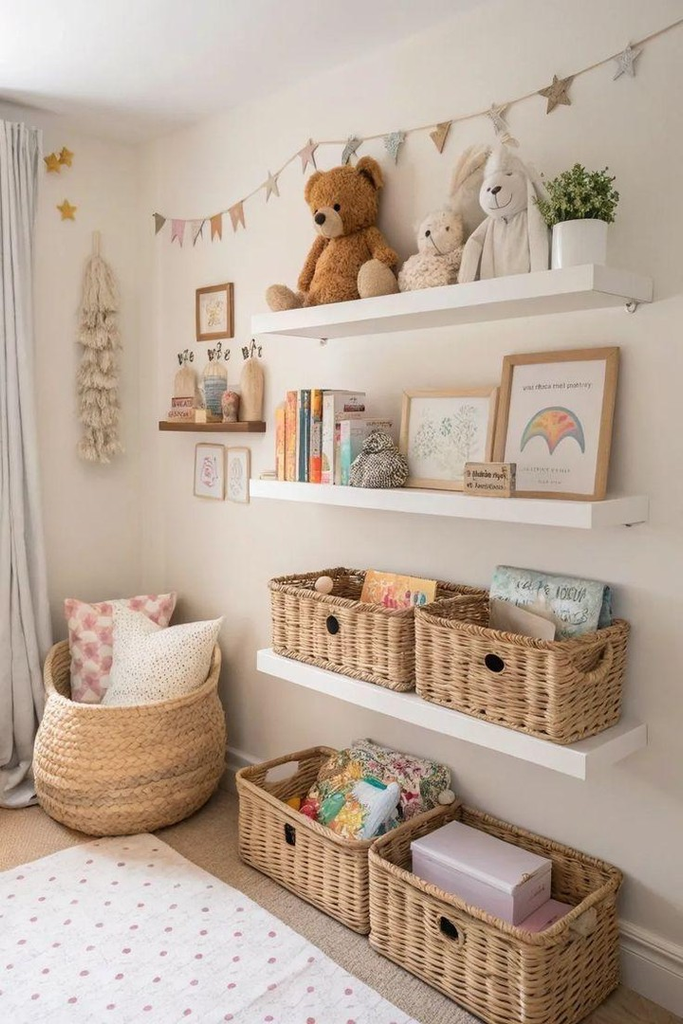
When the floor is gone, go up. A full wall of shelving or a tall bookcase with baskets gives you storage without taking any more floor space than a nightstand. Place it opposite the bed so it doubles as a visual anchor.
Buy tall, narrow pieces (12 inches deep or less). Those deeper 16-inch units sound more useful but they chew up a surprising amount of room. Anchor anything over 4 feet tall to the wall.
Layouts for Mid-Sized Studios (350-500 Square Feet)
This is the most common studio size, and the biggest risk is that you have just enough room to make everything feel half-working. You want to commit to clear zones.
13. The Bookcase Room Divider Layout
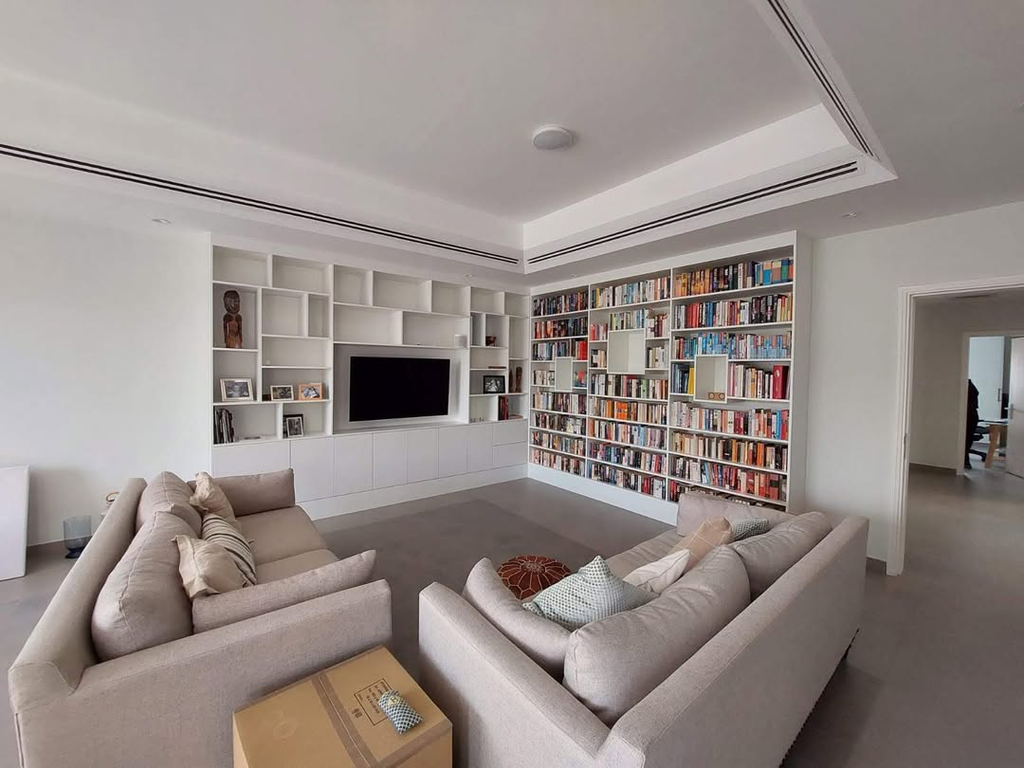
An open-back bookcase between the bed and the rest of the room is the classic studio divider because it works. You get storage, privacy, and light all at once. Use the shelves on the living-room side for books and decor, and keep the bed side relatively clear.
It’s worth comparing your options before you buy, since not every divider fits every plan:
| Divider type | Typical cost | Blocks light? | Renter-friendly? |
|---|---|---|---|
| Open-back bookcase | $80 – $300 | Slightly | Yes |
| Folding screen | $40 – $200 | Depends on style | Yes |
| Curtain on a ceiling track | $60 – $250 | Yes, when closed | Usually, if you use a tension rod |
| Sliding or glass partition | $500 – $2,500+ | No | Rarely |
| Sofa back (no purchase) | $0 | No | Yes |
A curtain on a tension rod is the cheapest way to try the divider idea before committing. My friend Priya tried one in her 450-square-foot unit for $35, loved it, and upgraded to a bookcase six months later.
14. The Sofa-as-Divider Layout
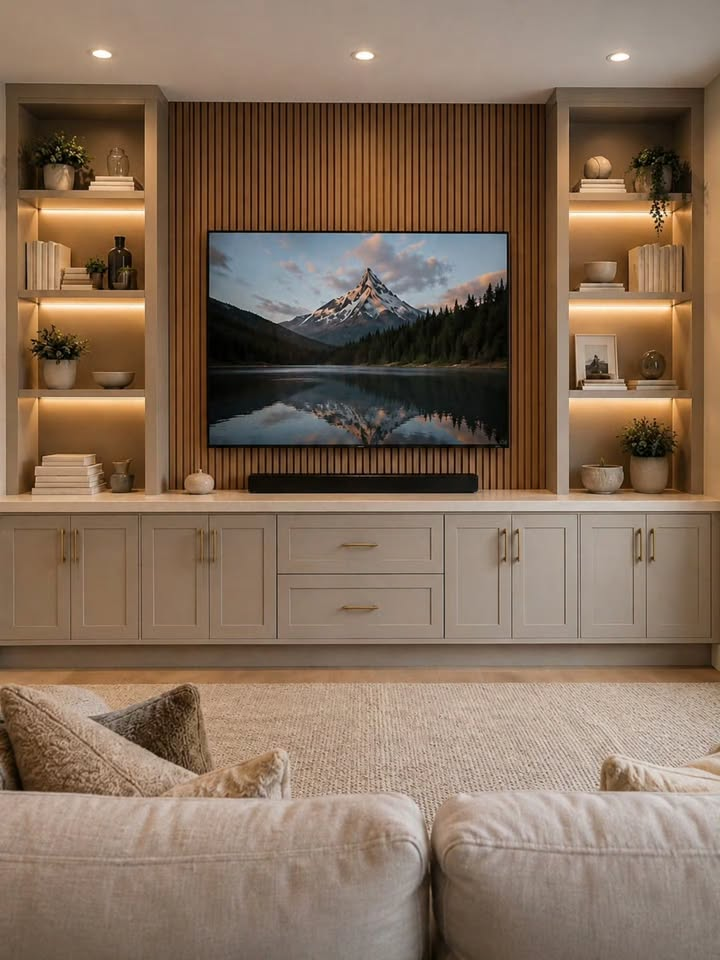
Floating your sofa away from the wall with its back to the bed creates an instant “living room” without buying anything extra. Put a narrow console behind it for a lamp and a plant, and you’ve got a defined edge.
The downside is that you need at least 30 inches of clearance on both sides so the sofa doesn’t feel like it’s blocking traffic.
15. The Entry Zone Layout
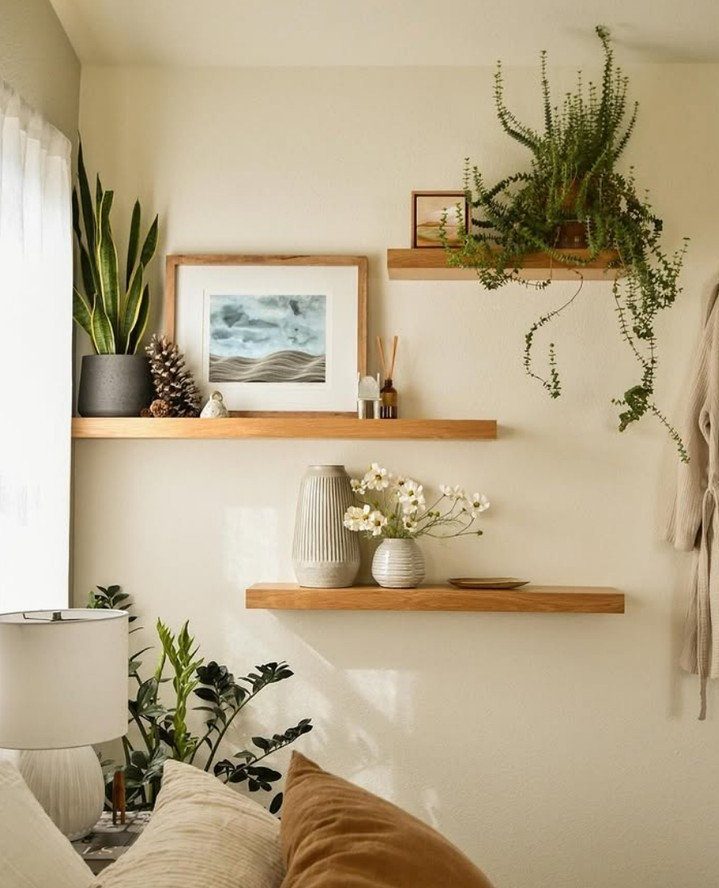
Most studios open straight into the living area, which means your shoes and bags end up in your face. Carve out a tiny entry with a slim bench, a few wall hooks, and a runner or small rug. This one move does more for how finished the apartment feels than almost anything else.
I used to trip over shoes every morning until I mounted a 7-inch-deep shoe cabinet by the door. It cost about $70 and fixed it permanently.
Pro tip: If you can’t fit a bench, a single wall-mounted shelf with hooks underneath handles keys, mail, and bags in under 12 inches of depth.
16. The Kitchen Island Hybrid
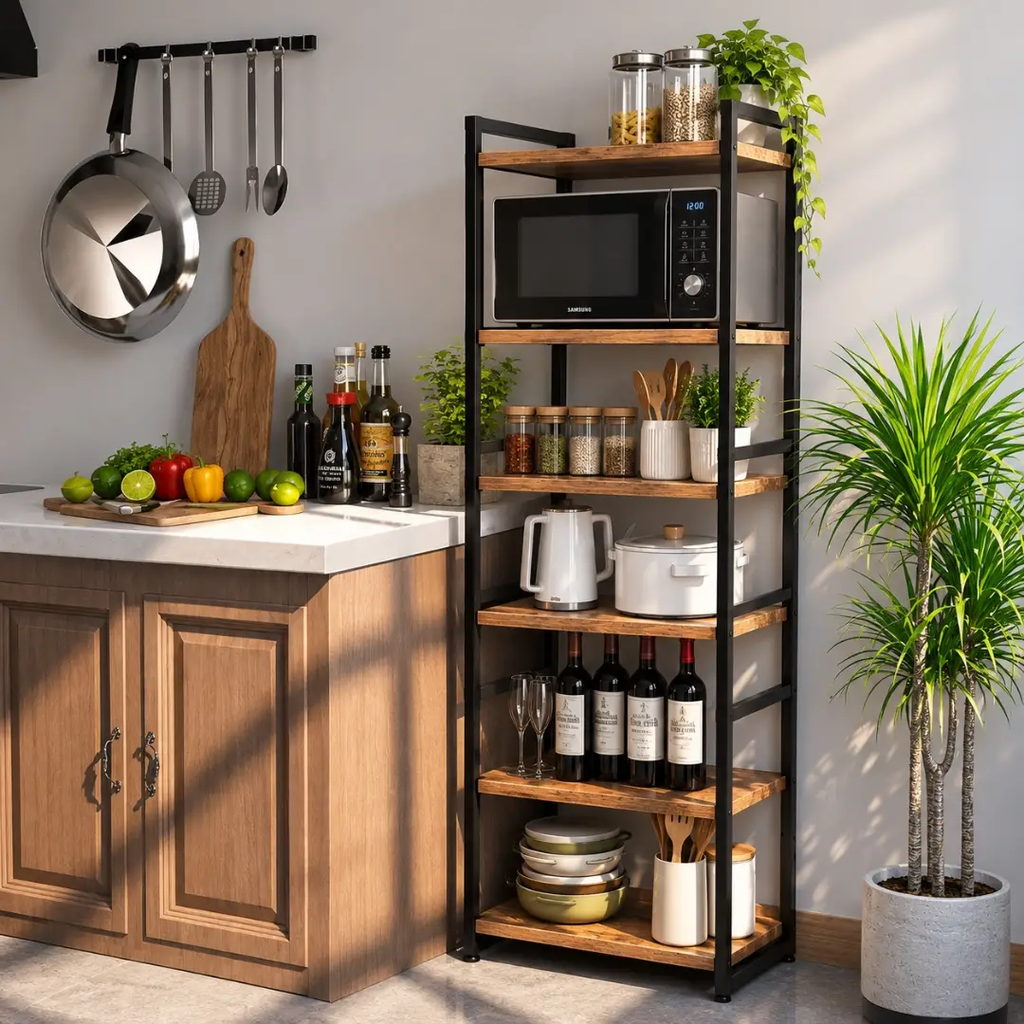
If your kitchen is on one wall and you have a bit of room, a rolling kitchen cart can act as an island, prep space, and breakfast bar all at once. Pick one with a butcher-block top and locking wheels.
It works best if your kitchen has a clear 36-inch walkway. Narrower than that and you’ll hate it every time you open the oven.
Layouts for Larger Studios (500+ Square Feet)
Bigger studios have the opposite problem: furniture floats, the room feels like a hotel lobby, and nothing is anchored.
17. The Full Zoned Layout
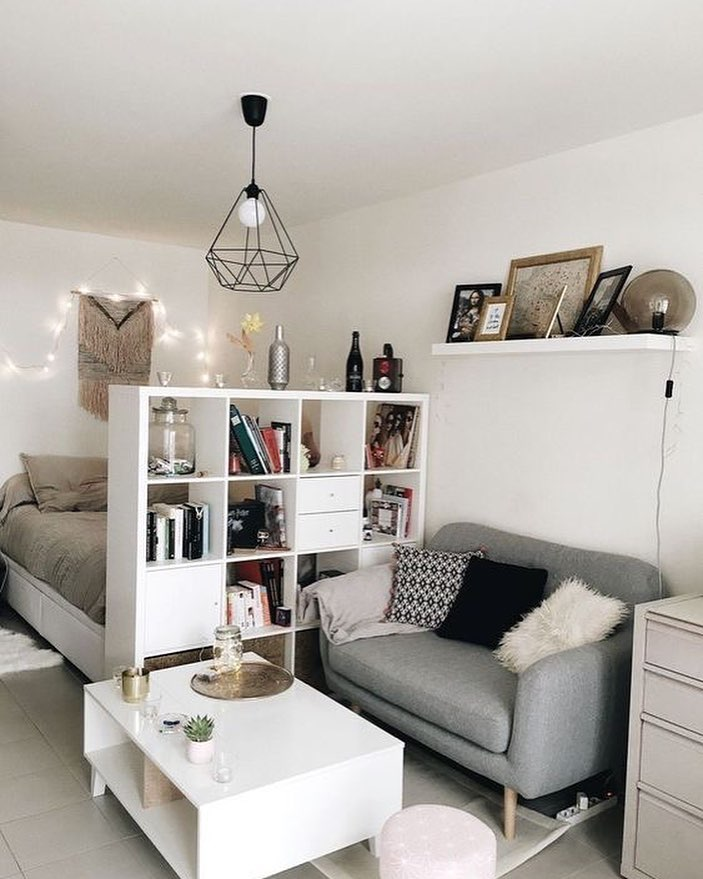
With 500 or more square feet, you can create four real zones: sleeping, living, dining, and a work area. Use rugs to define each and keep at least 3 feet of walking space between them. Think of each zone as a mini-room.
The temptation is to buy too many pieces to fill the space. Resist that. I’d rather see one great sofa than a sofa, loveseat, and two accent chairs all bumping elbows.
18. The Bedroom-Behind-Glass Layout
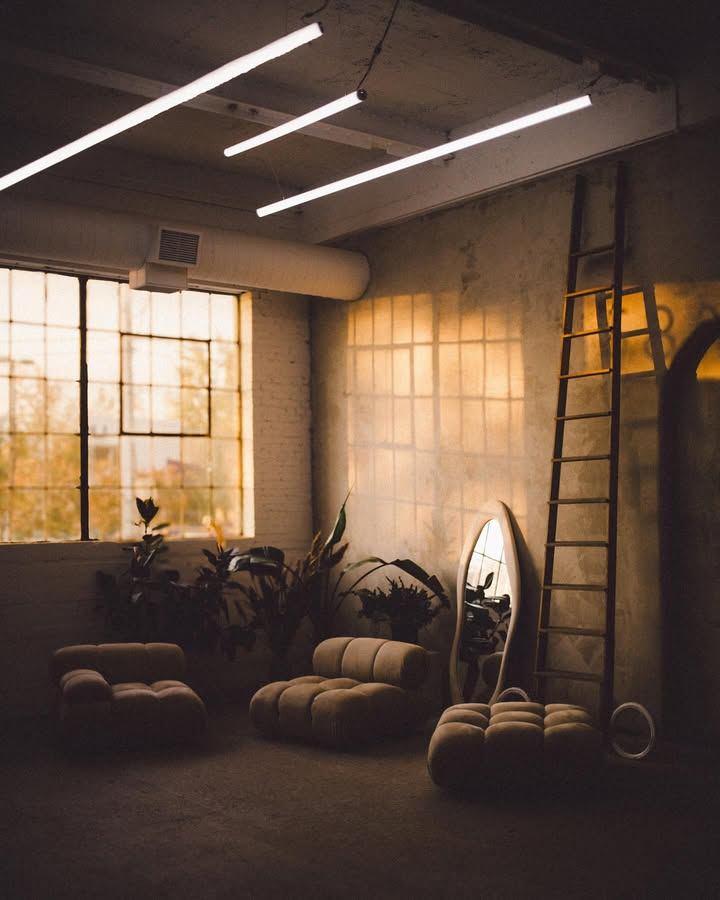
If you have budget (and a landlord who’s flexible), a framed glass partition with a sliding door creates a pseudo-bedroom while letting light flow through. Prices usually start around $1,000 and climb fast.
A cheaper approach is a floor-to-ceiling curtain in a heavy fabric, which also dampens sound if your studio echoes.
19. The Home-Office Corner
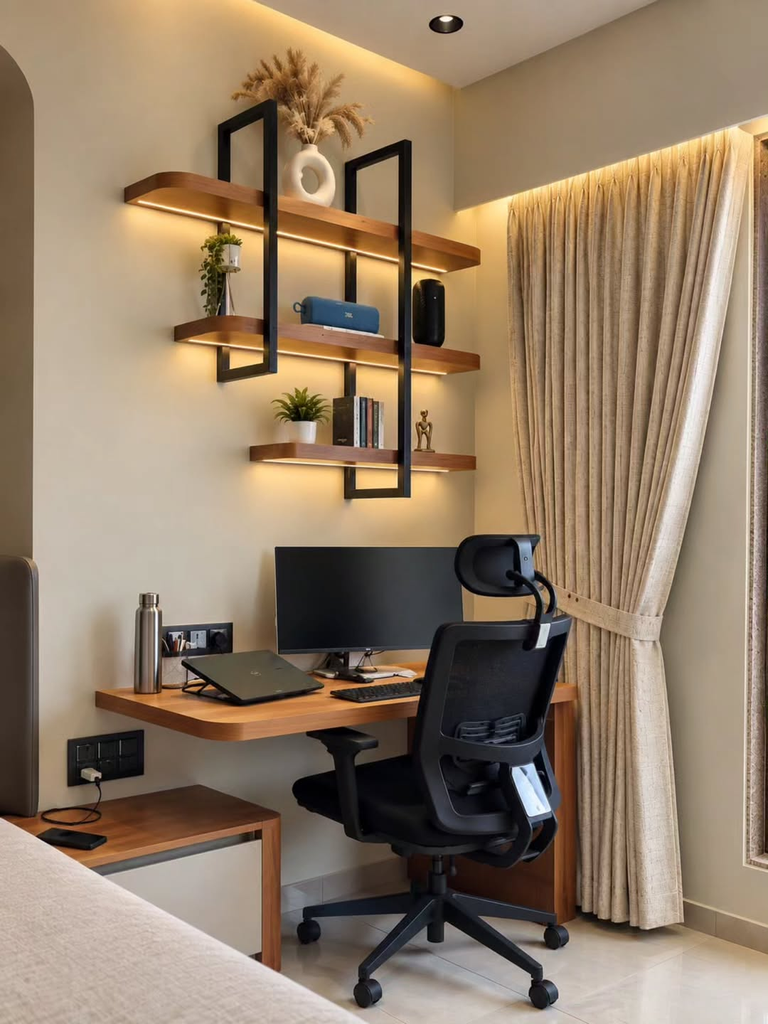
If you work from home, give your desk its own zone, ideally facing a wall or window rather than the bed. Seeing your bed all day makes it genuinely harder to log off at night. A freestanding bookshelf can hide the desk from the rest of the room when you’re done.
Layouts for Tricky Features
These are the layouts that nobody covers, and the ones readers email me about the most.
20. The Studio With a Bay Window or Alcove
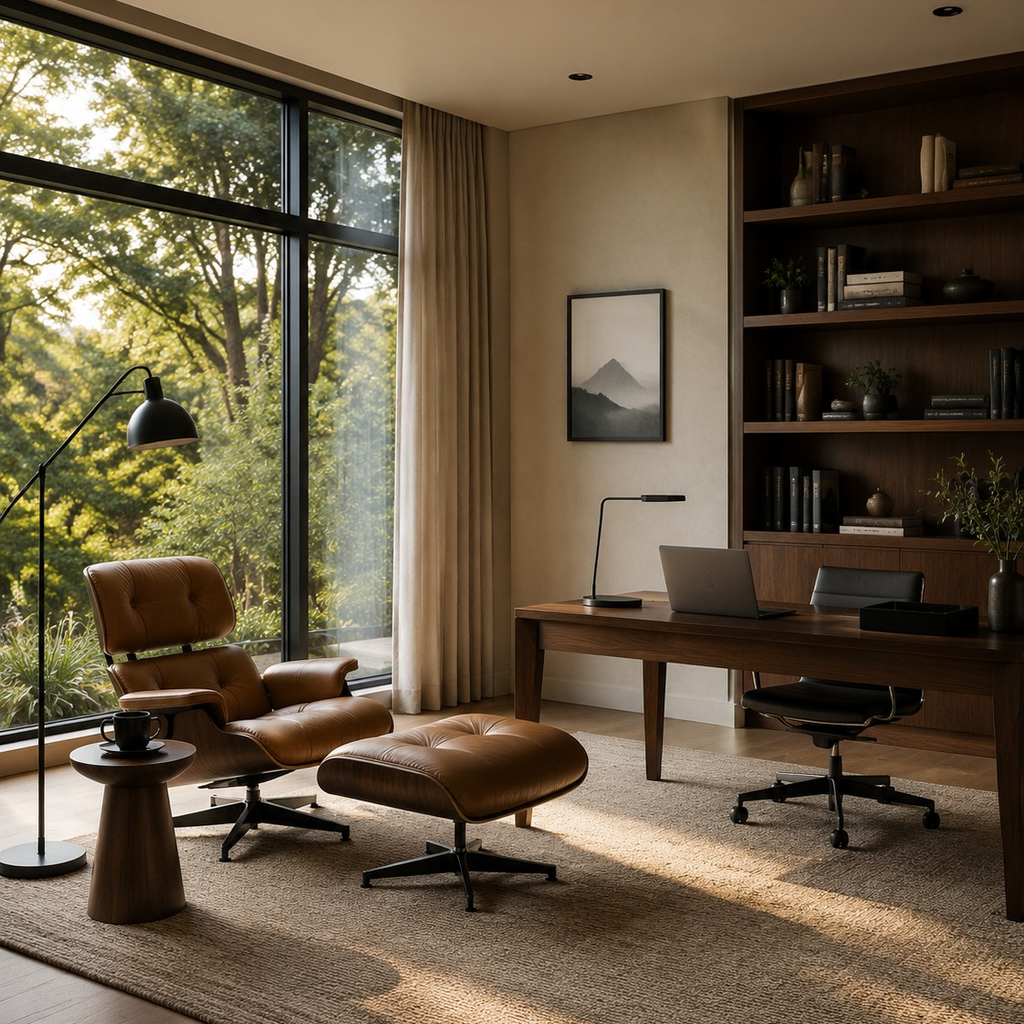
An alcove is basically free bedroom space. Tuck the bed inside, hang a curtain on a track across the opening, and you’ve got a separate sleeping area for the price of a rod and some fabric.
If your alcove is shallower than 54 inches (a full-size mattress), use a twin or a custom-sized mattress.
21. The Studio With Awkward Radiators or Built-Ins
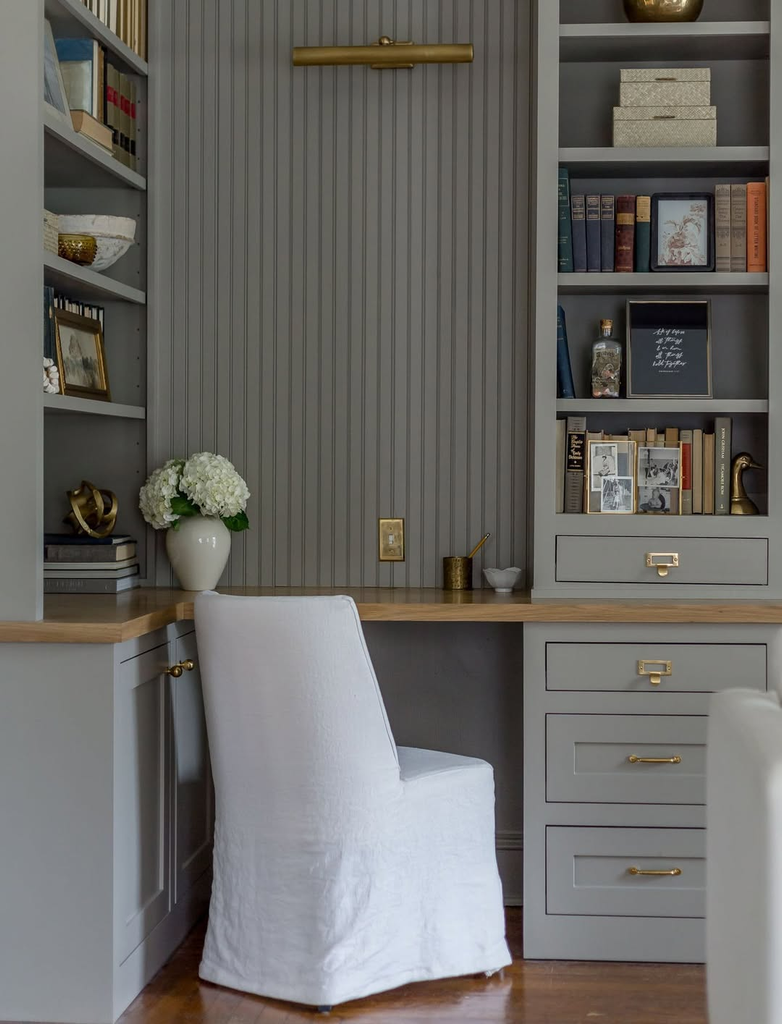
Don’t fight them. Leave 6 to 12 inches of clearance around a radiator, and use the space above with a shelf or a window seat cover that allows heat to rise. Never put a couch directly against one, since it traps heat and can damage upholstery.
22. The Two-Person Studio
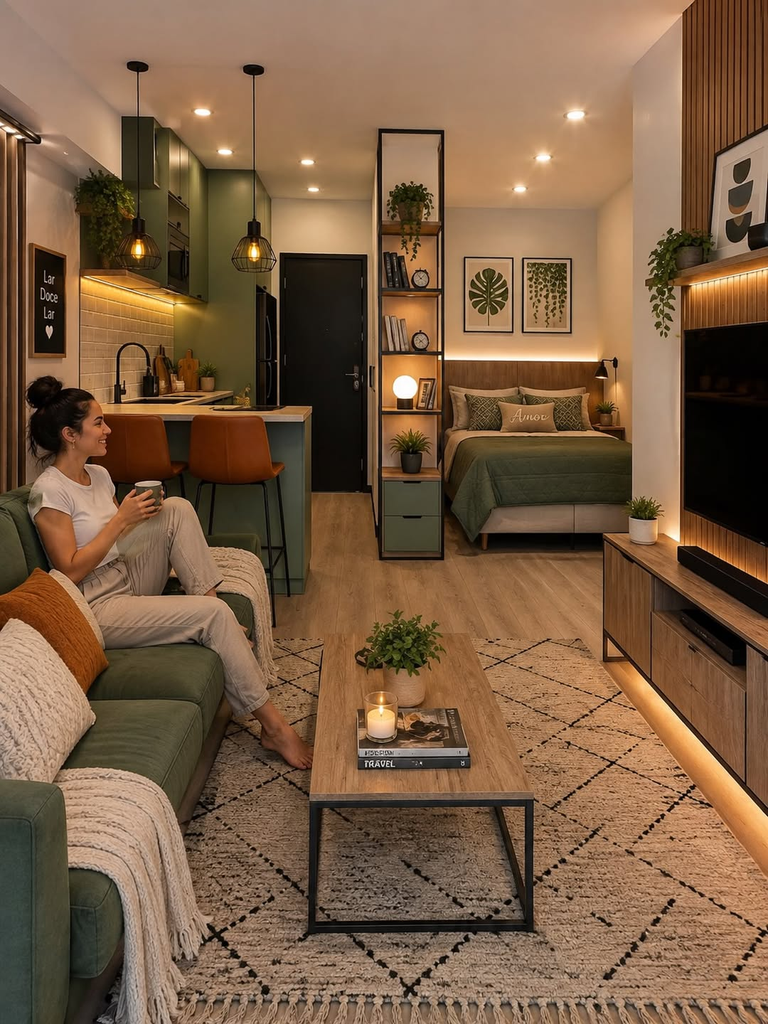
Living with a partner in a studio takes real planning. Give each person a dedicated storage zone (a closet half, a dresser, or a set of under-bed bins), and put the bed in a spot where both people can get in and out without climbing over each other, meaning access on both sides.
A curtain or screen between the bed and the living area gives one person a chance to wind down while the other is up. A rule my friends Jamal and Kira swear by: the desk always gets its own corner, never the kitchen table.
23. The Studio With No Closet
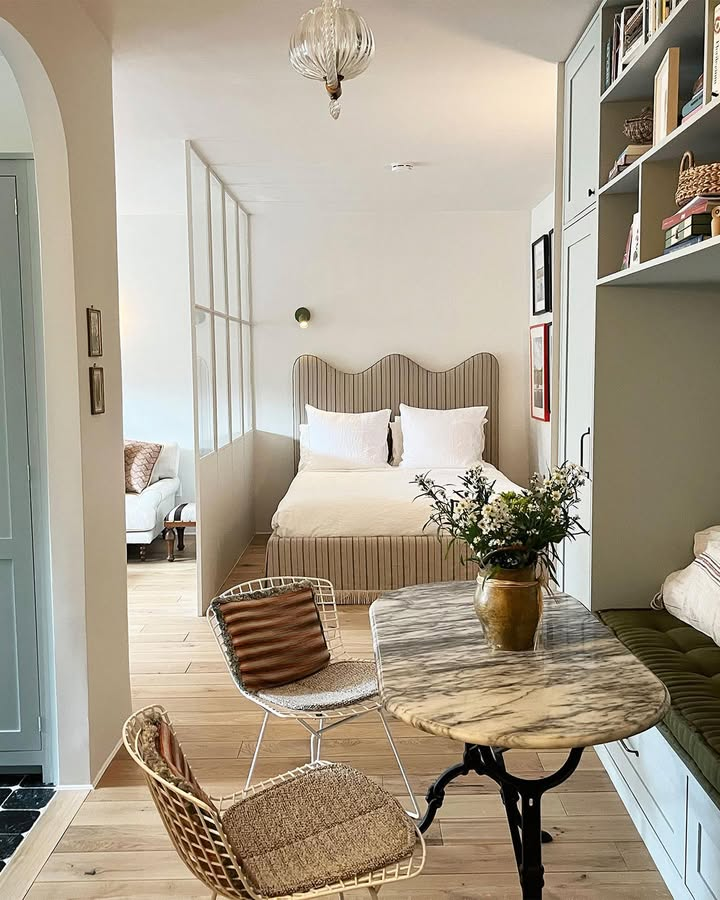
A closet-free studio is more common than you’d think. The fix is a freestanding wardrobe (look for 20 to 24 inches deep) or a clothing rack hidden behind a curtain. Under-bed storage bins hold off-season clothes.
A clothing rack looks stylish in photos but turns into clutter fast. If you go that route, commit to a strict edit: only what you’d wear this month.
24. The Studio With a High Ceiling
source
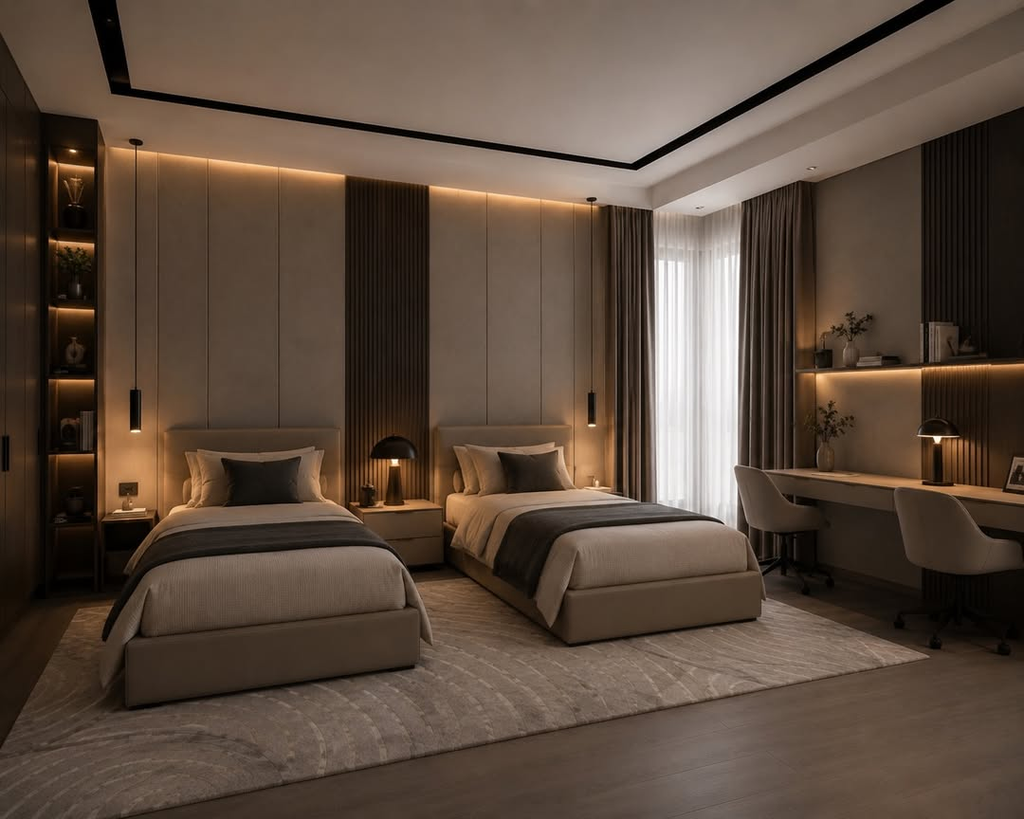
High ceilings (10 feet or taller) give you vertical options like loft beds, tall bookcases, and wall-mounted shelving. Use that height for floor-to-ceiling curtains to draw the eye up, and hang pendant lighting to add a sense of layers.
The trade-off is that big, empty vertical space can feel cold, so warm lighting and textured fabrics are important.
What Should You Buy First? A Rough Budget for Your Studio Layout
Here’s a realistic cost range if you’re setting up a new studio layout from scratch:
| Budget tier | What you can do | Approx. cost |
|---|---|---|
| Under $200 | Tension rod curtain, rug, shoe cabinet, hooks, lighting | $150 – $200 |
| $200 – $700 | Bookcase divider, drop-leaf table, daybed or used sofa | $300 – $700 |
| $700 – $2,000 | Platform bed with storage, quality rug, rolling cart, desk | $900 – $2,000 |
| $2,000+ | Murphy bed or custom partition | $1,500 – $4,000+ |
Prices vary by region and brand, so use these as a starting point, not a quote.
Final Thoughts
If I were starting my first studio over, I’d skip the shopping and spend one weekend with painter’s tape and a tape measure. I’d mark where the bed, sofa, and desk would go on the floor, live with it for two days, and move things around until walking through the room felt easy.
Then, and only then, I’d buy the one big piece that makes that layout work, whether it’s a divider, a murphy bed, or just a really good rug.
The best studio apartment layout ideas aren’t the prettiest ones in a photo. They’re the ones that still work at 7 a.m. when you’re half asleep and reaching for coffee. Start with your floor plan, pick the layout that matches it, and adjust from there.
Which floor plan are you working with? Drop it in the comments and I’ll help you sketch it out.


Leave a Reply