
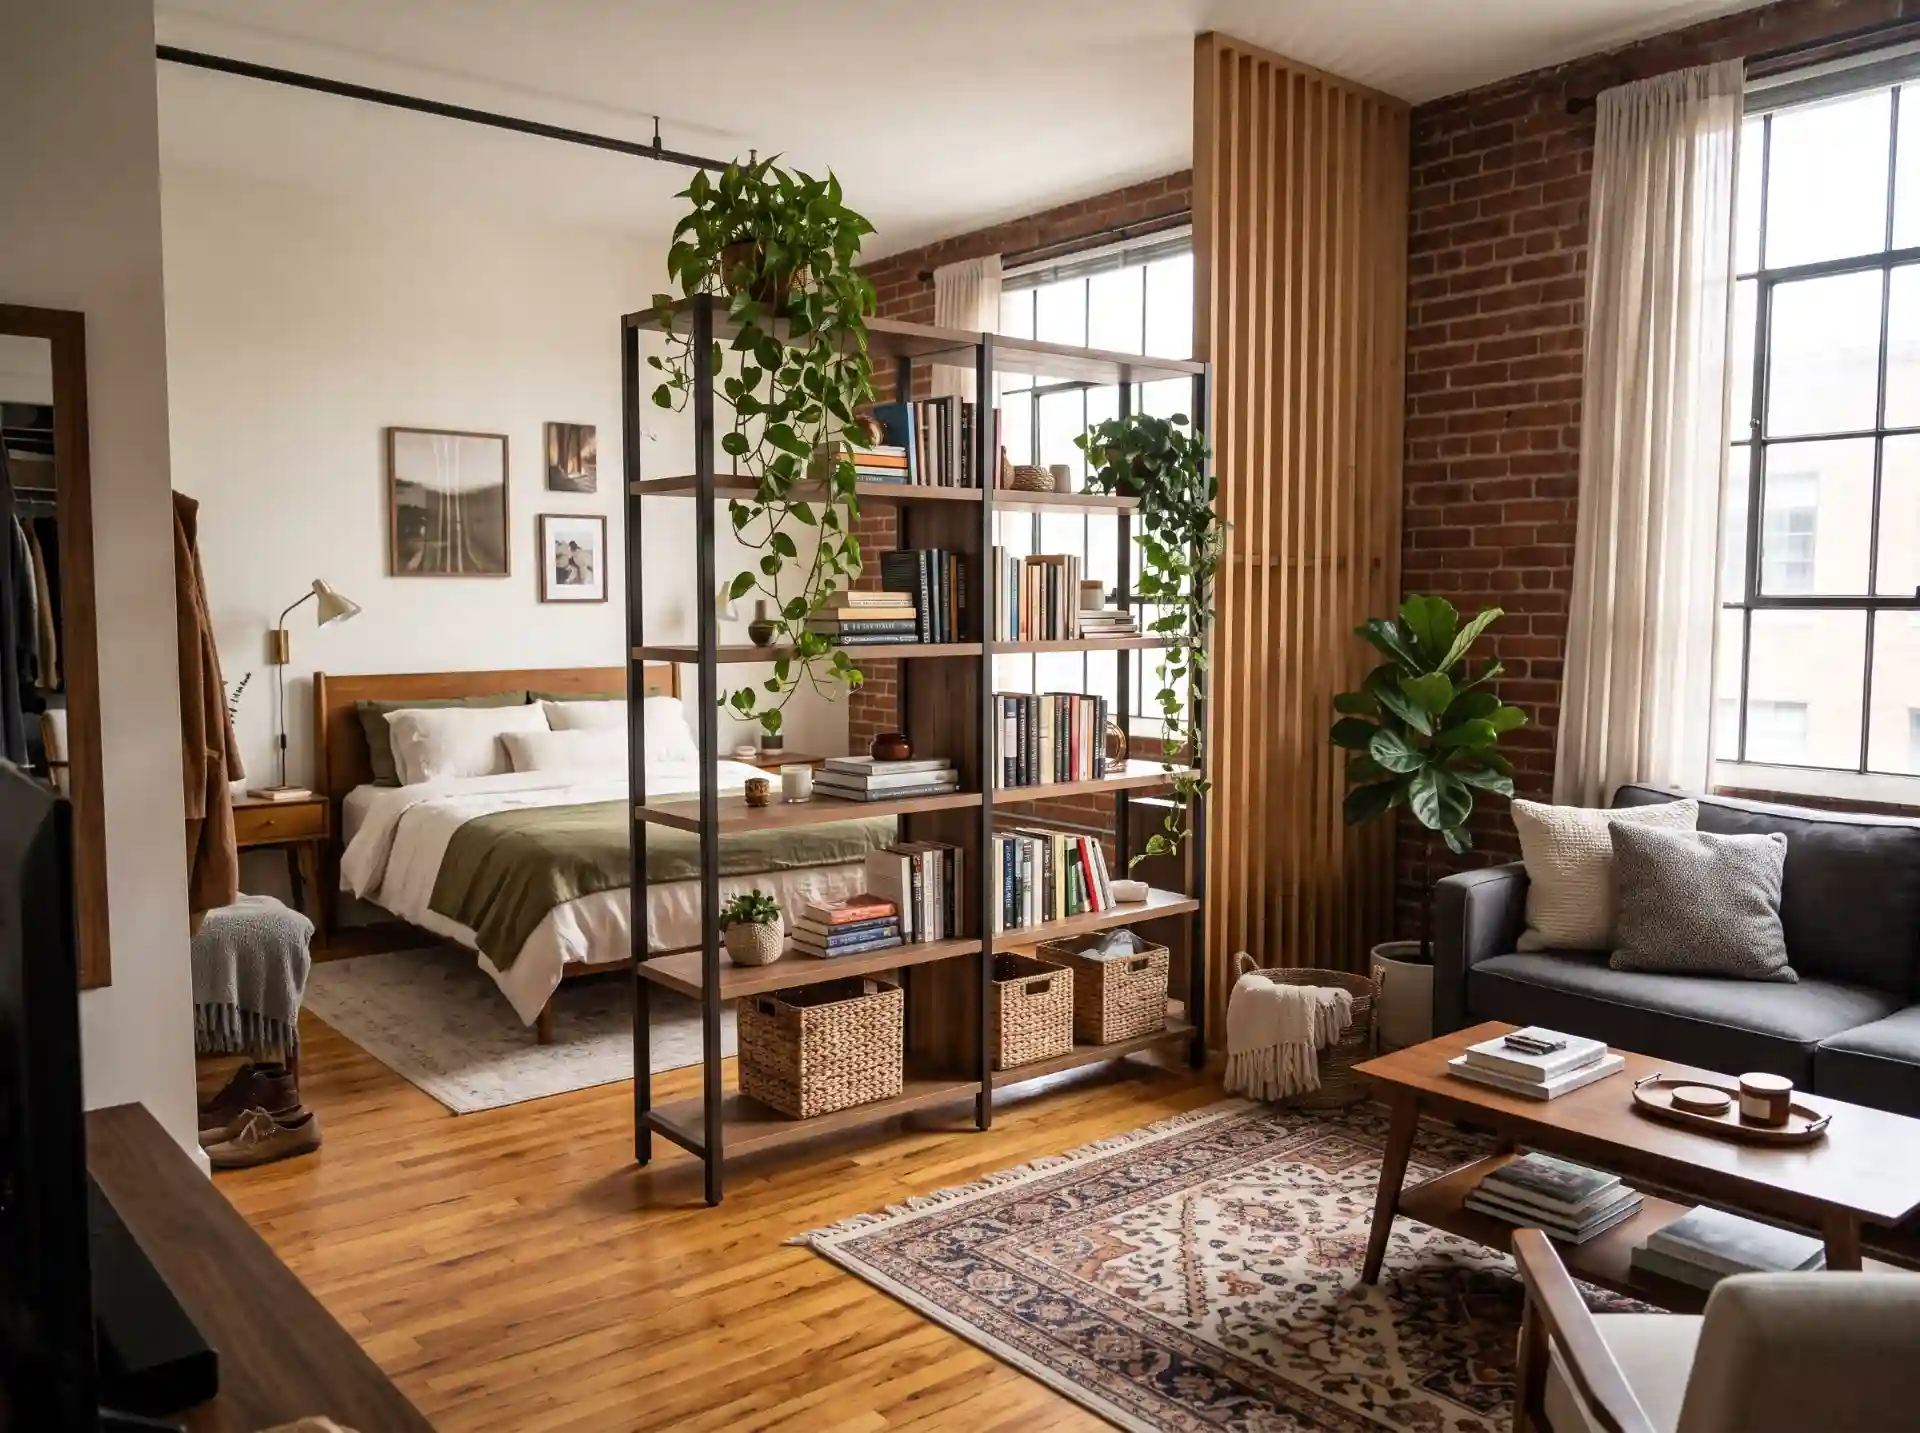
For the first eight months in my 410-square-foot studio, my bed was about six feet from my couch, and I could see it from the sofa, the kitchen, and the front door. I ate dinner facing an unmade duvet.
Then a friend came over, sat down, glanced toward the bed, and said, “Wait, do you just live in your bedroom?” Honestly, yes. That was the day I started experimenting.
If you’re looking for studio apartment ideas for separating living and sleeping areas, you probably have the same problem I did: one rectangle, a lot of competing needs, and a lease that says you can’t put holes in anything.
The good news is that separating a sleeping area in a studio doesn’t require construction. It requires deciding where your sightlines break, where your light changes, and where your furniture does double duty.
I’ve tried about half of the ideas below in my own place, helped friends try a few more, and watched a couple of readers’ setups that were smart enough that I copied them. I’ll tell you which ones I’d skip.
I’ve grouped everything by approach so you can jump to what fits your layout and budget: dividers, furniture that does the work, soft separation (rugs, lighting, paint), and the renter-friendly and bigger-commitment options.

Before You Pick: Figure Out What You’re Actually Separating
This sounds obvious, but it’s where most people go wrong. “Separate” can mean three different things:
- Visual separation: you don’t see the bed from the living area. This is the most common goal.
- Light separation: you can sleep while someone else watches TV or you’ve got a lamp on.
- Mental separation: your brain registers “work/relax zone” versus “sleep zone.” This is the one people underrate, and it’s the one that fixed my sleep.
Measure your space and tape the footprint of your bed on the floor with painter’s tape before you buy anything.
I skipped this once and ordered a bookshelf divider that left 19 inches between the shelf and the bed. I could technically get to the window. I could not technically open the window.
Room Dividers for Studio Apartments: The Flexible Options
A studio apartment room divider is the fastest way to carve out a bedroom area, and it’s usually the cheapest. The trade-off is always the same: the more it blocks, the more light and air it blocks too.
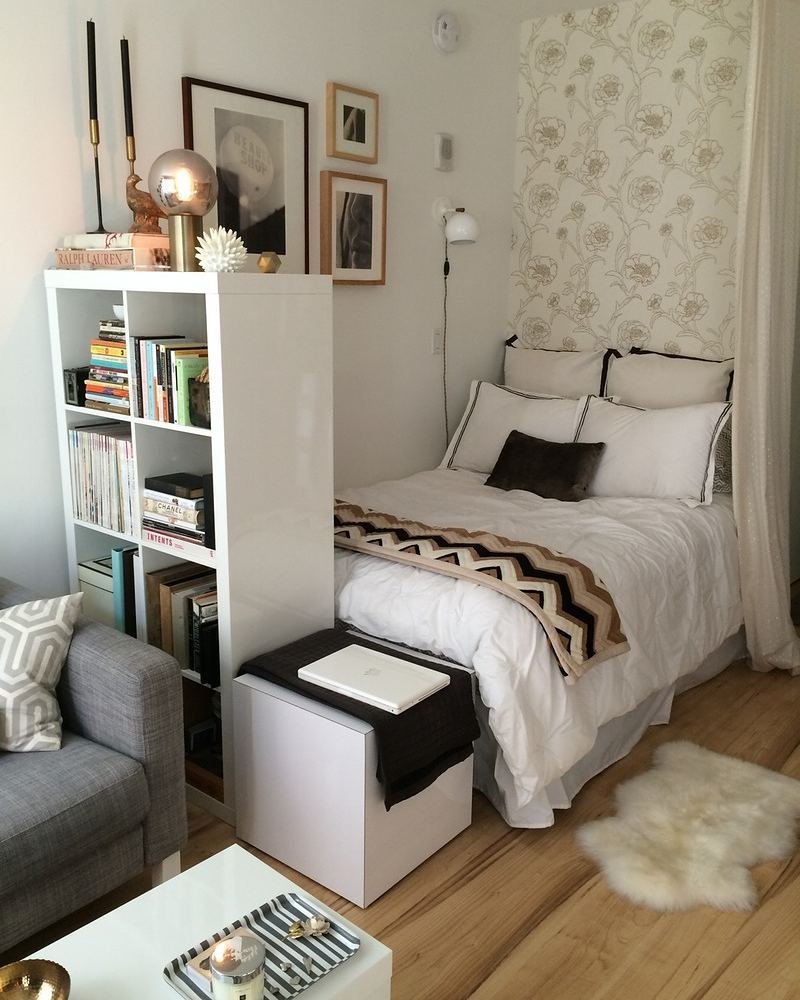
1. Open Bookshelf Room Divider
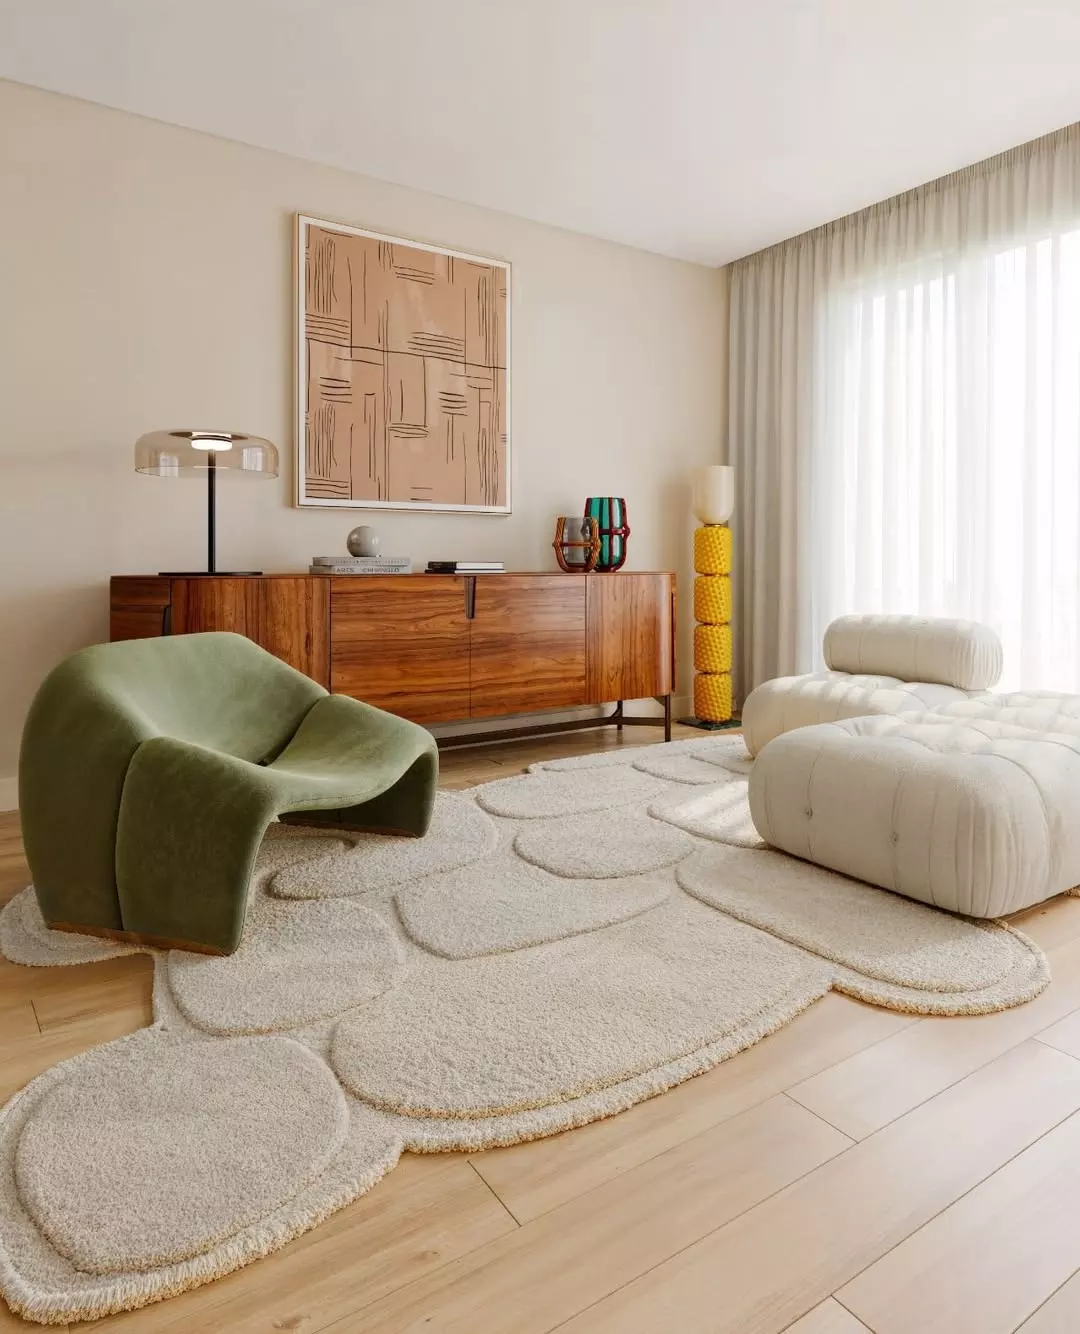
A bookshelf divider matters because it adds storage while it separates, which solves two small-space living problems at once.
Place it perpendicular to the wall at the foot or side of your bed, and use the back-facing side for baskets or hide-the-clutter boxes so the bedroom side looks finished.
The thing nobody mentions: it has to be anchored. A tall, loaded shelf in a studio is a tip hazard, and many rental-friendly brackets attach to the shelf and the floor-side wall without drilling into the main wall.
Also, go for open-back shelving if you want light to travel through, or add a fabric panel to the back for more privacy.
2. Low Bookcase (Waist or Chest Height)
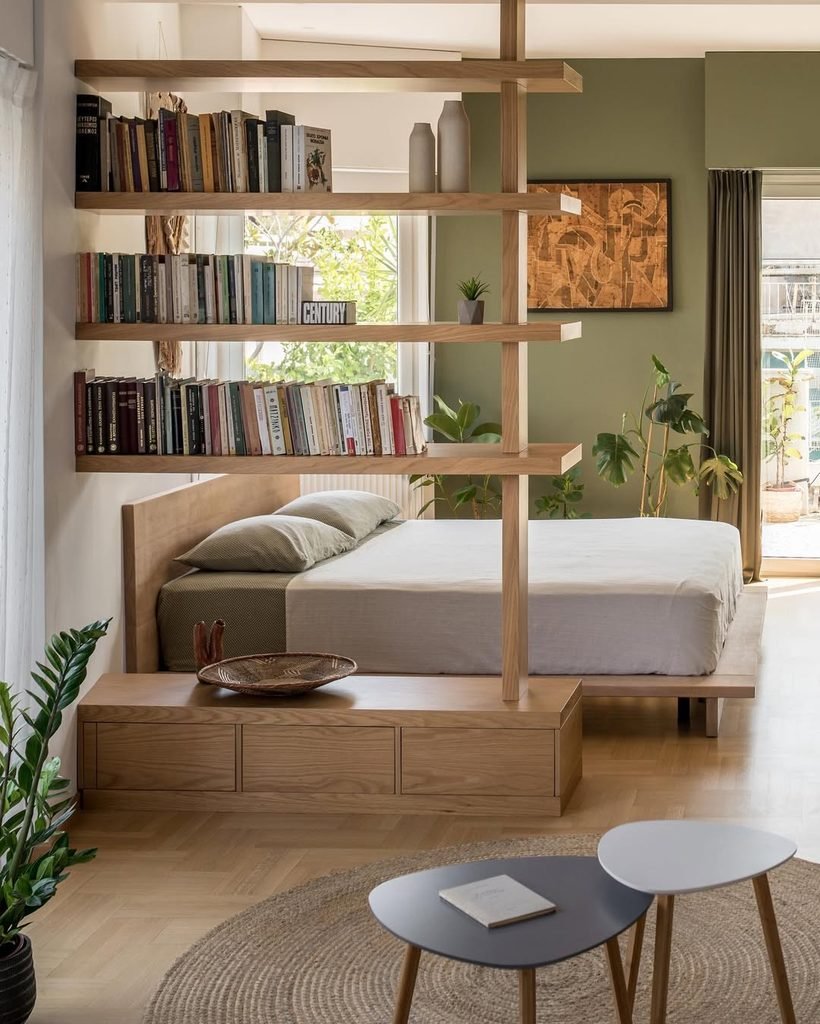
If you hate feeling boxed in, a low bookcase around 30 to 36 inches tall defines the zone without closing it off. It’s the option I’d recommend first for studios under 450 square feet, because the whole space still reads as one bright room.
You lose privacy, of course. Think of this as a “this is the bed area” signal, not a wall. Set the back of the sofa against it and you’ve got a combination divider and couch-back console for lamps and plants.
3. Folding Screen
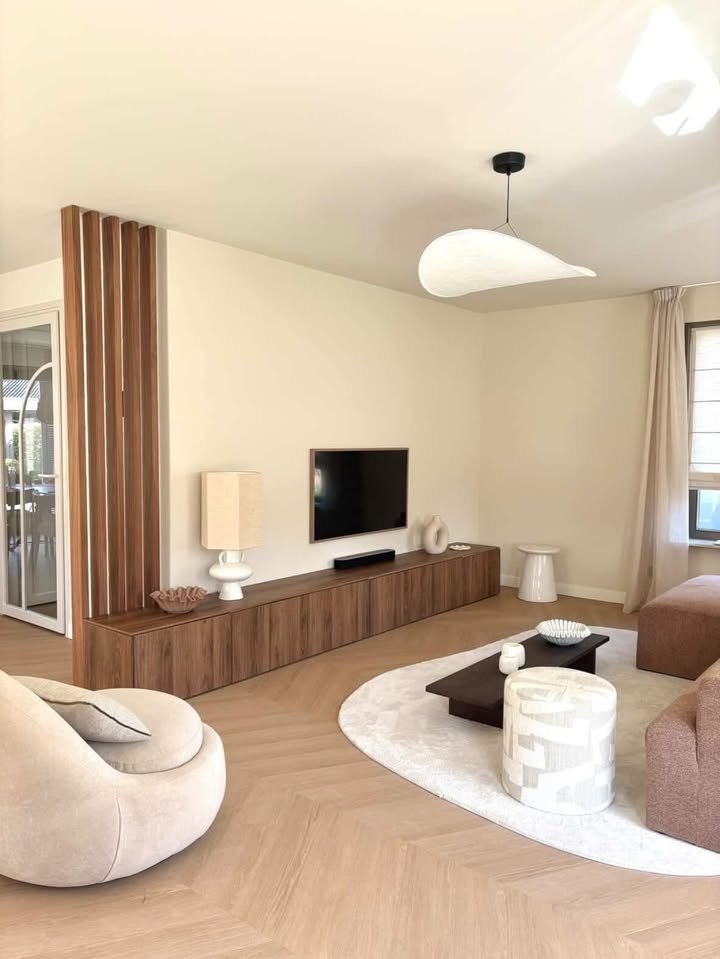
Folding screens are the easiest studio room divider to live with because you can move them. I keep one pulled across the bed when I have guests and fold it flat against the wall when I want the room to open up.
Pro tip: buy a taller one than you think you need. Most budget screens are around 5.5 feet, which looks fine in photos and weirdly short in real life. Closer to 6 feet looks intentional, and anything shorter looks like a hospital curtain.
4. Ceiling-Mounted Curtain Track (Renter Version)
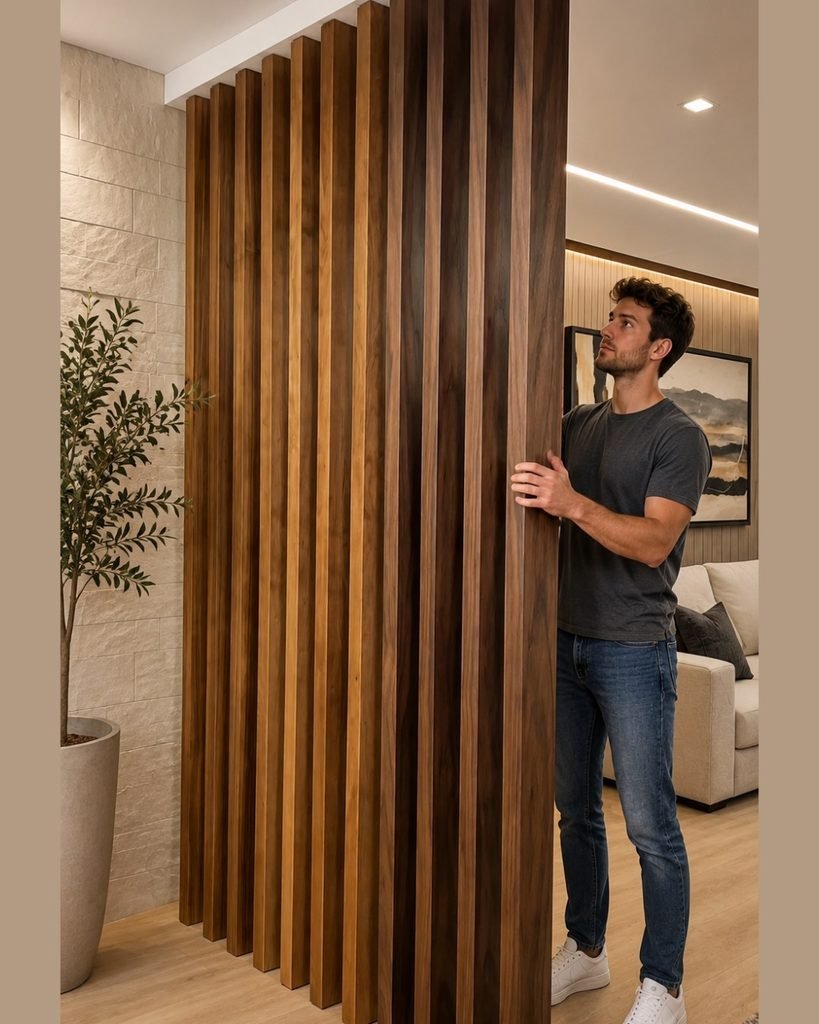
A curtain divider is the cheapest way to get true privacy and darkness. The renter-friendly route is a tension rod for narrow spans, or a ceiling-mounted track with adhesive clips if your landlord allows light fasteners.
A friend of mine, Dana, hung heavy linen on a track across her studio for under $90 total and says it’s the single reason her partner stopped complaining about her 6 a.m. alarm.
Use a heavier fabric, like lined linen or a blackout cotton blend, rather than a thin sheer. Thin curtains give you a pretty visual but zero light blocking, and you’ll feel the disappointment at 5:45 in the morning.
5. Hanging Plants and Plant Shelving
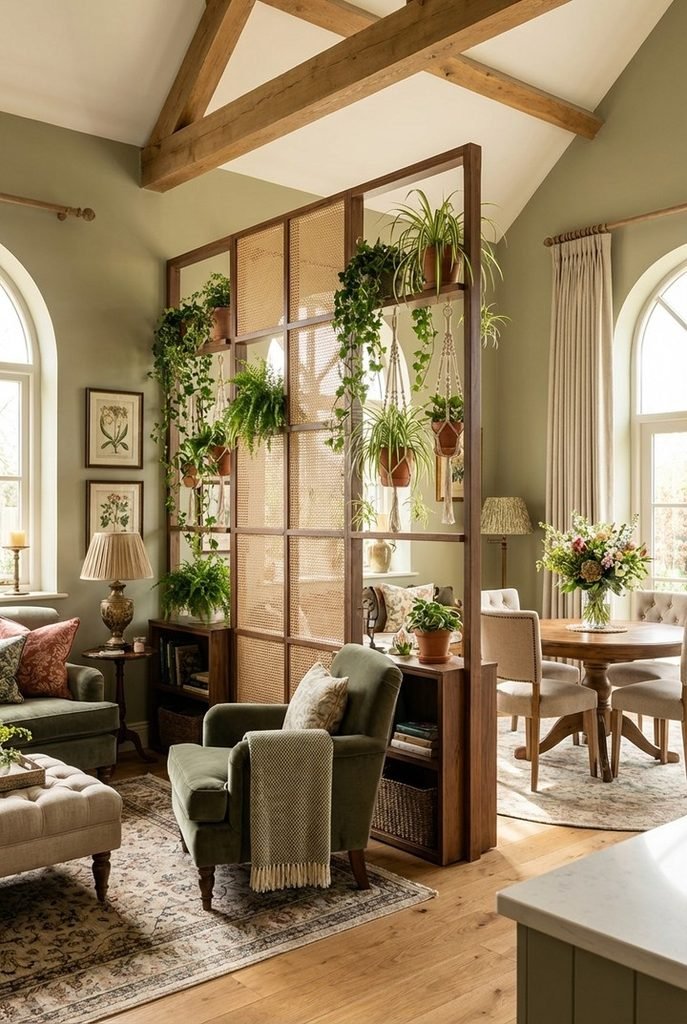
A plant wall or a row of tall plants on a narrow stand creates a soft boundary that doesn’t block light. It works best near a window, and it’s the one I’d only recommend if you’re willing to maintain it.
A dead fiddle-leaf fig is a worse divider than no divider.
If you’re not a plant person, a faux version of trailing pothos in hanging planters holds up better than you’d think, as long as you buy a few different shades of green instead of a uniform plastic one.
6. Sliding Barn-Style or Glass Partition
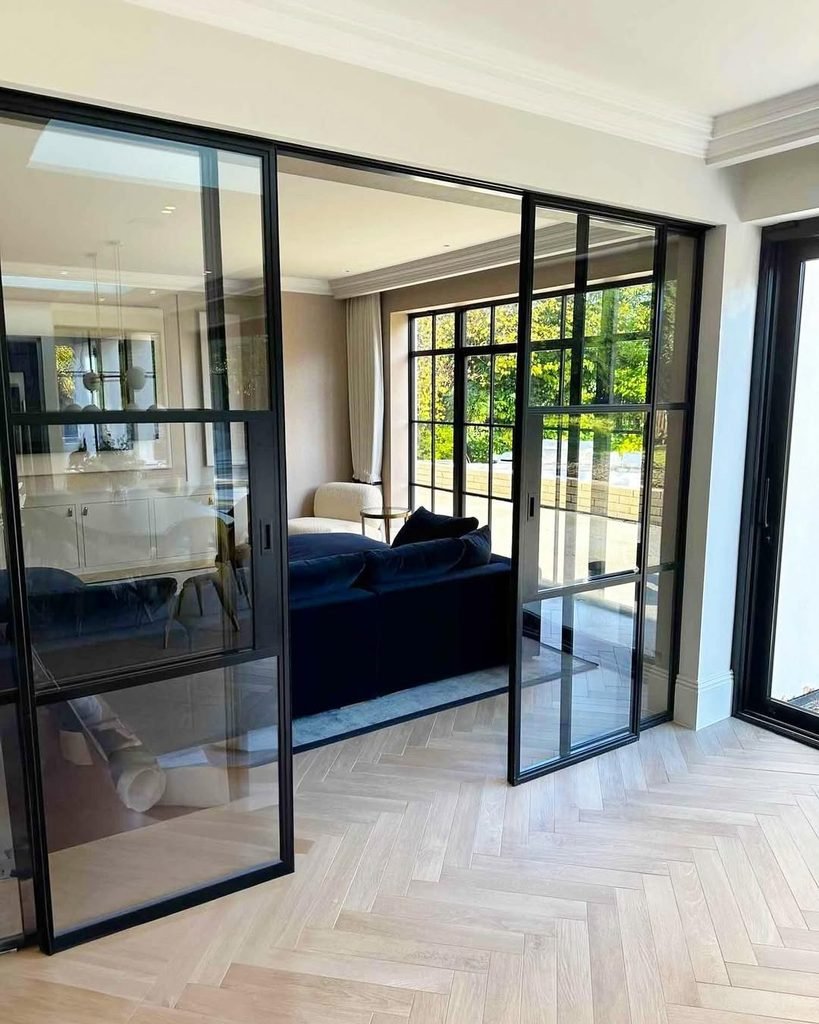
This is the bigger-budget option, and I’ll be real with you: it’s gorgeous and rarely worth it for most renters.
A freestanding sliding partition or a framed glass wall can run from a few hundred dollars for a DIY-ish version into the thousands for custom work.
If you own your place, it’s a legitimately great way to get a bedroom without losing natural light. If you rent, I’d skip it unless you’re staying several years.
Studio Apartment Furniture Layout Ideas That Do the Separating for You
The best dividers are the ones you’d buy anyway. These ideas use furniture you need, arranged to split the room.
7. Float the Sofa as a Wall
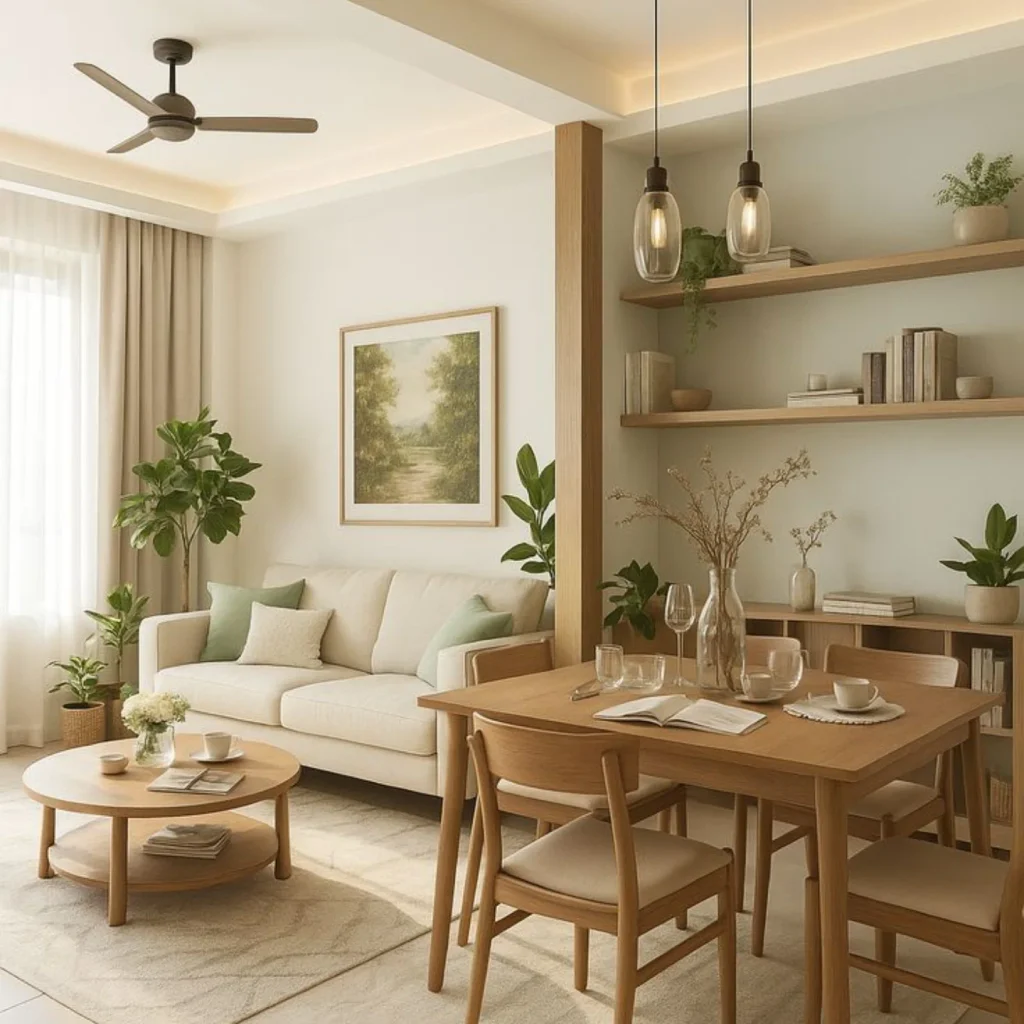
This is the first thing I’d try if you’ve got a bit of floor space. Pull the couch off the wall and angle it so its back faces the bed.
It creates an instant zone line, and you can add a narrow console behind it for a lamp and your keys.
The downside is that you’ll lose a few feet of walking room, so check your clearance. Aim for at least 30 inches of walkway on either side of any floated piece.
8. Use a Console Table Behind the Sofa
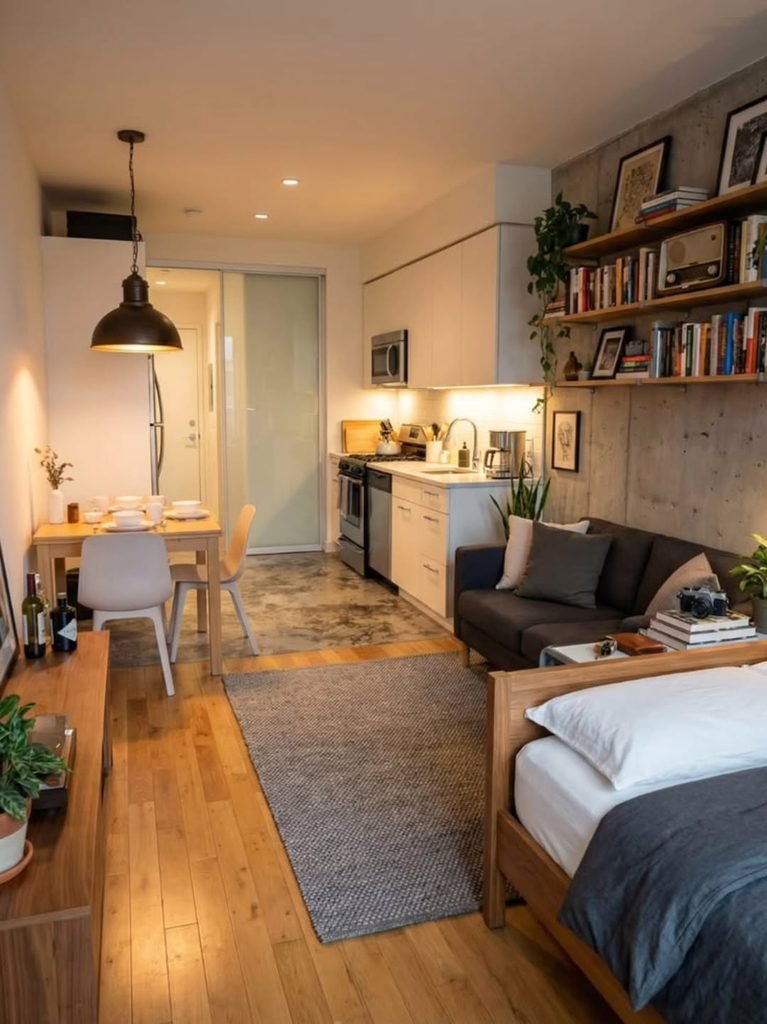
Once your sofa is floating, a slim console table (10 to 14 inches deep) behind it turns the line into a storage surface.
I use mine for my laptop on days I work from the couch. Bonus: it hides the cords that would otherwise trail down the back of the sofa.
9. Murphy Bed or Wall Bed
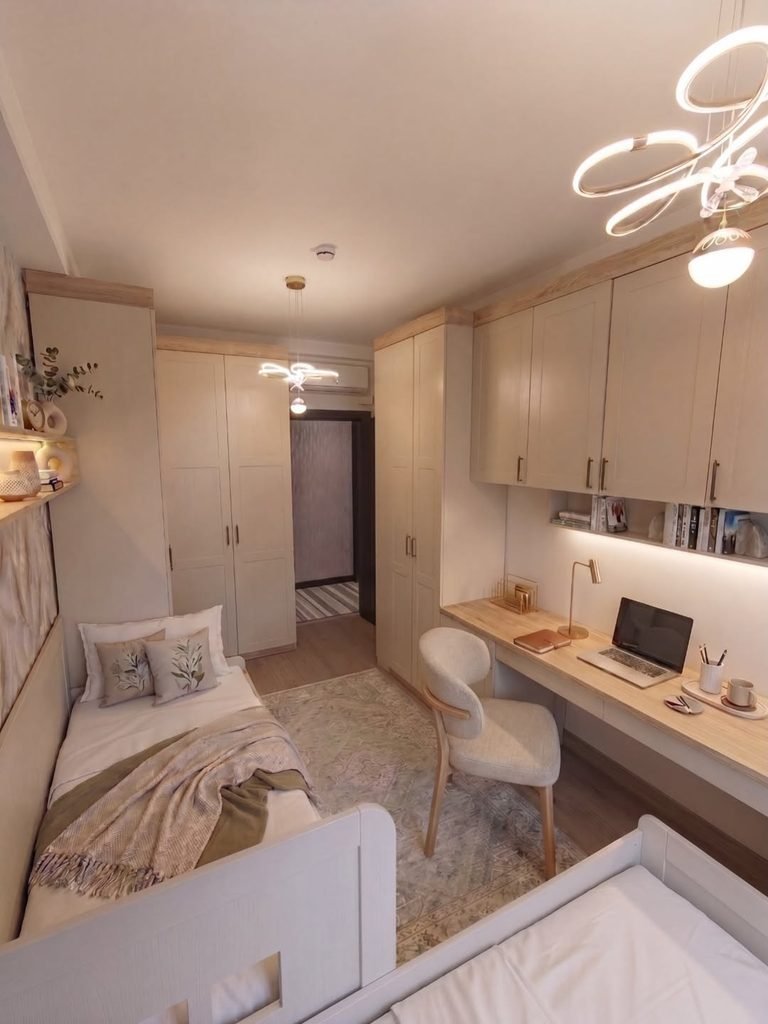
If you want the most dramatic transformation, a Murphy bed gives you back your whole floor during the day.
This is the biggest-commitment option on the list, so here’s the honest trade-off: they cost real money, usually in the low thousands for a quality unit, and they often need to be anchored into studs.
For renters, there are freestanding versions that lean on the wall without being permanently mounted, but they’re less common and worth checking reviews on.
If you own, a Murphy with a built-in desk or shelving is one of the highest-value studio upgrades I know of.
10. Loft Bed with a Living Zone Underneath
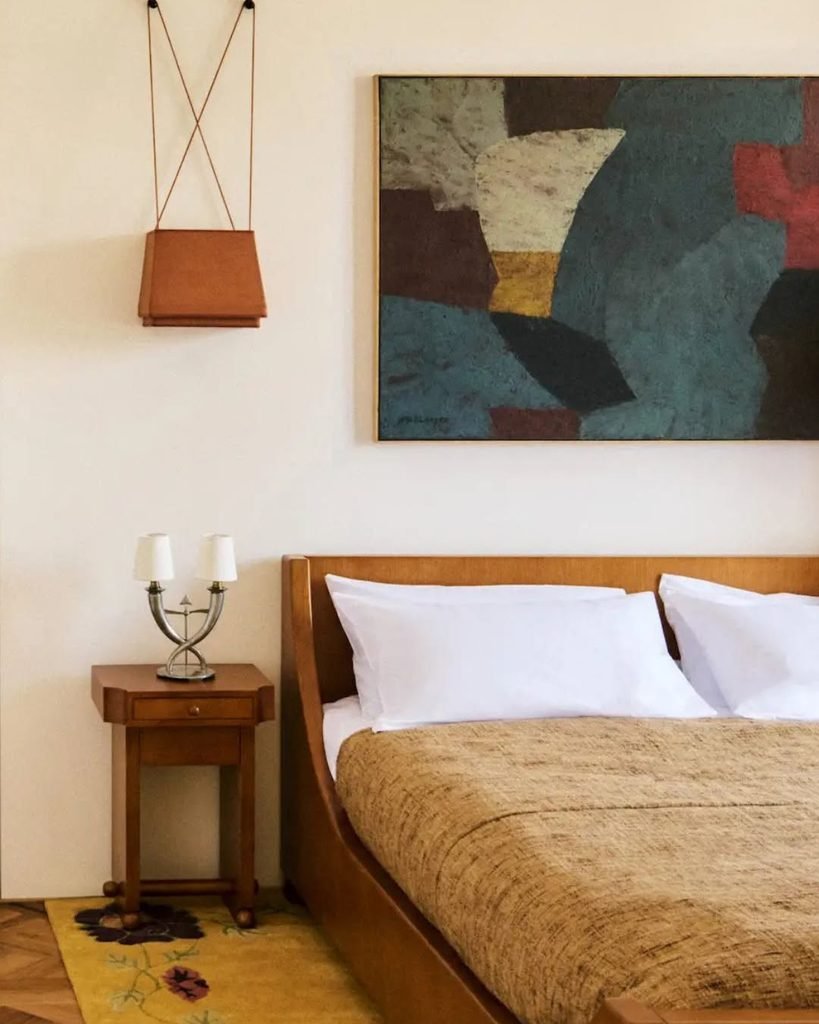
A loft bed is the classic dorm answer, and it works in studios with 9-foot ceilings or higher. You need enough vertical clearance for both the sleeping surface and for you to sit up without hitting your head. Measure twice.
I tried a loft in a previous place and the heat was real. Warm air rises, and the sleeping platform was noticeably warmer in July. If your apartment runs hot, think hard before choosing it.
11. Storage Bed with Built-In Drawers
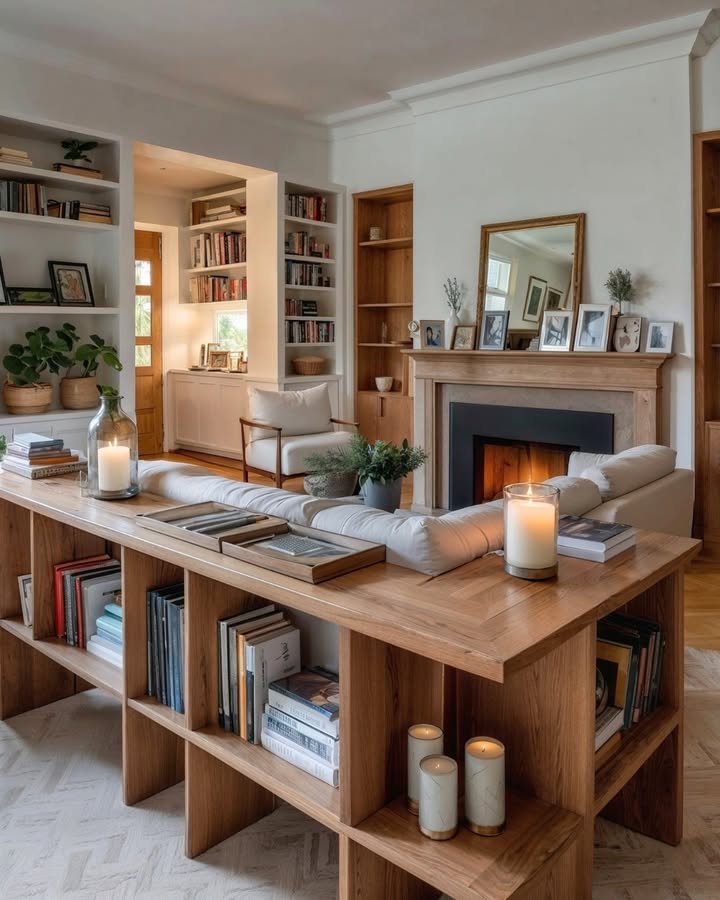
This doesn’t visually divide the room, but it removes the dresser, which frees floor space so you can place your bed in a recessed corner or alcove. A bed frame with drawers can hold a full seasonal wardrobe swap, and it’s one of the cleanest small-space storage moves I know of.
12. Daybed or Sofa Bed (When You Want to Skip the Bedroom Entirely)
Some people, honestly, do better without a separate sleeping area. A good daybed with a firm mattress reads as a sofa by day and a bed by night. The catch is comfort: a poor sofa bed is a poor sofa and a poor bed. If you sleep on it every night, don’t go cheap.
Comparison: Which Studio Divider Is Right for You?
Here’s how the big options stack up so you can choose without reading every section twice.
| Option | Rough Cost | Privacy | Light Blocking | Renter-Friendly | Best For |
|---|---|---|---|---|---|
| Folding screen | $40–$200 | Medium | Low | Yes | Flexibility, guests |
| Open bookshelf | $80–$400 | Low–Medium | Low | Yes (anchor carefully) | Storage plus separation |
| Curtain track | $60–$250 | High | Medium–High | Mostly | True bedroom feel |
| Floated sofa + console | Varies | Low–Medium | None | Yes | Small budgets, existing furniture |
| Murphy bed | $1,500–$5,000+ | n/a | n/a | Depends | Maximum daytime floor space |
| Loft bed | $300–$1,500 | Medium | None | Yes | High ceilings, tight floors |
| Glass or sliding partition | $300–$3,000+ | Medium–High | Low | Rarely | Owners, long stays |
Costs are rough ranges based on what I’ve seen and what friends paid, and they vary a lot by brand and region, so treat them as a starting point rather than a quote.
Soft Separation: Rugs, Lighting, Color, and Texture
If you want a subtle “this is a different zone” feeling, you don’t have to build anything. These are the ideas I’d start with because they cost the least and are easy to undo.
13. Anchor Each Zone with Its Own Rug
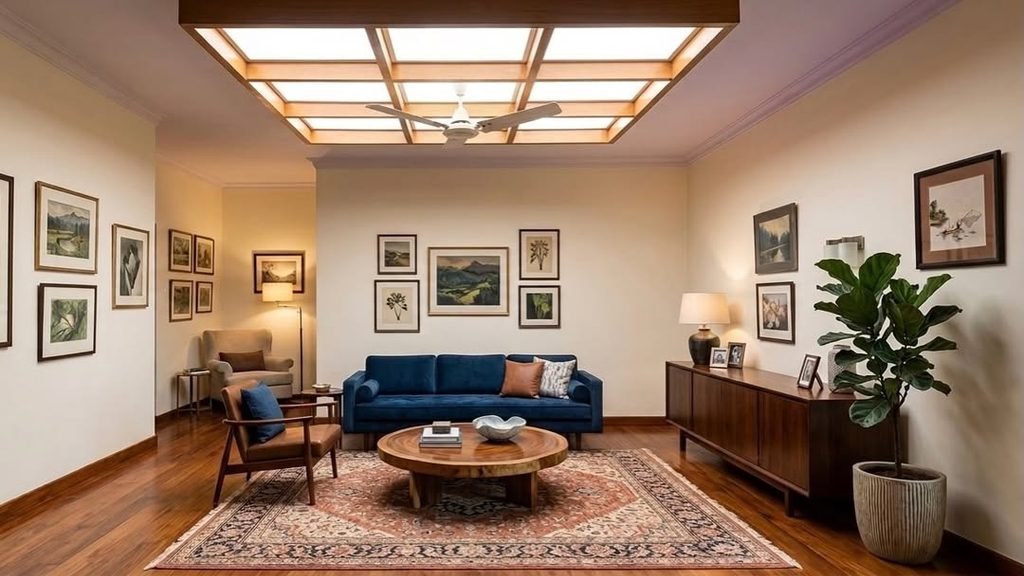
Two rugs, two zones. A rug under the front half of the bed (so it peeks out on each side and at the foot) and a separate rug under the living area splits the floor visually. The key is to avoid matching them exactly: pick two that share a color but differ in pattern or texture.
A word of caution: rugs touching each other edge to edge look cramped. Leave at least a few inches of bare floor between them, or let them be clearly different sizes.
14. Give Each Zone Its Own Lighting
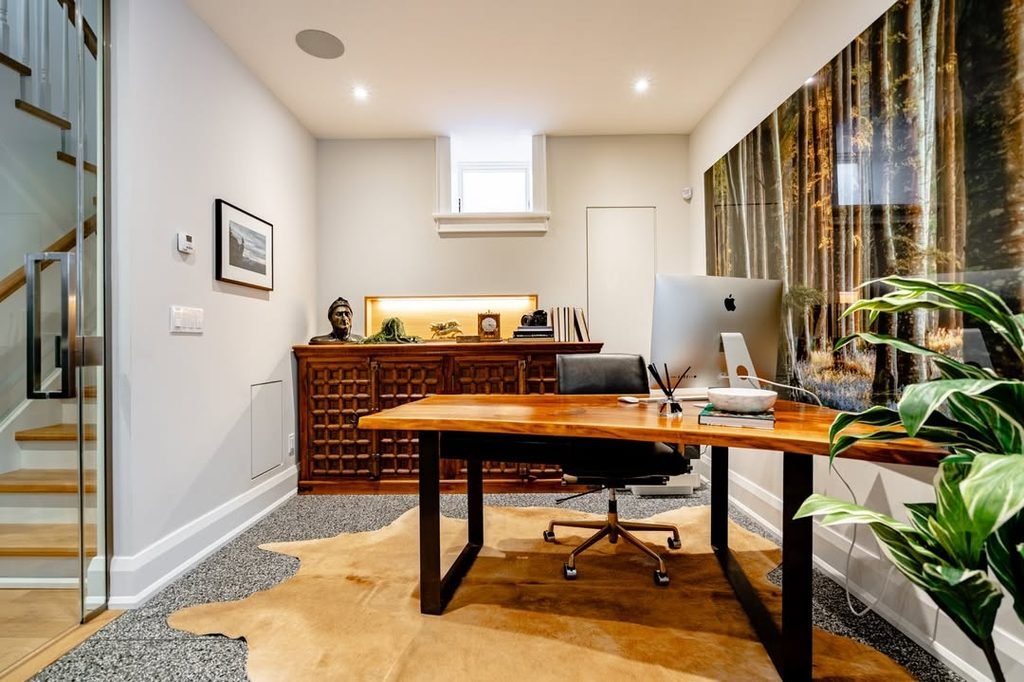
This one changed how my apartment felt more than any divider. A warm bedside lamp and a floor lamp in the living area, with the overhead light off, makes the space read as two rooms at night.
Look for bulbs around 2700K for the bed area, since the warmer tone cues your body toward sleep.
If you’re renting and the only fixture is a harsh overhead, plug-in wall sconces with a cord cover are a good workaround, and a smart bulb that you can dim from your phone is the easiest upgrade.
15. Paint or Peel-and-Stick an Accent Wall Behind the Bed
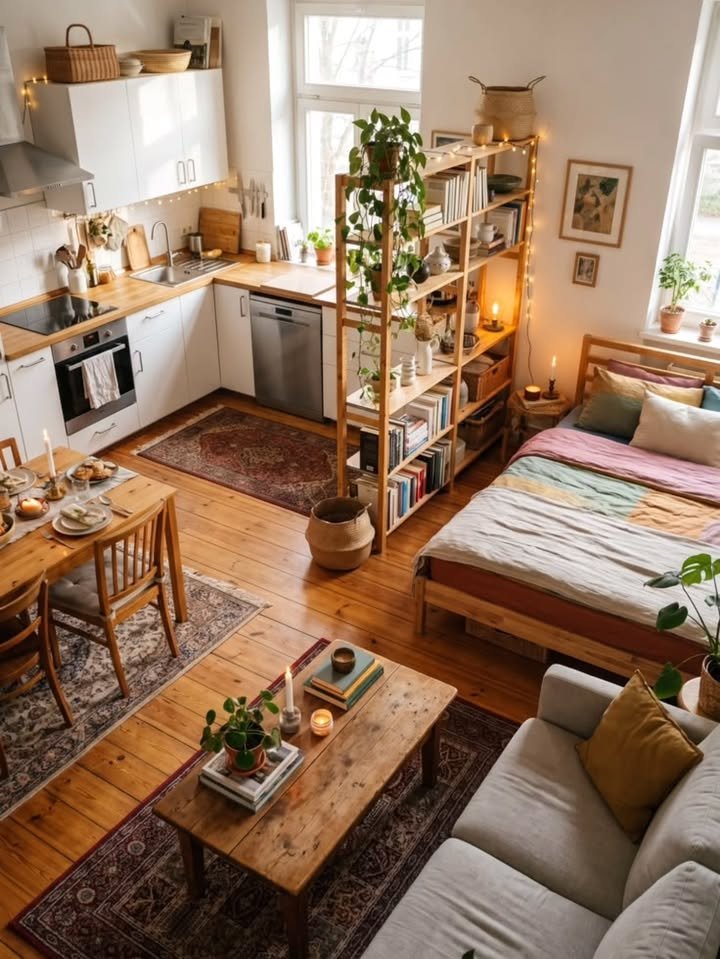
A darker or moodier color behind the bed signals the sleep zone from across the room. I painted the wall behind my bed a muted green and the difference was bigger than I expected. For rentals, a removable wallpaper or a large fabric panel on a rail works if the lease says no paint.
Pro tip: sample your color on the wall for at least 48 hours and check it in morning and evening light. A deep color that looks rich in the afternoon can look flat and gray at night in a small room with one window.
16. Add a Headboard Wall (Even a Fake One)

A large headboard, a wall-mounted panel, or a wood slat treatment gives the bed a “backdrop” and makes it feel like it belongs to its own area.
If you can’t hang anything, a freestanding headboard that rests on the bed frame does the same job. Go wider than the bed so it looks anchored instead of floating.
17. Use Furniture Height Changes to Create Zones
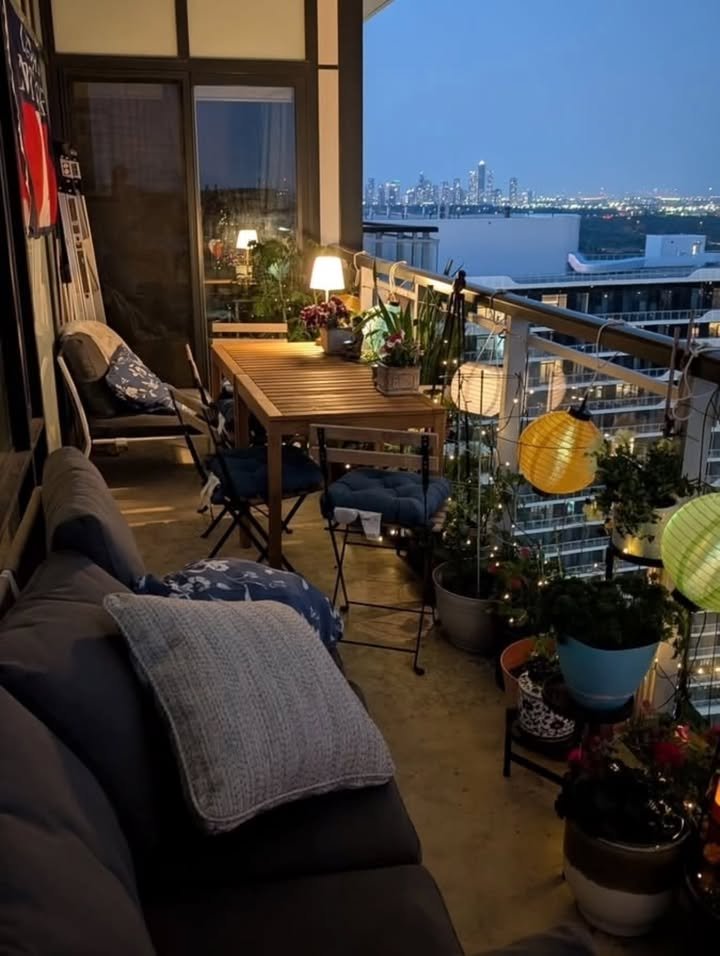
Tall pieces in one area and low ones in another create a visual shift your eye reads as a boundary. For example, a tall wardrobe or bookshelf near the sleeping end and a low media console near the living end. It’s a subtle trick, but it’s one of the easiest to pull off with furniture you already own.
Renter-Friendly and Bigger-Commitment Ideas
18. Build a Sleeping Nook with a Freestanding Frame
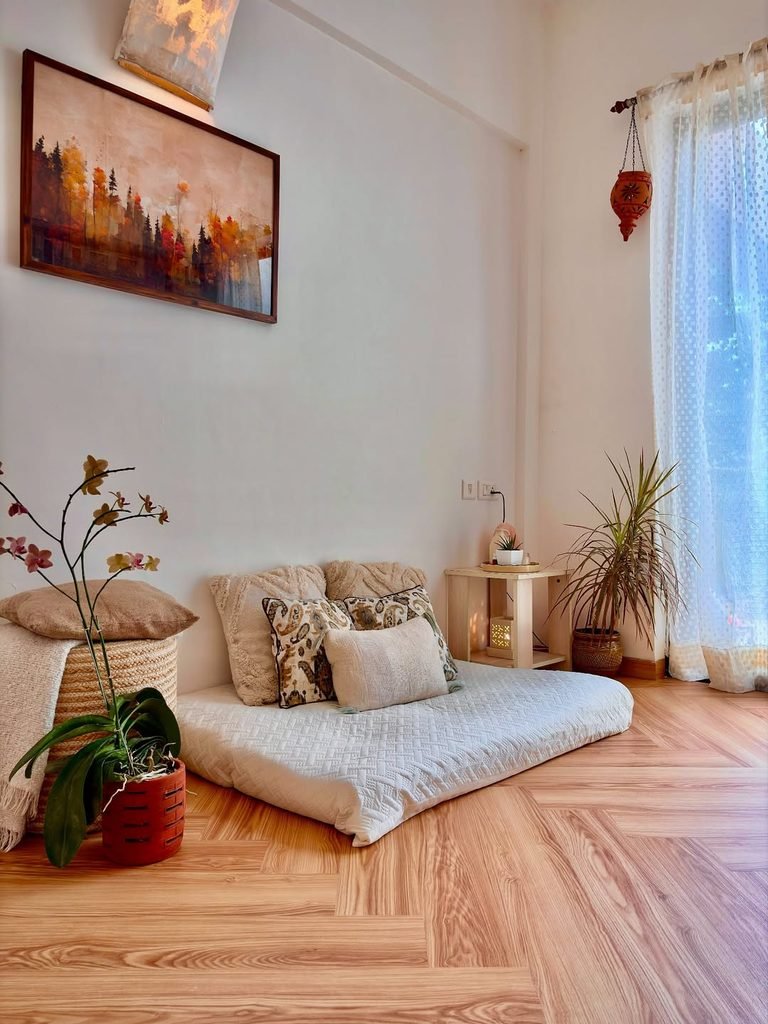
A nook doesn’t need walls, just a frame. Think of a four-post bed or a freestanding canopy structure with curtains that drop around the mattress. I’ve seen readers do this with a simple metal frame and linen panels, and it feels like a cozy little room-within-a-room.
The downside: it takes up vertical space and can make a small studio feel crowded if the ceilings are low. It works best in studios with at least an 8.5- to 9-foot ceiling.
19. Use an Alcove or Corner You Already Have
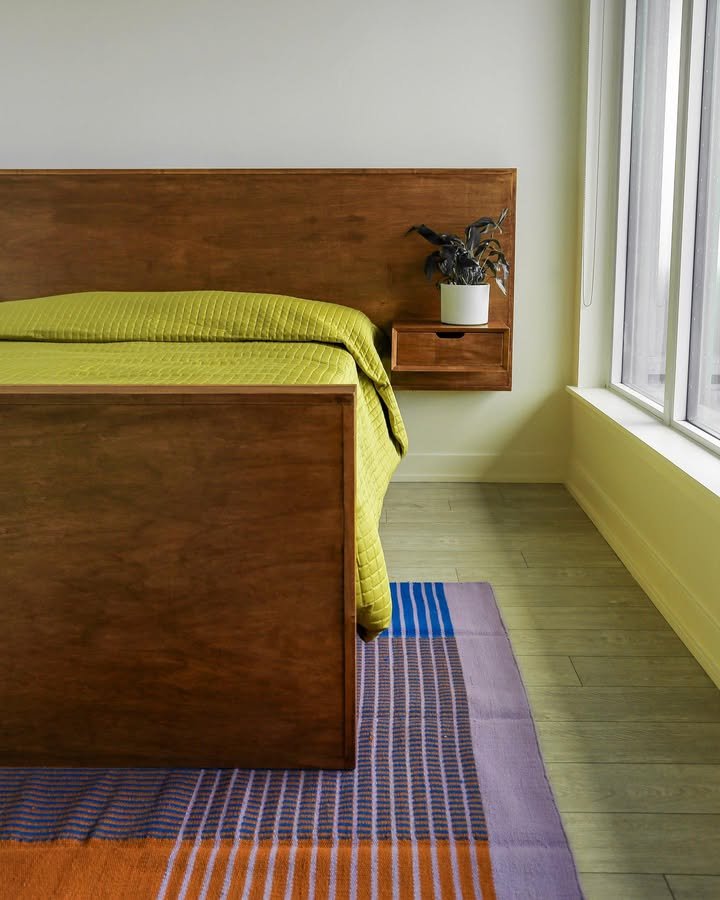
Many studios have a nook, a jog in the wall, or the corner by a window, and those are natural bedroom spots. If your studio has an alcove, put the bed there and add a curtain across the opening. It’s the easiest version of a “real” bedroom, and it costs almost nothing.
20. Convert a Closet into a Sleeping or Dressing Zone
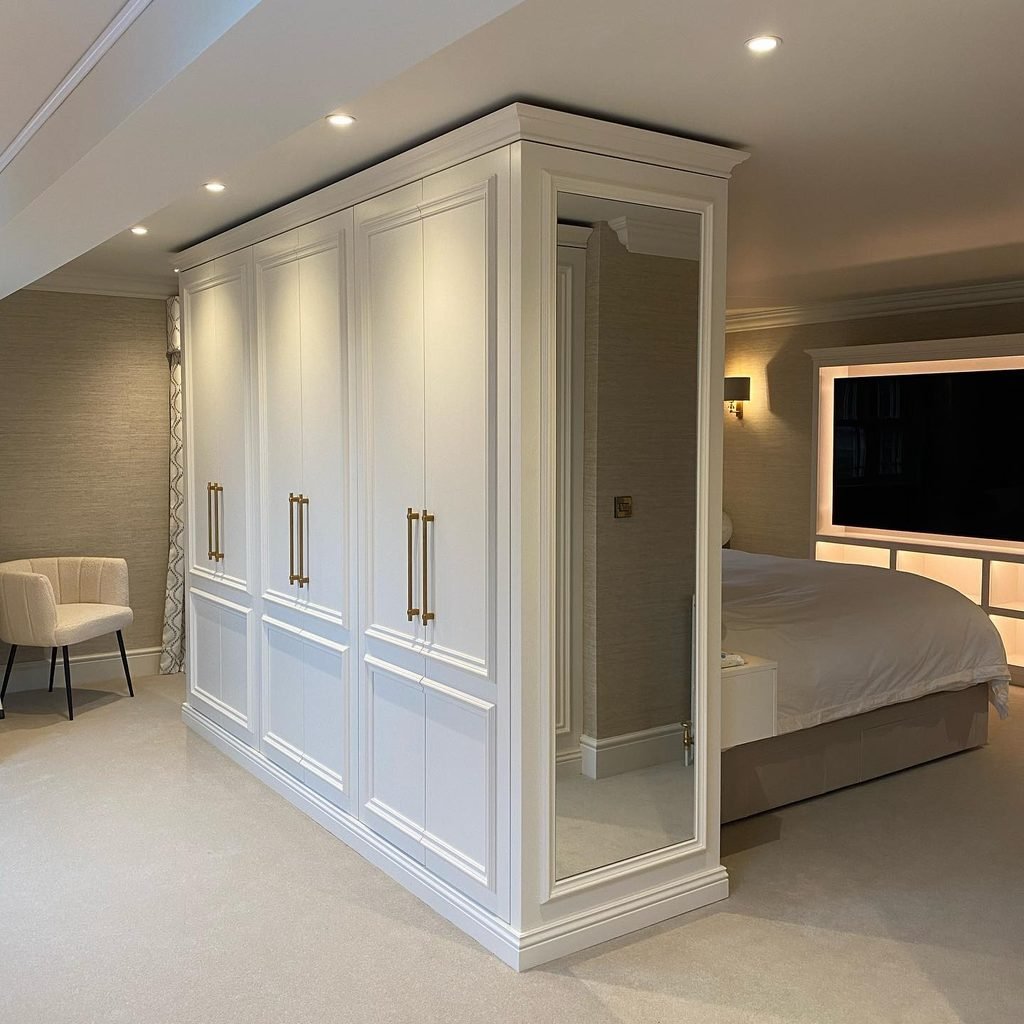
This is more of a reader idea than something I’ve done. One reader wrote in that she removed her closet doors, moved her wardrobe elsewhere, and used the closet as a fitted sleeping niche for a twin mattress.
If you’re not sleeping in the closet, you can reverse it, using the closet for clothes and the freed-up wall for the bed.
Check your lease first and keep any original doors stored somewhere safe so you can reinstall them when you move out.
21. Mix Two Methods (This Is the One That Actually Works)
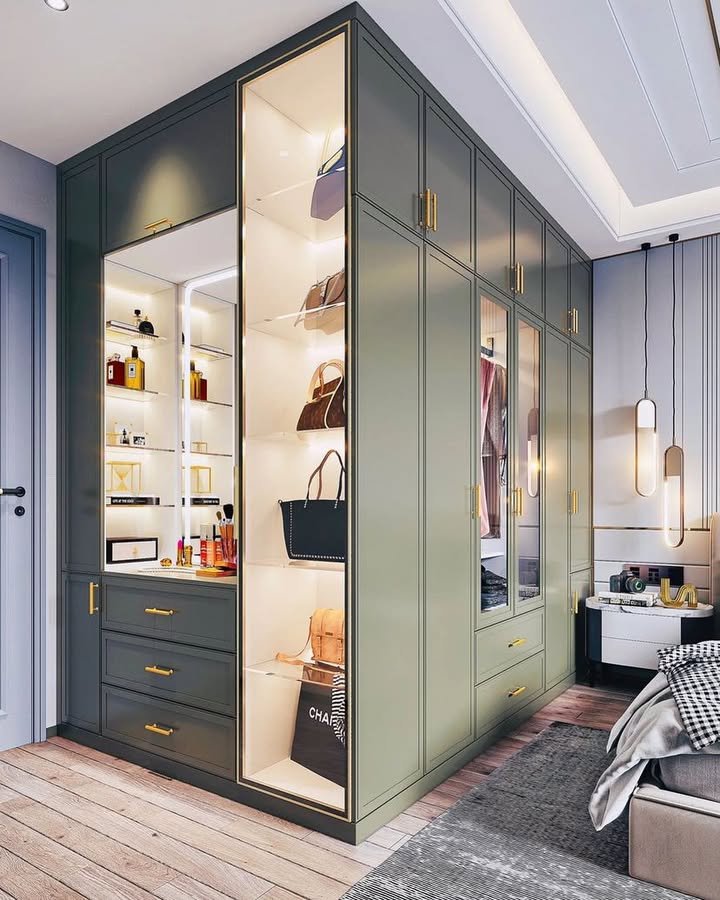
Here’s the thing I wish someone had told me: you don’t need to pick one. The best studio setups I’ve seen combine two or three small moves. My own setup is a low bookshelf at the foot of the bed, a rug under the sleeping area, and warm lamps on each side. None of them is dramatic on its own, but together they make the bed area disappear when I’m on the couch.
How Much Does It Cost to Separate Living and Sleeping Areas in a Studio?
A realistic breakdown depends on your starting point and how permanent you want it to be:
- Under $100: a folding screen or a tension-rod curtain, a second rug, and a couple of warm bulbs.
- $100 to $400: an open bookshelf divider, a curtain track with lined panels, or a floating sofa plus a slim console table.
- $400 to $1,500: a loft bed or a good quality daybed, or a partition built from sturdy materials.
- $1,500 and up: a Murphy bed, a custom partition, or a built-in sleeping nook.
If you’re building a small-space storage plan at the same time, spend where it counts. A divider that also holds your books or shoes gives you more for your money than a purely decorative one.
Common Mistakes When Separating a Sleeping Area in a Studio
A few things I’ve seen go wrong, mostly in my own place:
- Blocking the window. A divider that cuts off light makes the whole apartment feel smaller, which is the opposite of the point.
- Forgetting the walking path. If you have to squeeze past the bed to reach the bathroom, you’ll hate it within a week.
- Buying before measuring. Tape it out. Tape it out. It sounds boring but it saves returns.
- Choosing a divider that’s too short. Anything under about 5 feet reads as furniture, not a boundary, unless you’re going low on purpose.
- Skipping storage. If the bed zone doesn’t have somewhere for your clothes or bedding, the clutter ends up back in your living space anyway.
What I’d Do First If I Were Starting Over
If I were moving into a new studio tomorrow, I’d tape out the bed footprint, pull the sofa off the wall so its back faces the bed, and set up two different lighting moods before spending a cent on anything else. That alone would handle about 70 percent of the problem.
Then I’d live in the space for a couple of weeks before buying a divider, because I’d know exactly which sightline bothers me most. It took me eight months and one rude comment from a friend to figure that out, and I’d love for you to skip that part.


Leave a Reply