
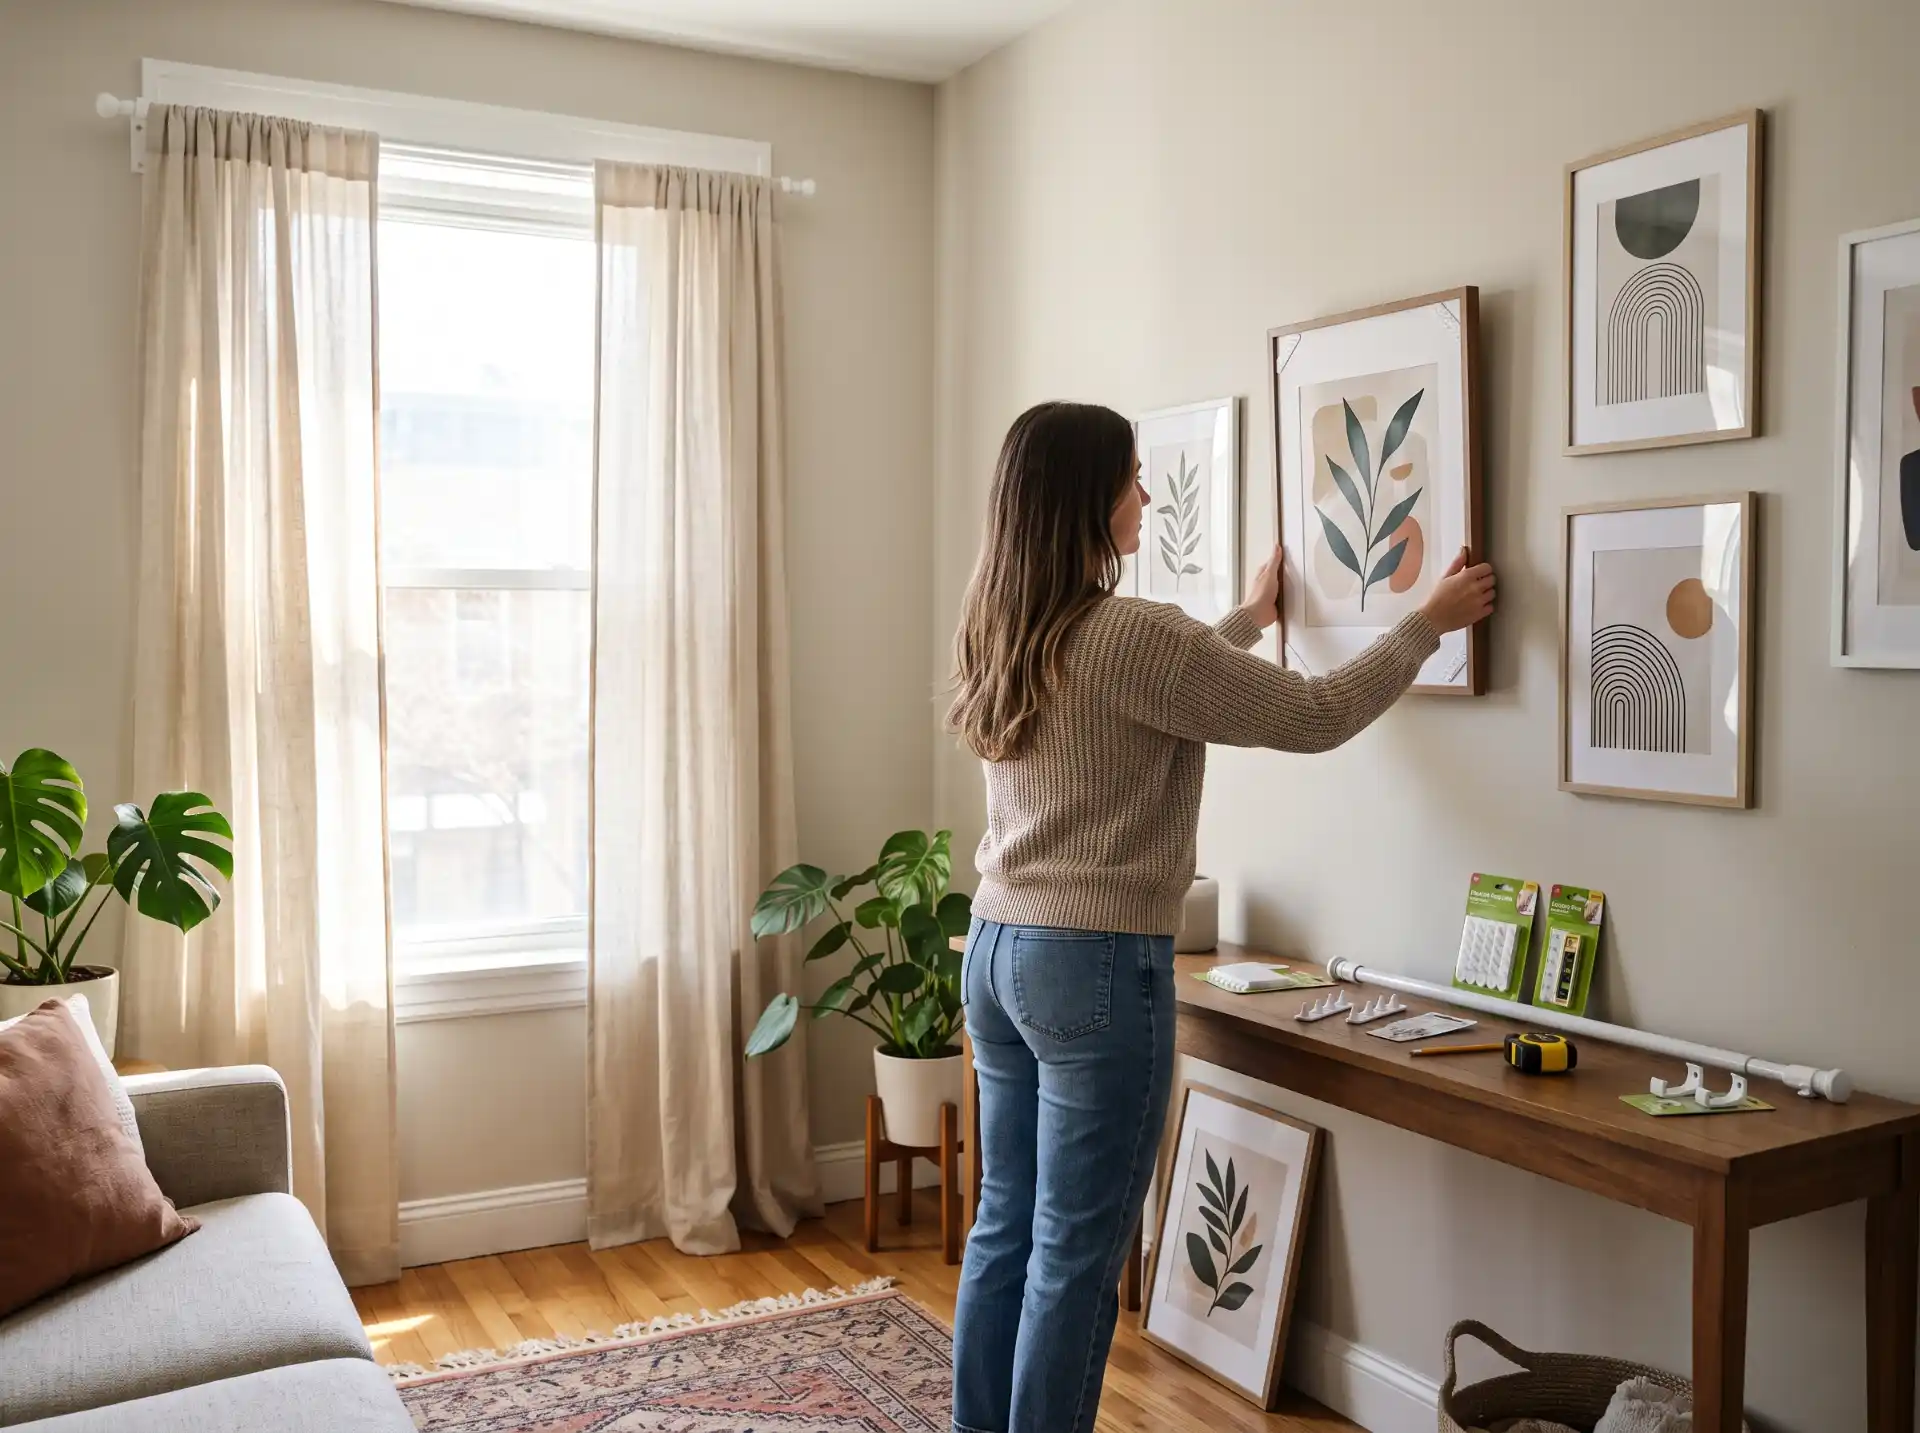
I lost a $350 security deposit deduction over one hole. One. It was a nail I’d put in to hang a mirror in my first apartment, and the property manager charged me “wall repair and repaint, full wall” for it.
That’s when I got serious about how to hang curtains and art in a rental without damaging walls, and I’ve been testing renter-friendly methods ever since.
Here’s the good news: you can have curtains that actually frame your windows and a gallery wall that doesn’t look like a dorm poster collection, and still get your whole deposit back.
You just need to match the right method to your wall type, your curtain weight, and how long you’re staying. Most posts skip that last part, and it’s the part that decides whether your stuff stays up.
I’ll cover curtains first (they’re heavier and harder than they look), then art, then repairs for when something goes wrong. I’ve put in a couple of comparison tables so you can pick without scrolling forever. And before you buy anything: read your lease.
Some leases explicitly allow small nail holes, and if yours does, that changes your options.
Before You Hang Anything: Check Your Lease and Your Walls
This takes five minutes and saves you from buying the wrong product.
Read the lease for the words “nails,” “alterations,” or “wall damage.” Many landlords treat a few small nail holes as normal wear and tear, especially if you’re renting in a state where that’s the legal standard.
Others charge per hole. If you’re unsure, send a short email: “Is it okay to use small nails for hanging art, or do you prefer no-damage methods?” Having the answer in writing is worth more than any product on this page.
Figure out what your walls are made of. Tap them. A hollow sound usually means drywall. A dull, solid thud means plaster, brick, or concrete, and that changes everything. Plaster in older buildings crumbles when you drive a nail into it, so adhesive options often work better there.
Textured walls (the orange-peel or knockdown kind most builders use) are the worst for adhesives, because the sticky strips can’t make full contact.
Check the paint. Flat or matte paint is porous and fragile, and it’s the most likely to peel off with the adhesive. Satin and semi-gloss are sturdier. Test any adhesive in a closet or behind a door before committing a whole wall to it.
Pro tip: Take dated photos of every wall before you move your stuff in. Do it again after you hang things and again at move-out. If a landlord claims damage, timestamped photos end the argument fast.
Part One: How to Hang Curtains in a Rental Without Drilling
Curtains are where most renters give up. A decent panel with a rod can weigh 5 to 10 pounds, and the rod needs real support at both ends. That’s why adhesive curtain rod brackets have a bad reputation. Some of it is deserved.
Here’s what your realistic options are:
| Method | Best for | Max weight | Wall damage risk | Typical cost |
|---|---|---|---|---|
| Tension rod (inside window frame) | Lightweight sheers, cafe curtains, small windows | 3–8 lbs depending on rod | None, if the rod is placed correctly | $10–$25 |
| Over-the-door/window-frame hooks | Windows with a visible trim or frame | 5–10 lbs | Low | $8–$20 |
| Adhesive curtain rod brackets | Light to medium curtains, smooth painted walls | Often 5–10 lbs, but real-world results vary | Medium (paint peeling on removal) | $15–$30 |
| Small nails or screws into existing holes | Heavy or lined curtains | 15+ lbs | Low if you reuse holes, otherwise small | $10–$30 |
| Ceiling-mounted track (tension or adhesive) | Floor-to-ceiling drapes, room dividers | Varies | Low to medium | $25–$60 |
| Magnetic curtain rods | Metal door frames only | Light | None | $12–$20 |
The Tension Rod: Your Best Starting Point (With One Big Caveat)
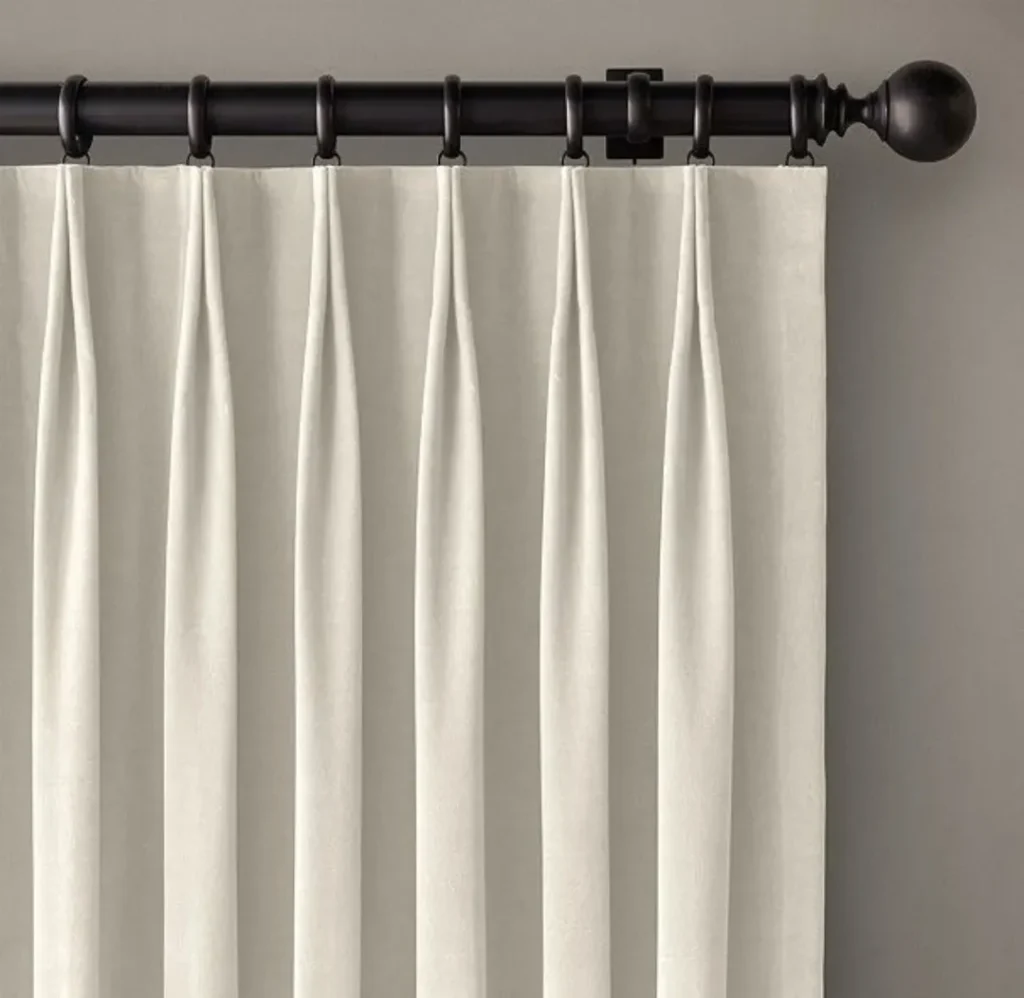
A tension rod is the simplest no-damage curtain rod for rental windows, and it’s what I’d start with if your window has a recessed frame. It holds itself in place with spring pressure, so nothing touches the wall’s face.
The caveat is that tension rods slip when they’re loaded with heavy fabric or when the surface they’re pressing against is slick. If your window frame is painted with a glossy finish, the rod will creep down over a few days.
Wrap a strip of non-slip shelf liner around each end to add friction. It costs about a dollar and it’s the single most useful trick I know for tension rods.
Pick a rod rated for at least double the weight of your curtains. A “40-pound” tension rod isn’t going to carry 40 pounds of drapery. Think of the rating as a ceiling you’ll never approach.
Where tension rods don’t work: wide windows. Past about 48 inches, they sag in the middle and the curtain pulls them out of alignment. For a wide window, you need support at the ends.
Adhesive Curtain Rod Brackets: Worth It, If You’re Careful
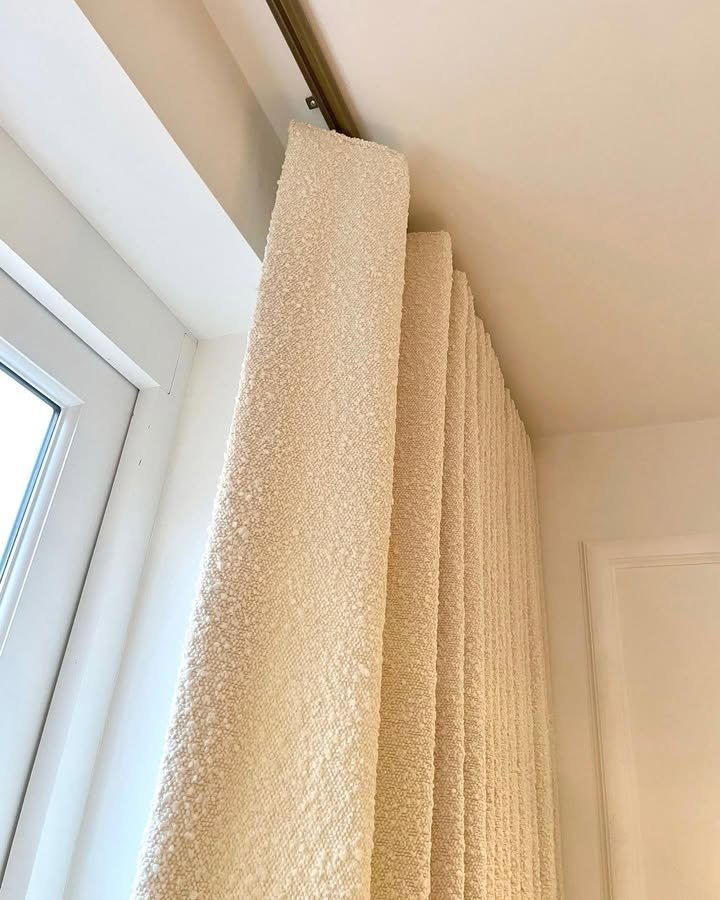
I tried the over-the-door version of hanging a curtain rod first, and honestly it looked terrible and the whole thing fell within a week. The adhesive brackets were better, but only after I changed how I used them.
What makes them work:
- Clean the wall with rubbing alcohol first. Not a damp cloth, not a kitchen spray. Alcohol evaporates without leaving a residue.
- Press and hold for the full time the instructions say, usually 30 seconds to a minute per strip.
- Wait at least an hour before hanging anything on them. Most people skip this, and it’s why most brackets fail.
- Use more brackets than the package suggests. If your rod comes with two, add a third in the middle for anything wider than 48 inches.
The trade-off is removal. Pull the strips straight out, following the stretch-release instructions, and slowly. Rip them off at an angle and you’ll take paint with them. A hair dryer on low heat for 30 seconds softens the adhesive and makes this much safer.
When It’s Worth Just Using a Nail
If you have heavy blackout curtains or lined drapes, the honest answer is that adhesive isn’t going to cut it long-term.
A small nail or a screw in a stud (or a wall anchor for drywall) is a much safer bet for the weight, and the hole it leaves is tiny and easy to patch. If your lease allows it, this is the move. The damage from a slow adhesive failure at 2 a.m., when the rod and your curtains hit the floor, is worse than any pinhole.
Cost Tiers: What to Spend
- Under $20: Tension rod plus shelf liner. Works for sheers and small windows.
- $20–$40: Adhesive-bracket rod set, or a tension rod with decorative finials for a more finished look.
- $40–$80: A solid curtain rod you’ll take with you to your next place, mounted with a method your lease allows.
- $80+: A ceiling-mounted track system. Worth it if you want floor-to-ceiling drapes, or if you’re dividing a studio into zones.
Pro tip: Hang curtains higher and wider than the window frame, as close to the ceiling as the method allows. It makes the window and the whole room look taller, and it’s the cheapest “designer” trick for a rental. A tension rod inside the frame can’t do this, so if height is your goal, that points you toward a ceiling-mount or adhesive method.
Part Two: How to Hang Art Without Nails
Art is the easier half, and you have a lot more options. The question is how heavy the piece is and how long you want it up.
| Method | Best for | Typical weight limit | Damage risk | Notes |
|---|---|---|---|---|
| Adhesive hanging strips (picture-hanging strips) | Frames, canvases | Usually up to 16 lbs per set, check packaging | Low on smooth paint | Use the right size for the weight |
| Removable adhesive hooks | Light frames, wreaths, small mirrors | 1–5 lbs | Low | Not for textured walls |
| Washi tape or removable mounting putty | Posters, unframed prints | Very light | Very low | Can leave a tacky mark on porous paint |
| Picture rail and hanging hooks | Rentals with a picture rail | 10–30+ lbs | None | Rare but ideal |
| Leaning art on a ledge, shelf, or floor | Large pieces, mirrors | Any | None | Look: casual, styled |
| Small nail hole (patchable) | Heavy frames and mirrors | 20+ lbs | Low | Check your lease first |
| Gallery ledges / picture ledges | Rotating art | Depends on mount | Needs a mounting method | Use a stud finder |
Adhesive Strips: Use Them Right
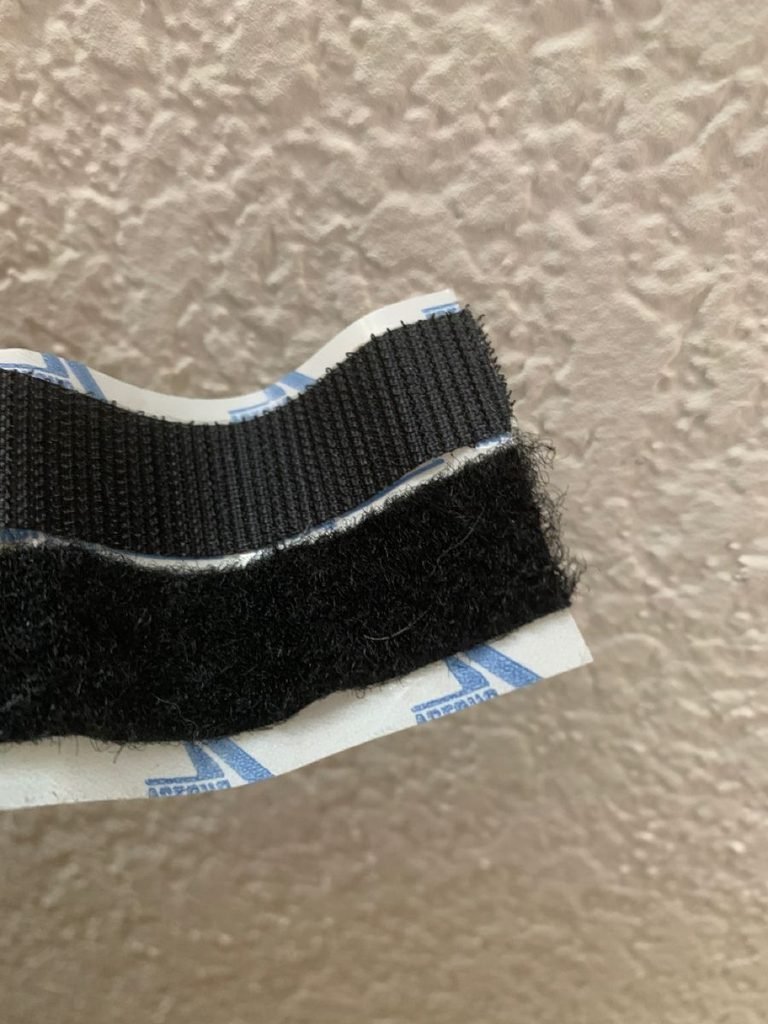
The strips from the major brands are the standard answer for renters, and they work well, but only if you use them correctly.
The weight rating applies to a flat, clean, smooth surface and a perfectly vertical load. Anything else cuts that number down.
My rules:
- Always use more strips than you think you need. For a frame in the 3–5 lb range, I use four strips even when two would technically be rated for it.
- Clean the wall and let it dry completely. Same alcohol trick as the curtain brackets.
- Press hard for 30 seconds and wait an hour before hanging the frame.
- Don’t use them in a bathroom or any steamy room. Humidity weakens the bond over time.
- Don’t use them on textured walls. The strips need full contact to hold.
Removal matters even more here, because most paint damage happens at the end. Pull the tab straight down along the wall, parallel to the surface, and keep stretching it slowly until it releases. Pulling it out toward you is how you rip the paint.
Leaning: The Renter’s Cheat Code
Some of the best-looking rentals I’ve seen barely hang anything. They lean large mirrors and framed prints on a dresser, a console table, a mantel, or the floor, and layer smaller pieces in front. It reads as an intentional, designer look, and it can’t hurt the wall at all.
If you’re leaning a heavy mirror, anchor the back of it so it can’t tip. A small piece of museum putty on the bottom edge where it touches the floor does it. If you have kids, pets, or a lot of foot traffic, skip leaning and go with a hanging method.
Building a Gallery Wall in a Rental

A gallery wall is the thing people most want and most assume they can’t do. You can. The trick is to mix methods:
- Lay it out on the floor first. Arrange everything on the floor in the shape you want, then take a photo.
- Make paper templates. Trace each frame on kraft or newspaper, cut it out, and tape the templates to the wall with painter’s tape. This lets you adjust the layout without making a single mark.
- Use strips for the lighter pieces and a picture ledge or a couple of small nails (if your lease allows) for the heavy ones.
- Keep the spacing consistent. About 2 to 3 inches between frames reads as cohesive. More than that and it starts to look scattered.
Pro tip: Mix in a couple of non-frame items to make a wall feel collected rather than staged: a woven basket, a small mirror, a hanging plant on a hook. These are lighter than they look and break up the grid.
What Works on Different Wall Types
This is the section most posts skip, and it’s the one that explains why your friend’s adhesive hooks stayed up for a year while yours fell in a week.
Smooth painted drywall (satin or semi-gloss): The easiest. Almost every adhesive method works.
Flat or matte paint: Adhesives bond to it, but when you pull them, the paint can come with them. Use less aggressive options like washi tape or putty, and be extra slow on removal.
Textured walls (orange peel or knockdown): Adhesive strips and hooks often fail. Use a tension rod, a ledge, leaning, or small nails.
Plaster: Fragile. Nails can crack it. Adhesive often works fine, but test first. If you do need to hang something heavy, use a picture rail hook if you have one, or ask your landlord.
Brick or concrete: Can’t be drilled without special tools, and you shouldn’t do it in a rental. Brick clips that grip the edge of the brick (instead of drilling) are a real solution here, and they leave no holes.
Wallpaper (including peel-and-stick that was already installed): Don’t use adhesive of any kind on it unless you want to tear it off. Lean, or use a ledge.
What to Do If You’ve Already Made a Mess
It happens. A strip pulled a patch of paint. A nail hole turned into a crater. Here’s what to do before the landlord sees it.
For small nail holes: Fill them with lightweight spackle, let it dry, sand it flat with a fine-grit sanding sponge, and dab on a touch-up of the wall paint. Match is the hard part. If you don’t have the paint, bring a chip to a hardware store to match it, or ask your landlord for the color name. Some will just give it to you.
For peeled paint: Gently sand the edges, apply a thin coat of spackle to level it, prime the spot, and touch up. It’s a 20-minute job that costs under $15 and it’s far cheaper than a landlord’s repaint charge.
For sticky residue: Warm it with a hair dryer, rub with a bit of rubbing alcohol or a drop of dish soap on a cloth, and wipe clean.
For a bigger hole: A self-adhesive wall patch kit (the mesh kind) is rental-friendly and cheap. Smooth joint compound over it in thin layers, sand, and paint.
Pro tip: Keep a small “move-out repair kit” in one place: spackle, a putty knife, a sanding sponge, a small can of the wall color if you have it, and alcohol wipes. Having it ready makes the end-of-lease clean-up a 30-minute job rather than a weekend scramble.
What to Buy: A Rental Hanging Starter Kit
If you’re setting up a new place, here’s what I’d get, roughly in order of priority:
- A stud finder ($10–$25). Even if you’re not drilling, it tells you where the strongest spots are if you do end up needing a nail.
- Adhesive picture strips in two sizes ($8–$15 each). Small for light pieces, large for heavy frames.
- A tension rod or two ($10–$25 each). Useful for curtains, shower curtains, and even closet organization.
- Non-slip shelf liner ($5–$8). For tension rods and for leaning art.
- Rubbing alcohol and a microfiber cloth (under $5). For prepping every surface.
- A small level ($5–$10). Or just use your phone’s level app. Crooked art in a rental looks sloppy, no matter how nice the frame is.
- A move-out repair kit (spackle, putty knife, sanding sponge, about $15 total).
You can get all of this for under $100, which is a lot less than a single deposit deduction.
Common Questions
How long do adhesive strips actually last? In a typical room with smooth paint and normal conditions, a year or more. In a humid bathroom or on textured walls, much less. I check mine every few months and press them again if the corners lift.
Can I hang heavy curtains without drilling? For blackout or lined drapes over about 8–10 pounds, a ceiling-mounted tension track or a small screw into a stud is much more reliable than adhesive. If you absolutely can’t make any holes, consider lighter curtain fabric layered with a sheer.
Will adhesive strips damage my walls? They can, especially on flat paint, cheap paint, or if they’re removed incorrectly. Stretch-release them slowly and parallel to the wall, and use a hair dryer to soften the adhesive first.
What if my landlord says no to everything? Lean art, use tension rods, use freestanding shelves and floor mirrors, and put a curtain on a tension rod or a ceiling track. A rental with strict rules is still a place you can make look like yours.
If I Were Starting Over
I’d do the lease read and a quick email to the landlord first, then buy a tension rod, a pack of adhesive strips, and a stud finder, and nothing else until I’d lived there a month.
A lot of the stuff I bought in my first rental (the adhesive hooks I never used, the extra rods) went straight into a drawer because I’d bought before I knew the space. Hang a few things, see what holds, and fix what doesn’t.
And take the photos. Seriously, take the photos.
A few notes on using this draft. The anecdotes (the $350 deduction, the over-the-door rod that fell, the “I check mine every few months” line) are placeholders written in your voice, so swap in your own real experiences or ones from people you know before publishing, especially for product claims like “fell within a week.” Adhesive strip weight limits vary by brand, so check the packaging of whatever you link to, and add your affiliate disclosure near the top if you link products.
I can also turn this into a file, split it into a shorter version, or draft the Pinterest pin copy for it if you want.


Leave a Reply