
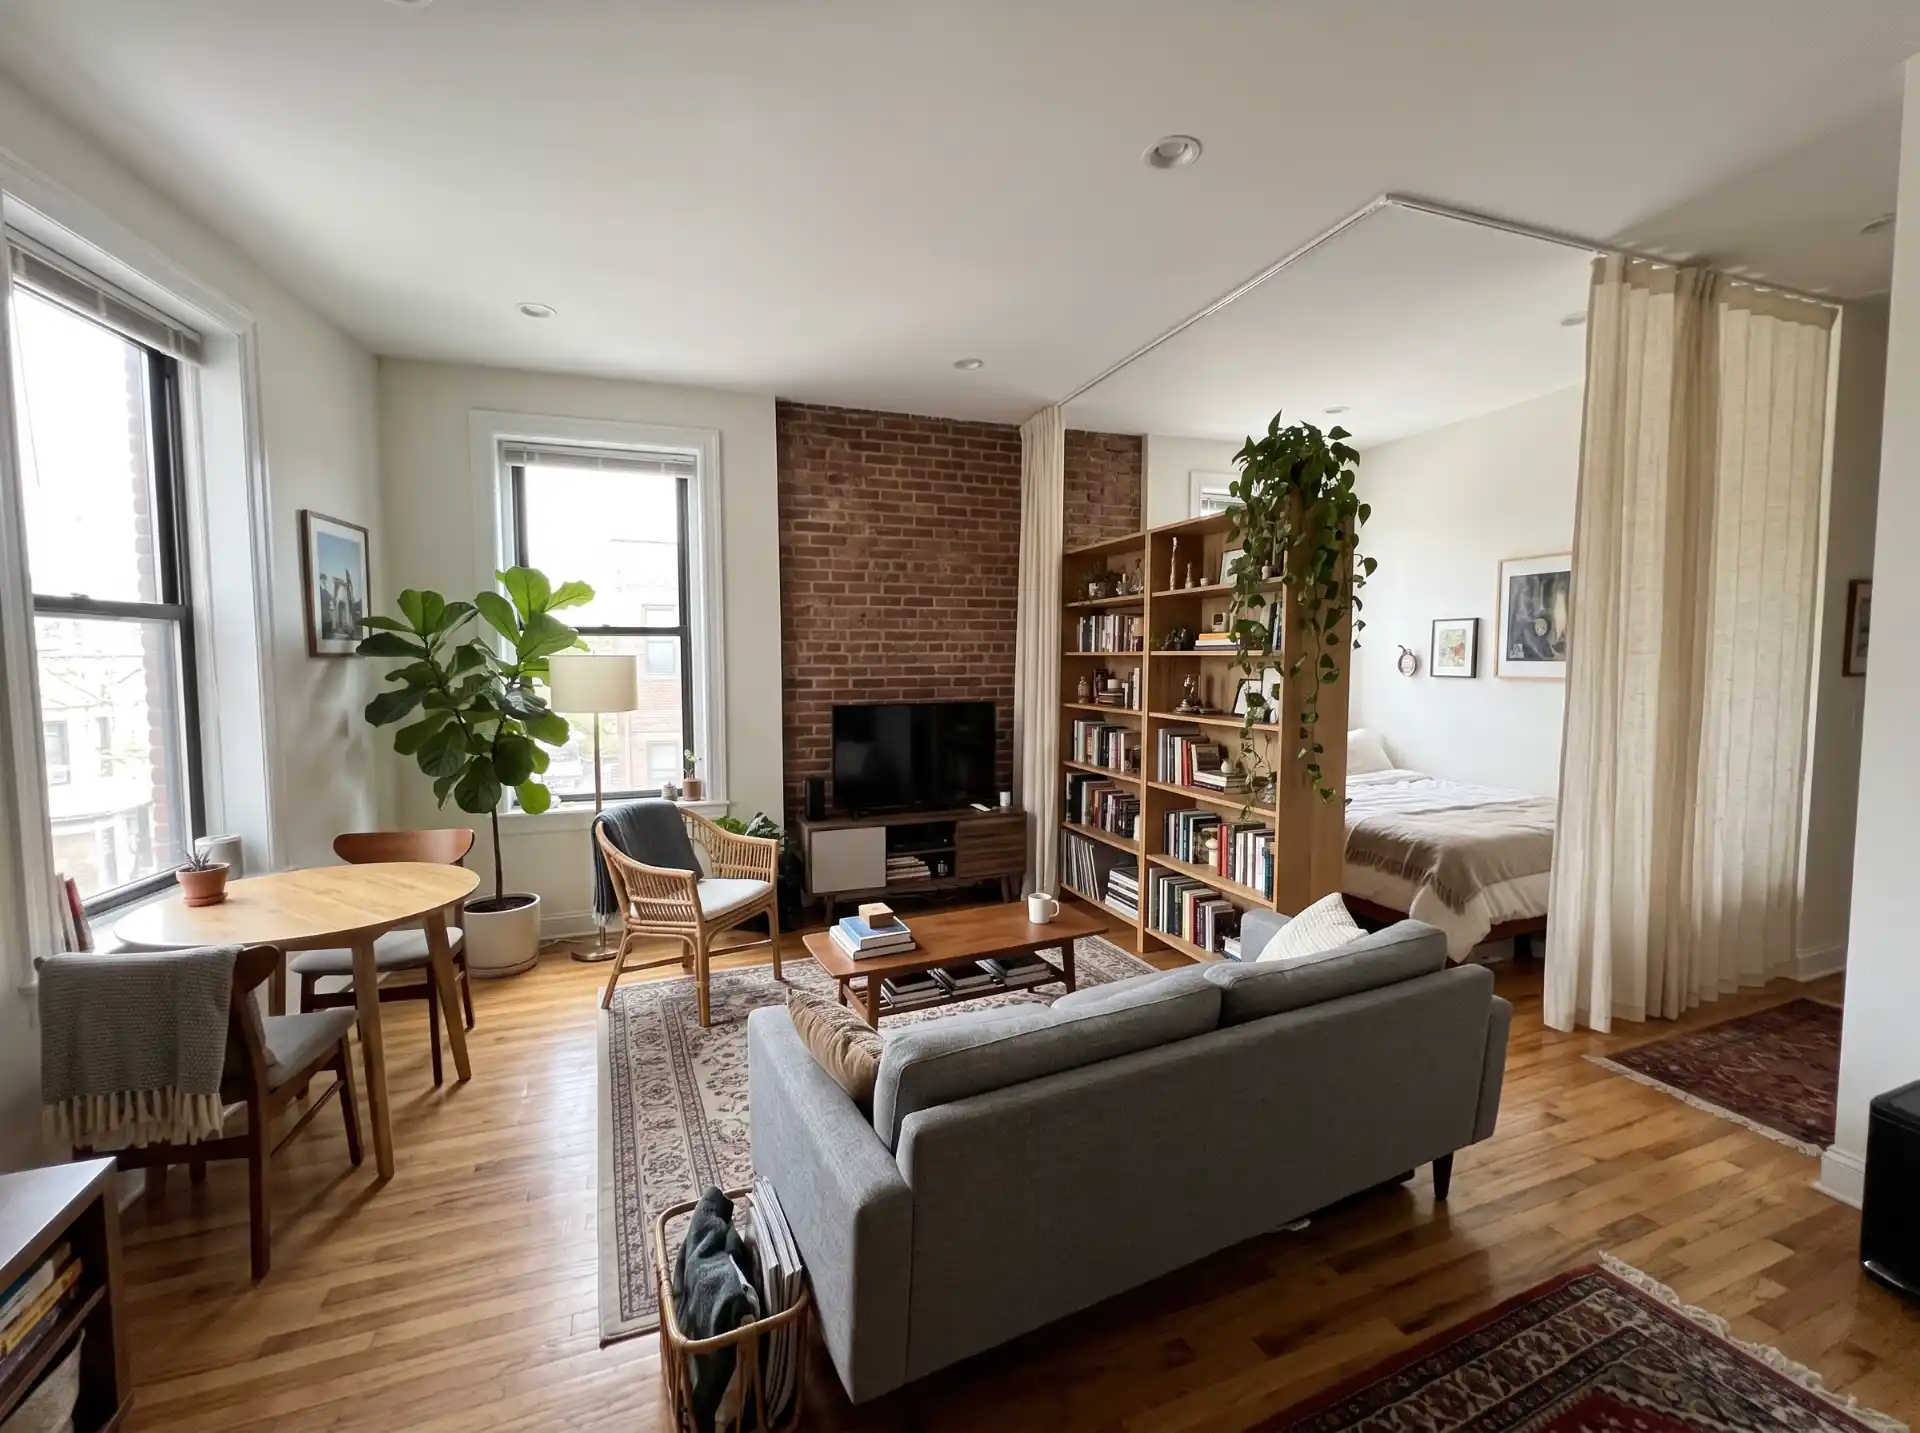
For my first eight months in a 410-square-foot studio, my bed was visible from the front door, the stove, and the toilet-adjacent hallway. A delivery guy once said “nice place” while looking directly at my unmade sheets.
That was the day I decided to figure out how to divide a studio apartment without walls, and I’ve been tweaking the answer ever since.
Here’s the thing nobody tells you before you sign a studio lease: the problem isn’t the lack of space, it’s the lack of separation.
When your bed, desk, couch, and dinner table all live in one rectangle, your brain never gets a signal that the workday ended or that it’s okay to sleep. Dividing the room, even imperfectly, fixes that more than any amount of decluttering will.
Below is everything I’ve tried, borrowed from friends, or watched fail spectacularly. Some of it is renter-friendly and costs under $30. Some of it is a real investment.
I’ll tell you which is which, and which ones I’d skip. If you only have a weekend and a small budget, jump to the cost table in the middle and work backward.

First, Figure Out What You’re Actually Dividing
Before you buy a single room divider for your studio apartment, spend ten minutes with a roll of painter’s tape. Tape out where you’d like each zone to be: sleeping, living, working, eating, and the entry if you have one.
Most studios only need two or three real zones, and trying to carve out five is how you end up with a room that feels like a furniture showroom.
My rule is to pick your two non-negotiables first. For me it was “bed that I can’t see from the couch” and “desk that isn’t also my dinner table.” Everything else could blend. Once you know your priorities, the rest of the choices get easier.
Pro tip: Stand in the doorway and take a photo of the room, then another from where your bed will be. Dividers solve sightlines, not square footage. The photo shows you exactly what you’re trying to hide.
1. Use an Open Bookshelf as a Room Divider
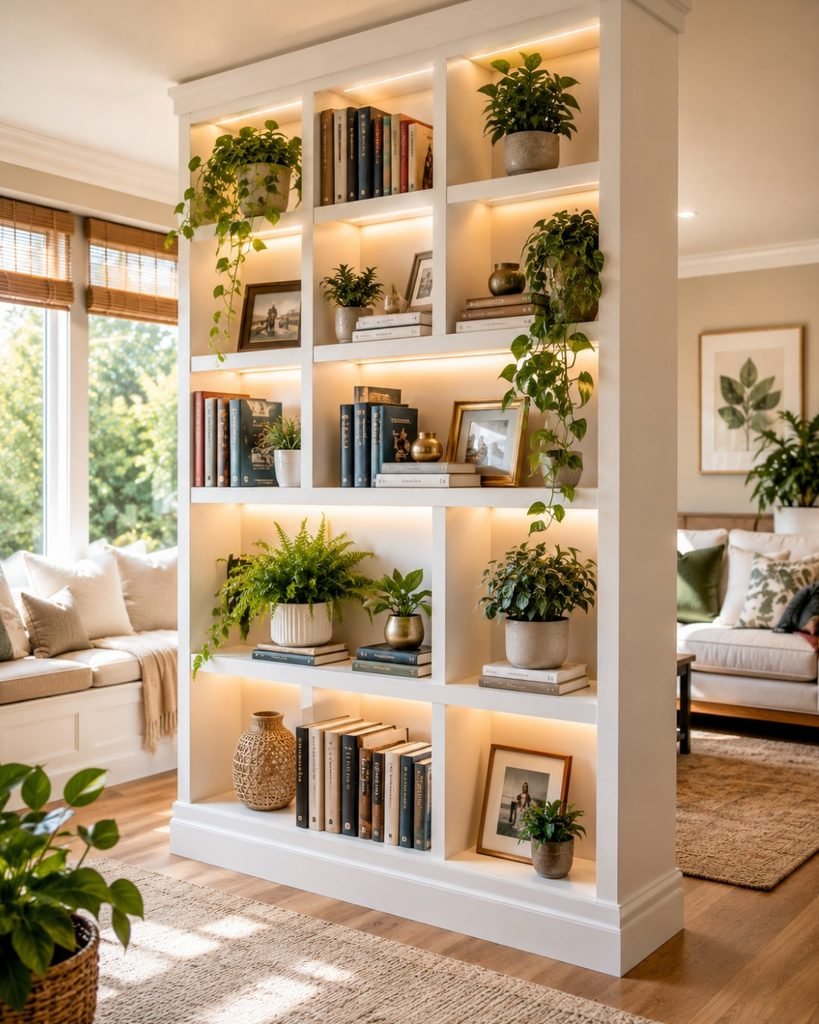
The bookshelf is the classic studio apartment divider for a reason: it adds storage while it separates. You’re not losing space to a divider, you’re making the divider earn its footprint.
The key is choosing the right kind. An open-back cube shelf (the 4×2 or 5×2 kind) lets light through and keeps the room from feeling chopped in half. A closed-back bookcase blocks more, but it also makes the bed side feel like a cave.
I went with an open-back shelf at about 60 inches tall, which is high enough to block the view from the couch to the bed when you’re sitting down, but low enough that I can still see the window from the kitchen.
The trade-off nobody mentions: tall shelves must be anchored to the wall or the floor, and if you rent, that can be a deposit conversation.
If you’re not allowed to drill, look for a shelf at or under 48 inches, which is much less of a tipping risk, or use a freestanding unit with a wide base and keep heavy items on the bottom row.
Pro tip: Back the shelf with a few baskets or fabric bins on the sleeping side. It hides the “stuff” and makes the divider feel intentional rather than like a bookcase you pushed into the middle of the room.
2. Hang Ceiling-Track Curtains for the Sleeping Area
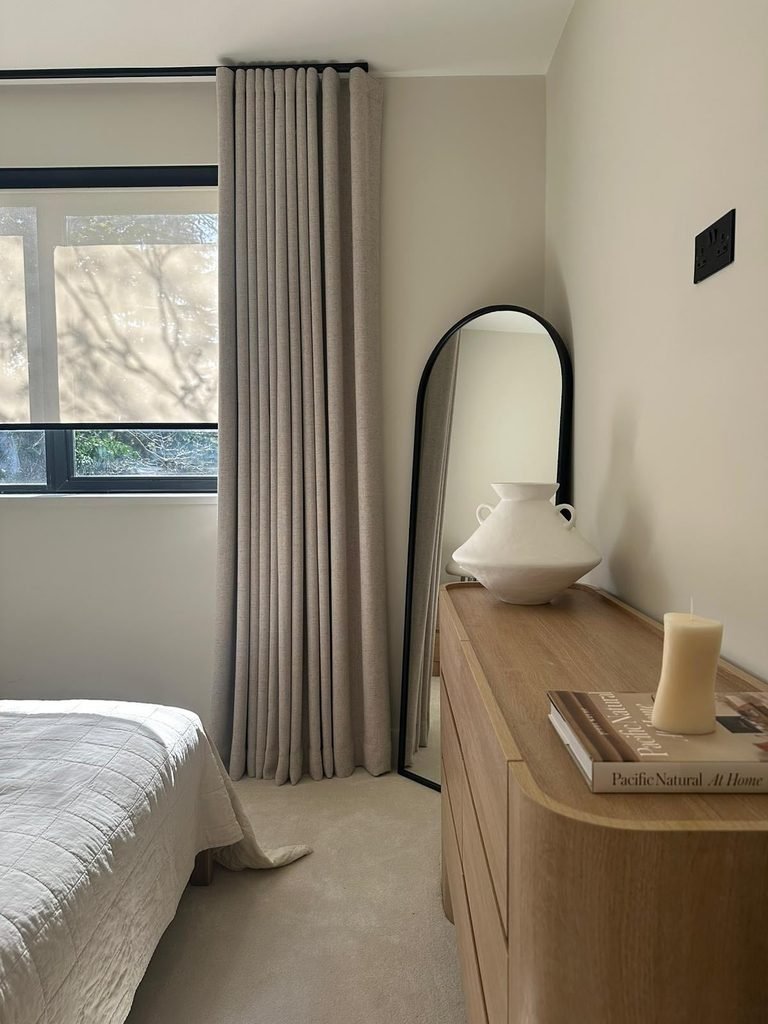
If I could only pick one answer to how to divide a studio apartment without walls, this would be it. A ceiling-mounted curtain track plus a floor-length curtain is the closest thing to a real wall you can get without construction, and you can pull it open in two seconds when you have people over.
My friend Dani did hers in a 12-by-14 studio using a tension-free ceiling track she installed with just a drill and a stud finder, and she spent about $85 total on the track and two panels. The curtains ended up being the best money she spent, mostly because they absorb sound.
Studios echo like gymnasiums, and fabric softens that immediately.
If you can’t drill into the ceiling, a tension rod only works for lightweight panels and short spans. I tried one across an alcove and it came down at 3 a.m. with the whole curtain on top of me.
Don’t repeat my mistake: for anything heavier than sheer fabric, you want an actual track or a ceiling hook rated for the weight.
Pro tip: Go with a thicker, lined curtain on the sleeping side, even if it’s pricey. Sheer curtains look pretty but do almost nothing for privacy once you turn on a lamp behind them.
3. Try a Folding Screen for Renter-Friendly Separation
A folding screen is the lowest-commitment option and, honestly, the one I’d recommend to anyone who isn’t sure they’ll stay in the apartment long. It needs no installation, it moves when you move, and it folds flat in a closet.
Look for a screen that’s at least 5.5 to 6 feet tall, or it’ll look like a prop in a school play. Three panels is plenty for most studios, and four if you want to wrap around a bed.
Wood and rattan versions tend to hold up better than the cheap fabric ones, which sag at the hinges within a year.
One limitation: a screen doesn’t block sound or light, and it won’t make the space feel truly private. It’s best for cutting off the view of a bed from the entry, not for creating a bedroom feel. I use one to hide my washer and a drying rack, and it does that job beautifully.
4. Float Your Sofa to Create a “Wall” Behind It
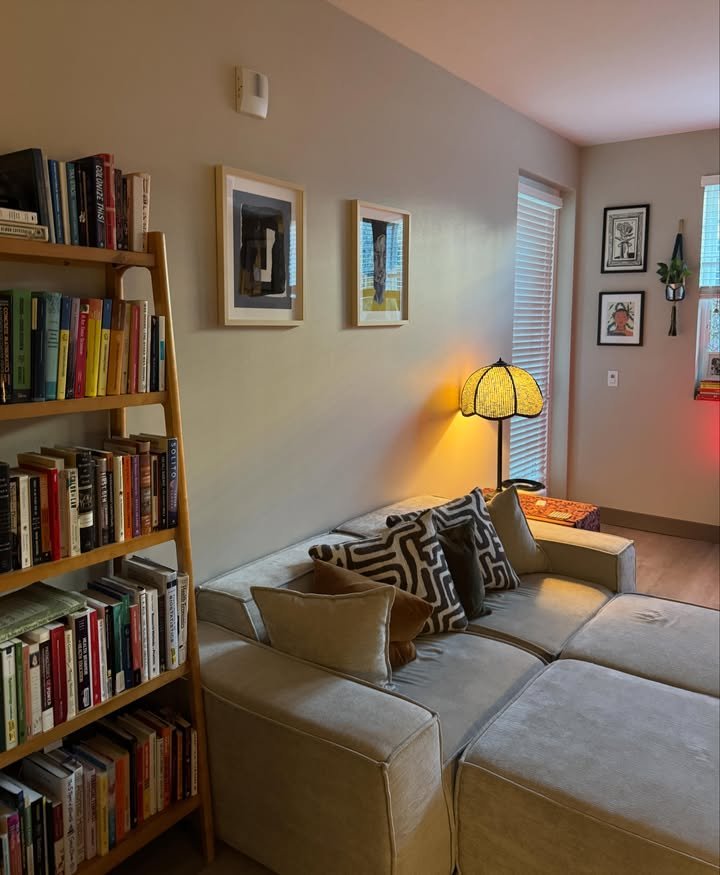
This is the free one. Turn your sofa so its back faces the bed or desk area, and suddenly you have a living room zone and a boundary without buying anything.
The trick is to anchor the sofa with a rug so it reads as its own room. A 5×8 or 6×9 rug under the front legs of the sofa and coffee table defines the space visually. Then add a narrow console table behind the sofa.
It becomes a drop zone for keys, a spot for a lamp, and a finished-looking back for a piece of furniture that otherwise looks awkward from behind.
A small warning: this works best when the sofa is shallower than about 36 inches deep. A deep sectional will eat the whole floor. If you have a deep couch, the bookshelf method above will probably serve you better.
Pro tip: Leave at least 30 inches between the back of the sofa and whatever’s behind it. Less than that and you can’t walk through, which turns the “divider” into a hallway you avoid.
5. Use Rugs to Define Zones (Seriously)
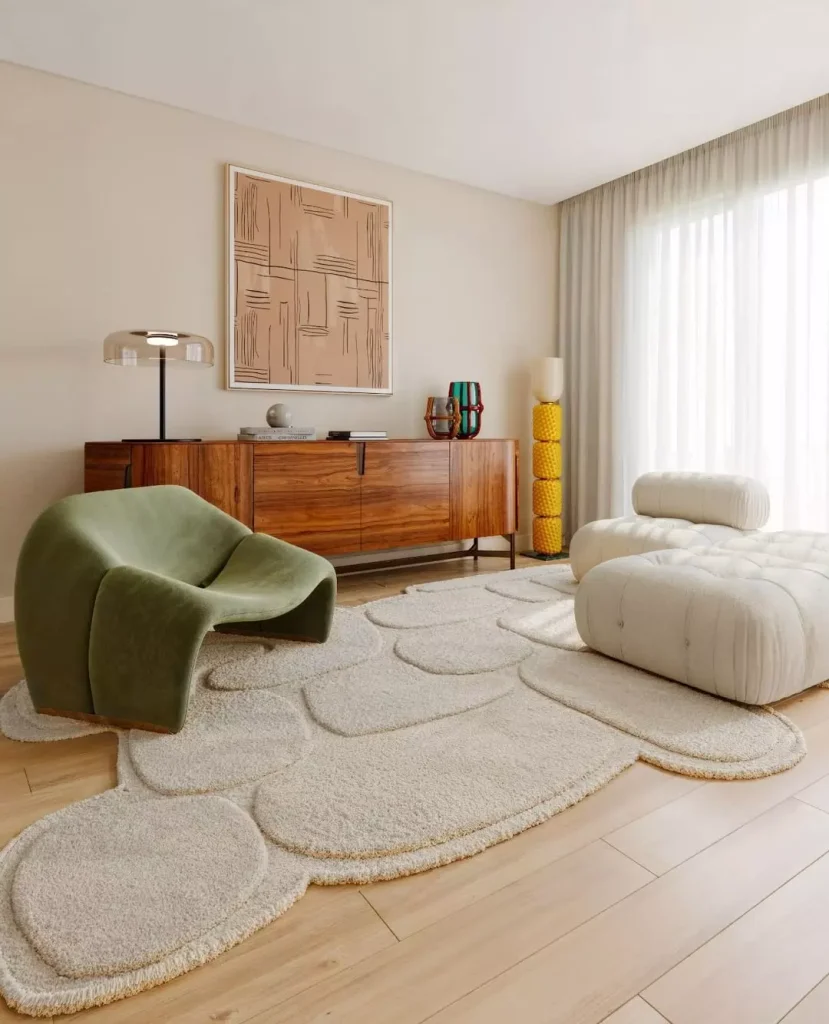
Rugs are underrated as studio apartment room dividers because they don’t block anything physically, but your eye reads them as separate rooms. A different rug under the bed than under the couch tells your brain that these are two different spaces.
The common mistake is buying rugs that are too small. A rug that only sits under the coffee table looks like a doormat.
You want the front legs of the furniture on it. If your studio has hard floors and you rent, a thin rug pad will keep everything from sliding without damaging the finish.
Keep the colors in the same family, but vary the texture or pattern. A flat-weave rug in the living area and a plush one by the bed works better than two bold patterns fighting each other.
6. Place a Wardrobe or Dresser Where a Wall Would Go
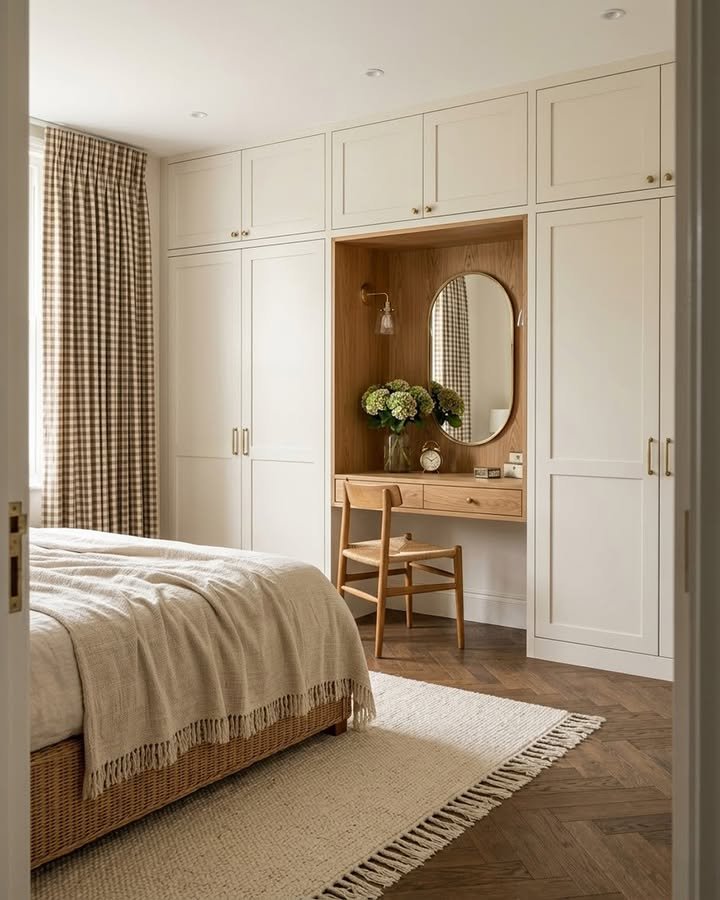
If you have a lot of clothes and no closet, this one solves two problems at once. A tall wardrobe or a wide dresser turned perpendicular to the wall can create a nook for the bed while giving you somewhere to put your actual clothing.
I had a friend, Marcus, who did this with two IKEA PAX frames placed back to back, with the doors facing opposite directions.
One side is his closet, the other side is a built-in-looking headboard wall for the bed. He spent around $400, assembled it over a Saturday with a six-pack as a bribe for his roommate, and said it was the best money he spent on the apartment.
The catch is weight and tip-over risk. Anything over about four feet tall should be anchored to the wall or to a second unit. If that’s not possible, a low dresser (around 30 to 36 inches) is a safer bet and still works as a partial divider.
7. Build a Plant Wall With Shelves
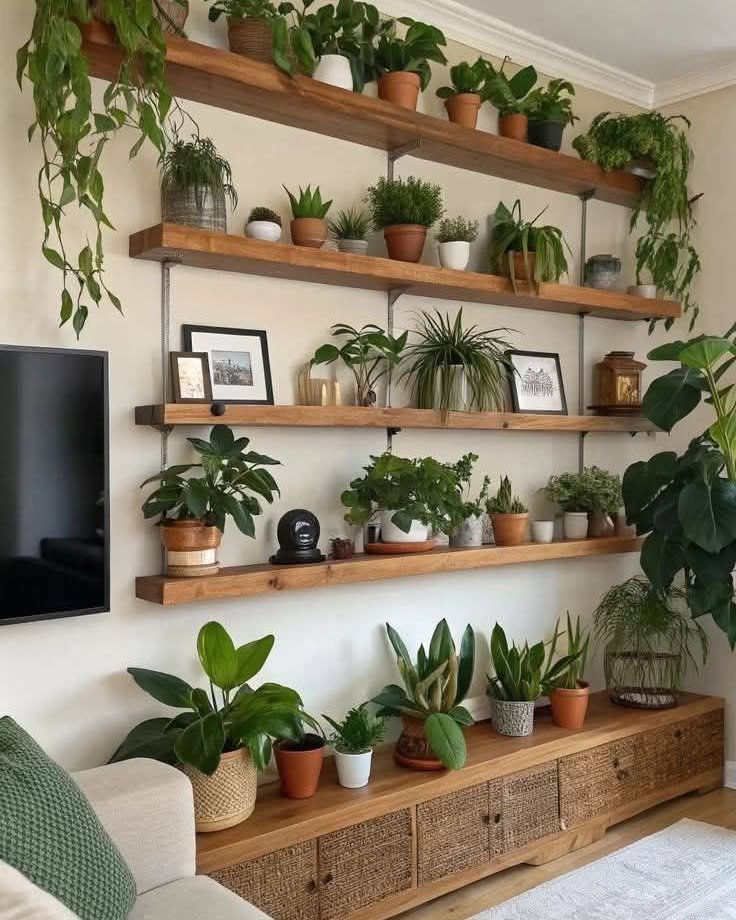
A row of plants on a ladder shelf or a tiered plant stand is a soft divider that adds life to a boxy space. It won’t block a view completely, which is actually the point, since you get separation without the heaviness.
Choose plants that tolerate your light. In a north-facing studio, snake plants and pothos are almost impossible to kill.
In a bright window zone, a fiddle leaf fig or a rubber plant will fill out a divider quickly. I’ll be honest, I killed two fiddle leaf figs before I switched to a ZZ plant, and I haven’t looked back.
If you don’t want to fuss with watering, a mix of high-quality faux plants works too. Just skip the very shiny ones, which read as plastic from across the room.
8. Hang Sheer Panels or a Macramé Hanging for Light Separation

If a full curtain feels like too much, a sheer panel or a woven wall hanging can mark a boundary while letting light flow through. This is a good fit for studios with one window, where blocking the light entirely would make half the room feel dark.
For renters, ceiling hooks with adhesive mounts (rated for the right weight) are surprisingly reliable.
Test first with something light before committing to a heavier piece, because a falling macramé hanger is both annoying and slightly embarrassing.
9. Use Open Shelving Units Hung From the Ceiling
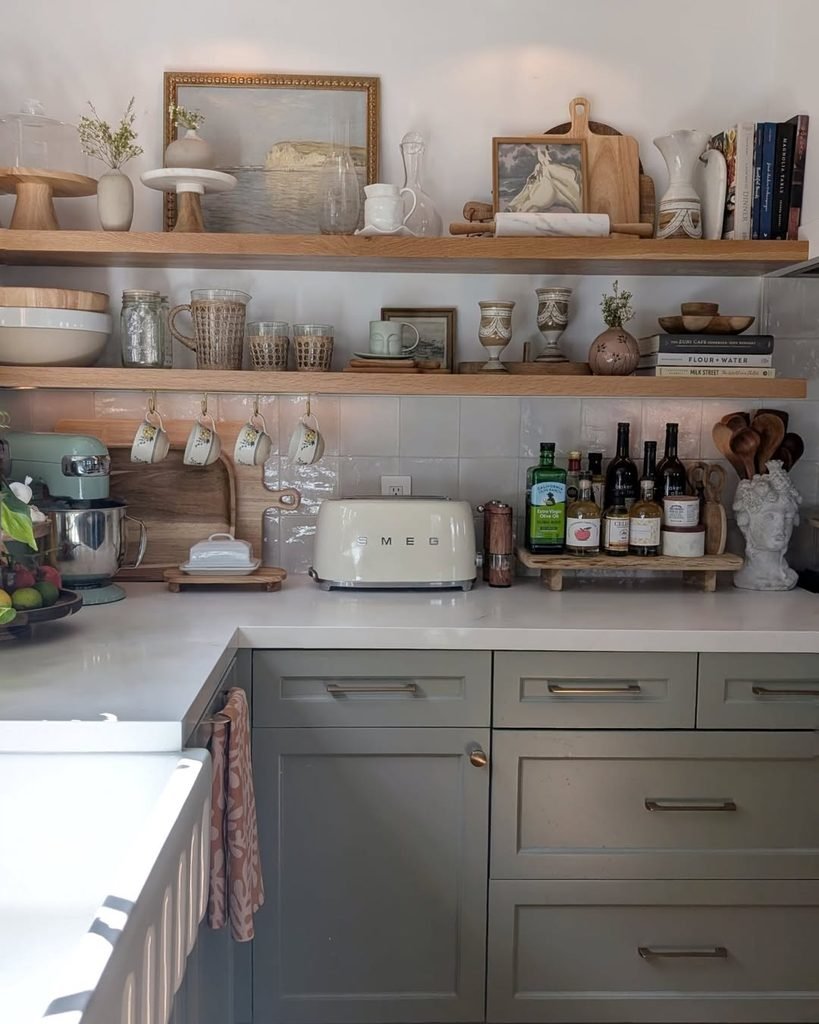
This is the high-effort option, but it’s stunning. Ceiling-hung shelves or a shelf-style pergola frame create an airy divider without taking up floor space. They work best in studios with higher ceilings, ideally 9 feet or more.
It does require drilling into ceiling joists, so it isn’t for most renters. If you own, or have a very flexible landlord, it’s worth a look. Otherwise, a freestanding open shelf gets you about 80 percent of the way there.
10. Put Your Bed in an Alcove or Corner and Frame It
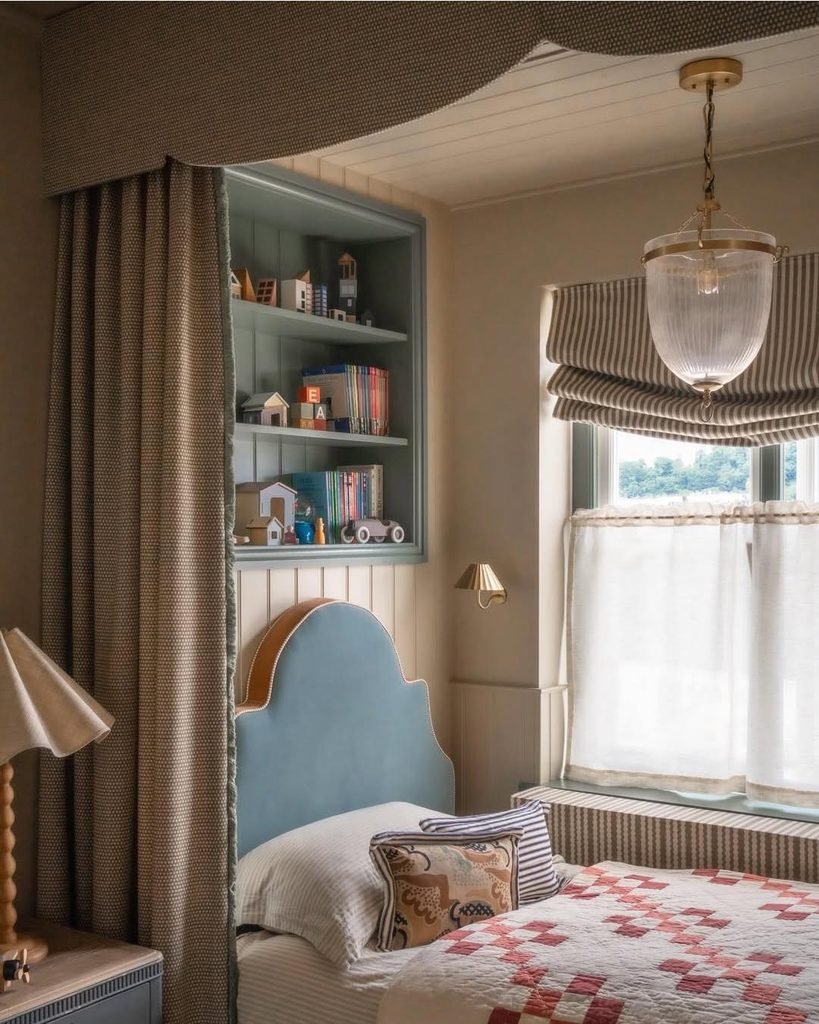
If your studio has any kind of nook, use it. Even a shallow alcove can be turned into a sleeping area by adding curtains on a rod, a canopy frame, or just a headboard and a couple of side tables.
No alcove? You can create one by placing the bed against the longest wall and building a “frame” around it with a bookshelf at the foot and a wardrobe or tall plant at the head. It sounds fussy, but it makes the bed feel tucked away.
Pro tip: Put your lamp on the nightstand side, not overhead. A warm, low light in the sleeping zone does a lot of the separation work, even before you pull a single curtain.
11. Separate Your Workspace With a Desk and a Rolling Screen
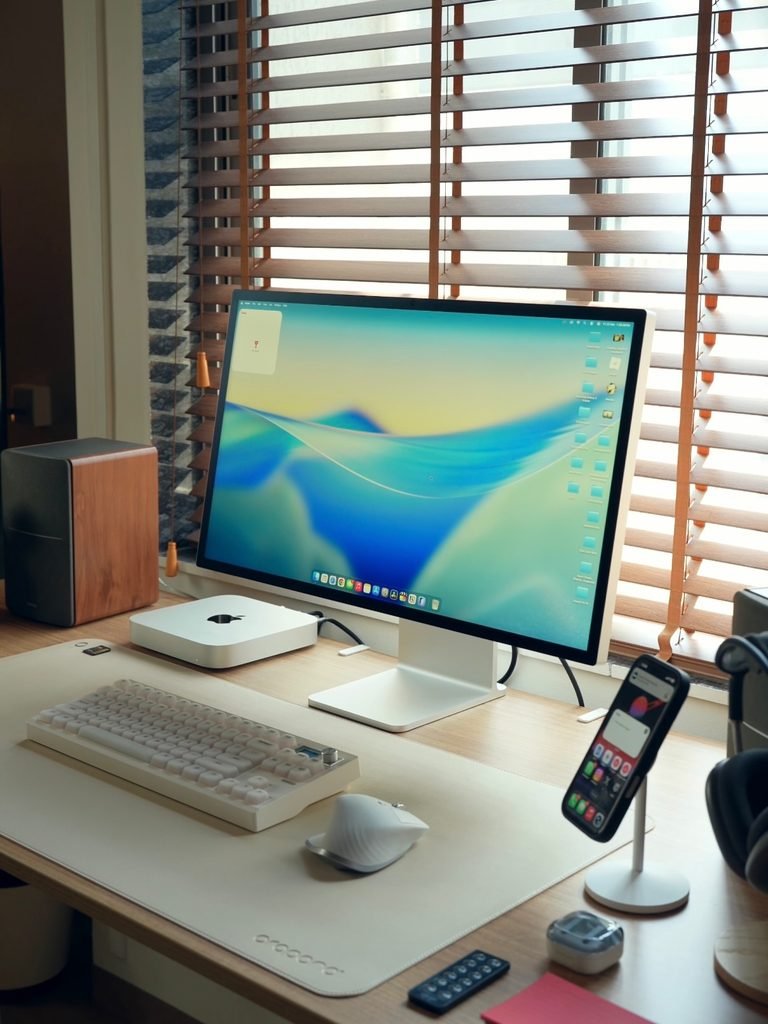
Working from home in a studio is the hardest zone to protect. If your desk is the same surface as your dining table, your brain never clocks out. Even a small foldable desk placed in a corner, with a rolling screen or a short shelf beside it, creates a boundary that makes shutting the laptop feel real.
I’ve been using a narrow desk, about 40 inches wide, tucked behind my floating sofa. When I’m done for the day, I fold the laptop, drape a throw over the chair, and the work zone basically vanishes. It’s a small ritual, but it works.
12. Use Paint or Wallpaper to Mark a Zone
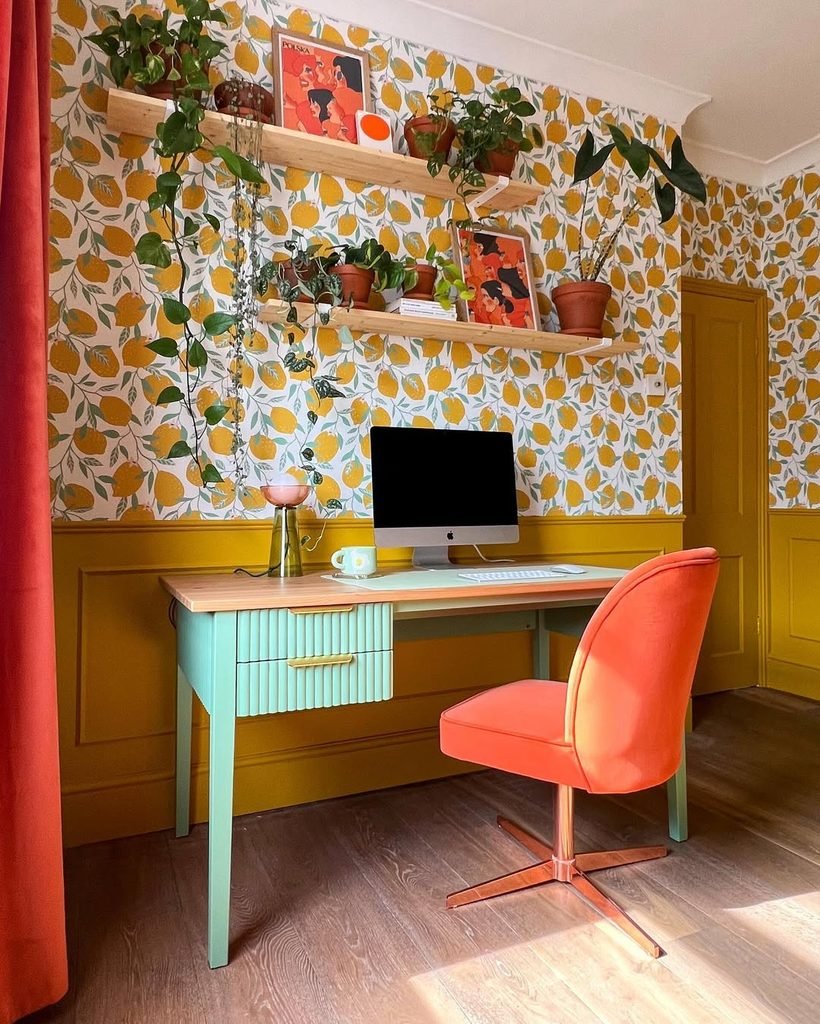
Color can be a divider too. Painting a section of wall behind the bed in a deeper tone, or adding a peel-and-stick wallpaper accent, tells your eye where one zone ends and another begins.
For renters, peel-and-stick wallpaper has gotten genuinely good, but test a small patch first and check your lease. I did a dark green behind my bed using removable wallpaper at about $60 for a single accent wall, and it made the sleeping area feel like a different room.
13. Layer Your Lighting by Zone
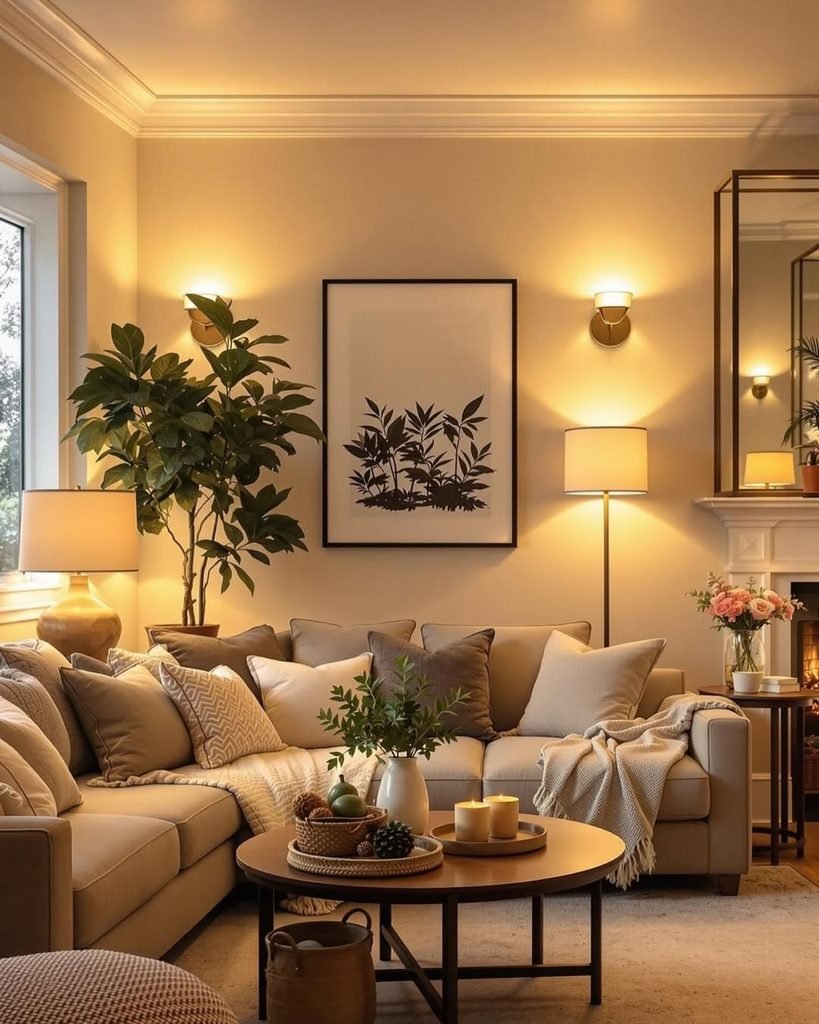
This is the detail most posts skip, and it makes a huge difference. Give each zone its own light source, such as a floor lamp by the sofa, a warm bedside lamp, and a clip-on task lamp at the desk.
When you turn off the living area light and leave only the bedside lamp on, the room shifts into “bedroom mode” without a physical divider.
Use warm bulbs (2700K) in the sleeping and living zones, and a cooler one (around 4000K) for the work area. It’s a cheap upgrade that makes the zones feel distinct.
14. Try a Low Console or Bench at the Foot of the Bed
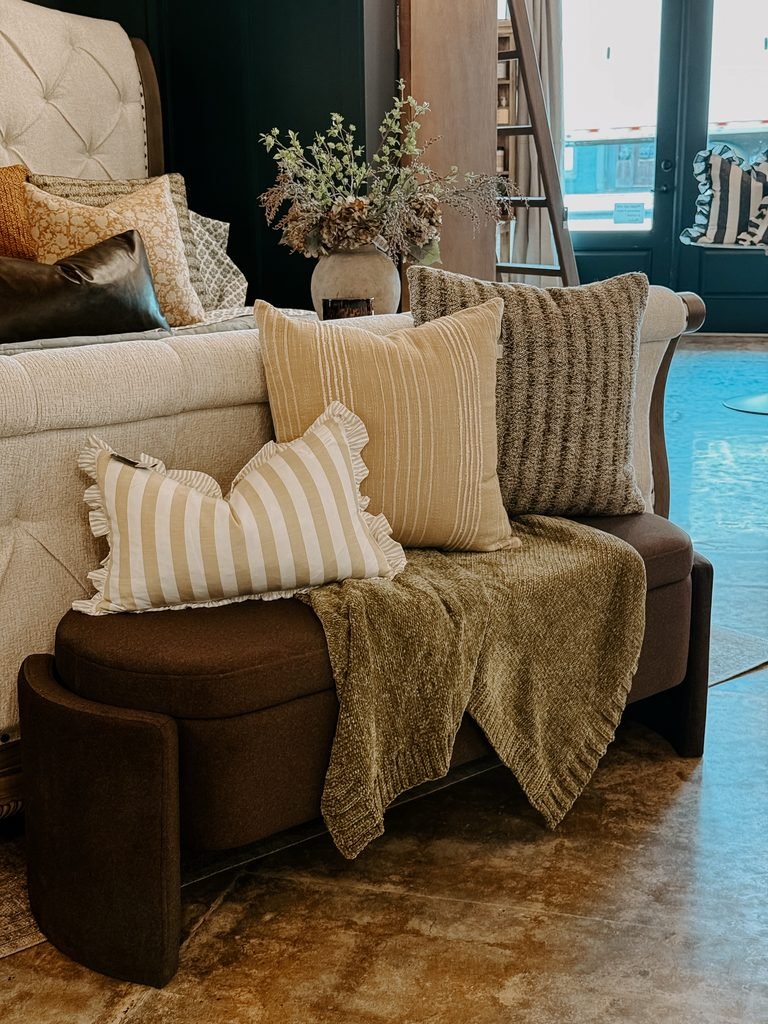
A bench or low console at the foot of the bed creates a soft edge to the sleeping zone and gives you somewhere to sit and put on shoes. It’s not a wall, but it signals “this is the bed area.”
This is my pick for the one thing I’d go big on. Honestly, a storage bench with a lid changed my whole layout. I keep spare bedding in mine, and it’s the first piece guests tend to ask about. If you only buy one thing from this list, make it something that divides and stores.
Studio Apartment Room Divider Comparison: Cost, Effort, and Renter-Friendliness
This is the table I wish I’d had when I started. Prices are rough ranges based on what I’ve seen and spent, and will vary by brand and where you live.
| Divider type | Typical cost | Renter-friendly? | Blocks sight | Blocks sound | Best for |
|---|---|---|---|---|---|
| Open bookshelf | $60–$250 | Yes (if anchored lightly) | Partial | Little | Storage-hungry studios |
| Ceiling-track curtain | $70–$200 | Mostly (needs drilling) | Fully | Some | Creating a real bedroom nook |
| Folding screen | $40–$180 | Yes | Fully | Little | Quick, no-commitment privacy |
| Floating sofa + console | Free–$150 | Yes | Partial | Little | Defining a living area |
| Area rugs | $60–$300 | Yes | None | None | Visually defining zones |
| Wardrobe or PAX wall | $200–$500 | Mostly (needs anchoring) | Fully | Some | Studios with no closet |
| Plant shelf | $40–$150 | Yes | Partial | None | Soft, airy separation |
| Sheer curtain or hanging | $20–$60 | Yes | Light | None | Single-window studios |
What to Buy First If You’re on a Budget
If you’re staring at a studio and a $150 budget, here’s the order I’d spend it in. Start with the rug ($60 to $100), which defines the living zone. Add a folding screen or a pair of curtains ($40 to $80) for the sleeping area.
Then pick up a few warm bulbs and a lamp for each zone. That’s a real transformation for roughly the price of a nice dinner out.
If you have more to spend, upgrade to the ceiling-track curtain or the bookshelf. Those two give you the most separation for the money, and they’re the pieces I see people keep through multiple moves.
Common Studio Apartment Layout Mistakes to Avoid
A few things I’ve seen go wrong, mostly from my own apartment. First, pushing all the furniture against the walls. It feels logical, but it leaves a big empty middle and makes the room feel like a waiting room. Pulling the sofa and bed slightly off the wall is what creates zones.
Second, buying a divider that’s too short. If it only comes up to your hip, it won’t hide anything, and you’ll have spent the money for no privacy. Third, blocking your only window. Light is the most valuable thing in a studio, so always place tall dividers perpendicular to the window rather than in front of it.
Finally, trying to do everything at once. Start with the one boundary that bugs you most, live with it for a couple of weeks, and then decide what’s next. Mine changed three times before I landed on a layout I liked.
If I Were Starting Over
If I moved into a new studio tomorrow, I’d tape out my zones on day one, float the sofa to make a back wall, and hang a ceiling-track curtain around the bed before I bought a single decorative item. Then I’d live there for a month before spending anything else, because the way you actually use a small space is never quite what you plan.
Dividing a studio apartment without walls is less about hiding the fact that it’s one room and more about giving each part of your life its own corner. Pick one idea from this list, try it this weekend, and see how it feels. You can always add the rest later.


Leave a Reply