
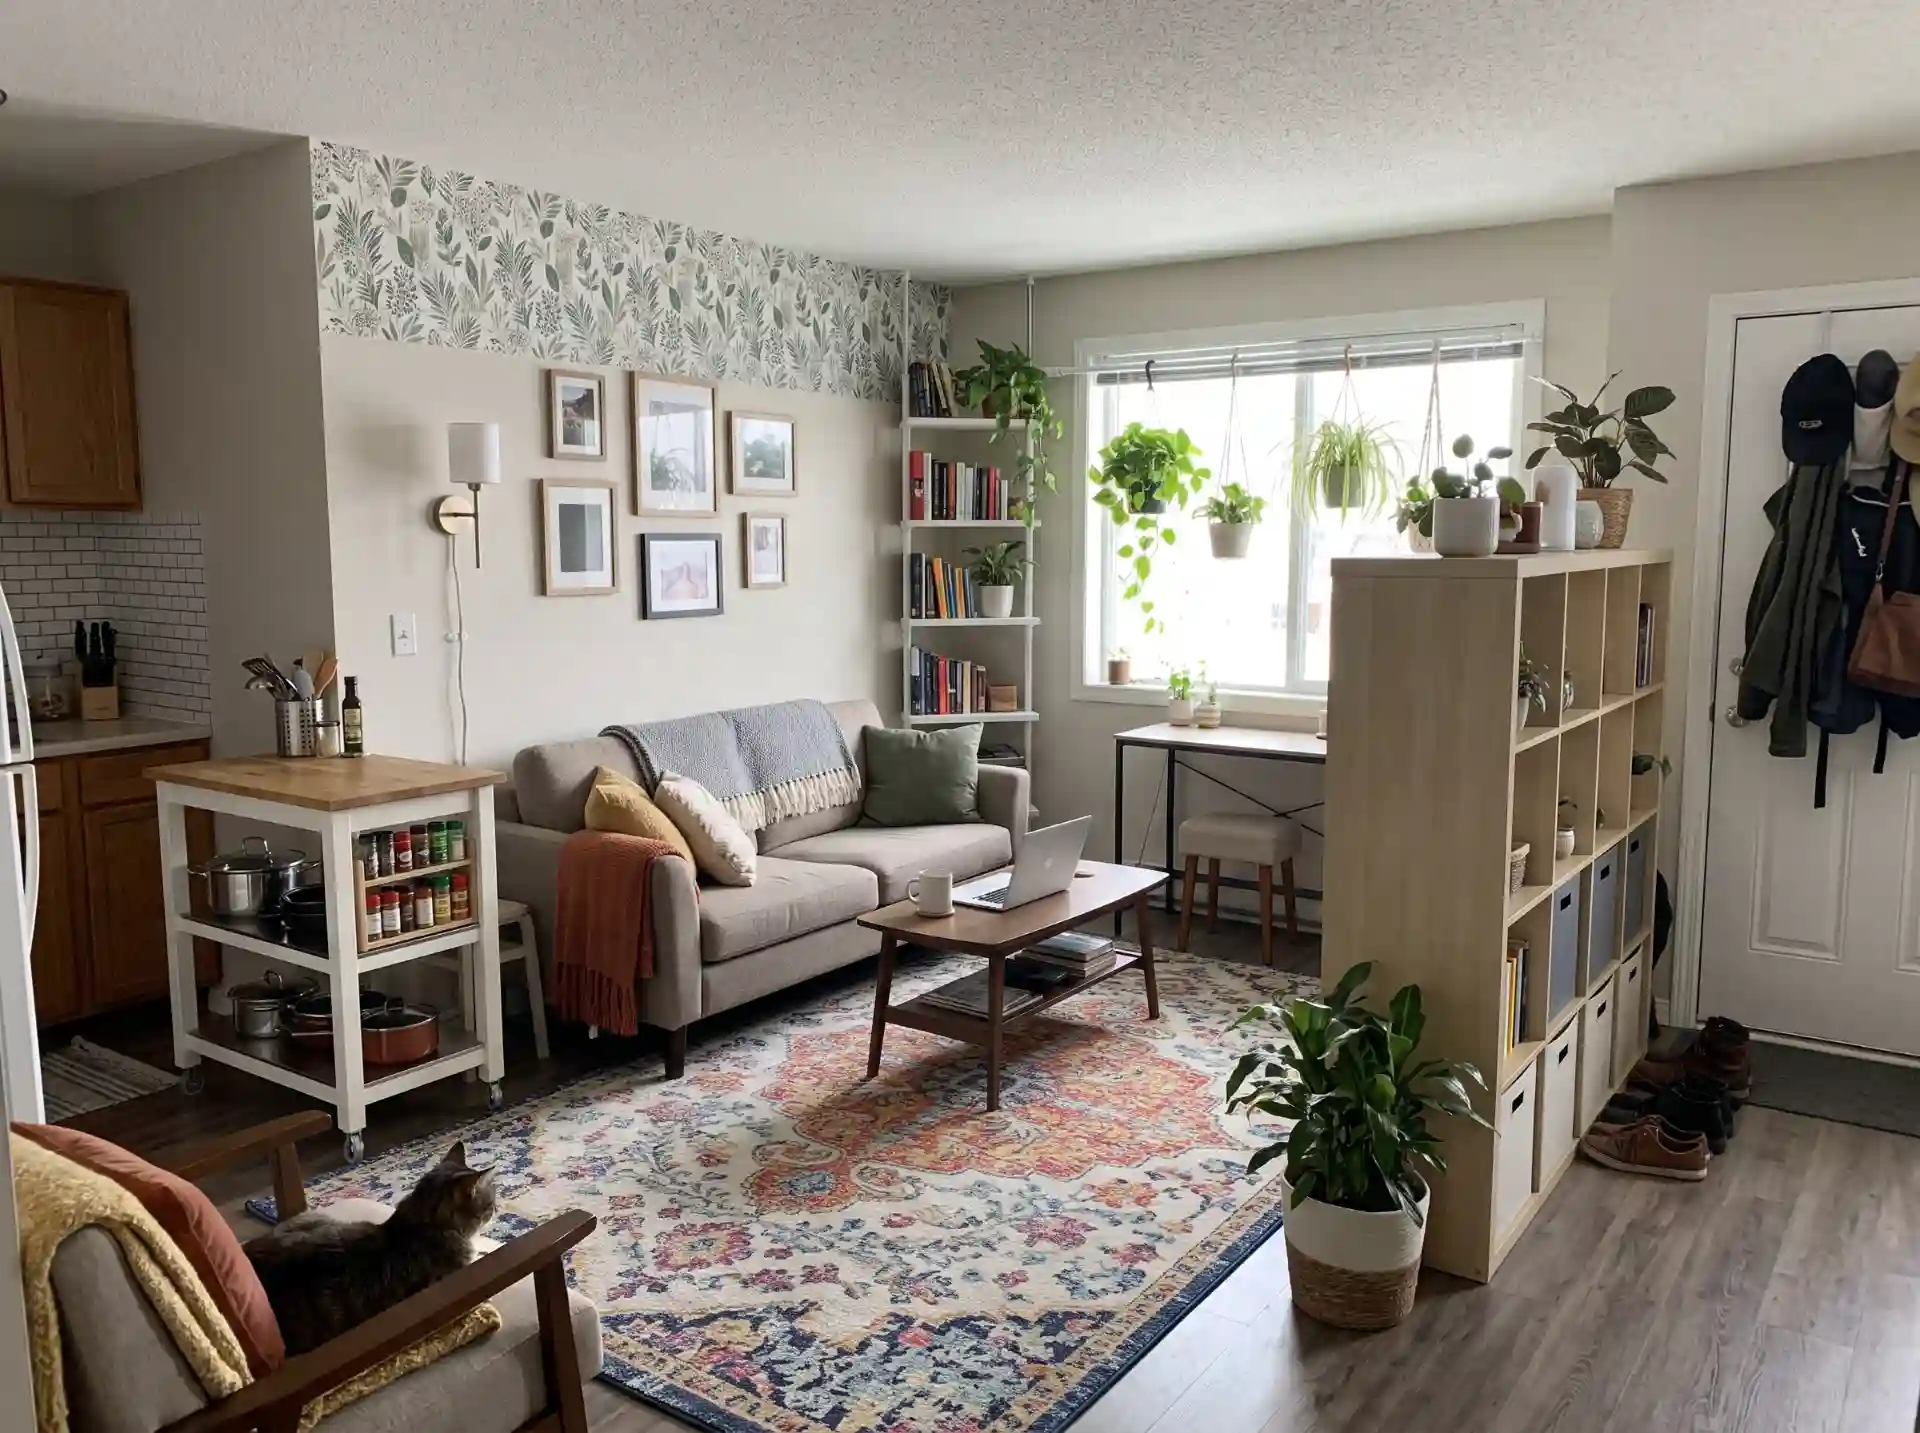
My first apartment lease had a clause about “nail holes exceeding 1/4 inch,” and I spent about four months afraid to hang a single picture.
I leaned a mirror against the wall, stacked books on the floor as a nightstand, and told myself it was a “minimalist look.” It was not. It was a landlord-beige box with a very nervous tenant in it.
Then I moved out, got back my full $1,150 deposit, and realized I’d been far too cautious. Most of what makes a rental feel like a real home is reversible, cheap, and completely lease-safe once you know which products to trust and which ones to skip.
After a few moves and a lot of advice from friends who learned the hard way, here are the rental friendly apartment hacks I’d actually pass along.
A quick note before we start: every lease is different, and I’m not a lawyer. Read yours, and when something is a gray area, ask your landlord and get the answer in writing (a text or email counts). That one habit has saved me more money than any product on this list.
Before You Touch Anything: Protect Your Security Deposit
The single most useful thing you can do costs nothing. On move-in day, take dated photos and a slow walkthrough video of every wall, floor, appliance, and window.
Zoom in on existing scuffs, carpet stains, and cracked caulk. Email them to your landlord or property manager so there’s a timestamp on the other end too.
I skipped this once, and at move-out I got charged for a stained bathroom grout line that was already there. I won the argument eventually, but only because my roommate had one blurry photo of it. Don’t rely on a blurry photo.
The second thing: keep every original piece you swap out. Light fixtures, cabinet pulls, showerheads, curtain rods. Label a bin or a gallon zip bag for each and keep it all together. I’ll come back to this at the end, because it’s the real secret behind most of these hacks.
Renter Friendly Wall Ideas That Won’t Cost You Your Deposit
Walls are where most people panic, so let’s start there. The goal is making them look intentional without leaving a mark you’d pay to repair.
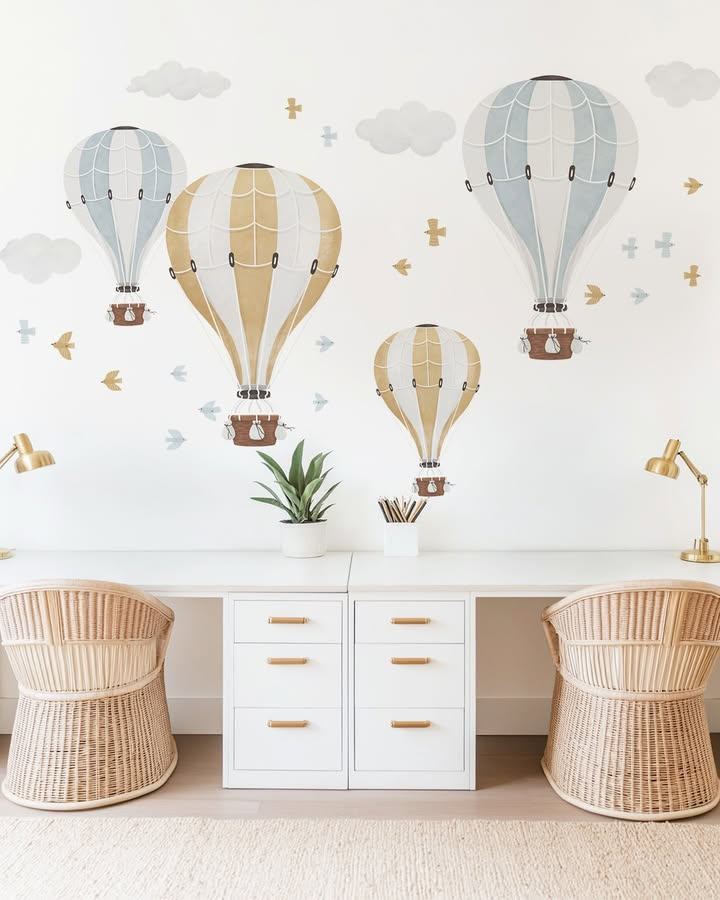
1. Use removable wallpaper on one accent wall
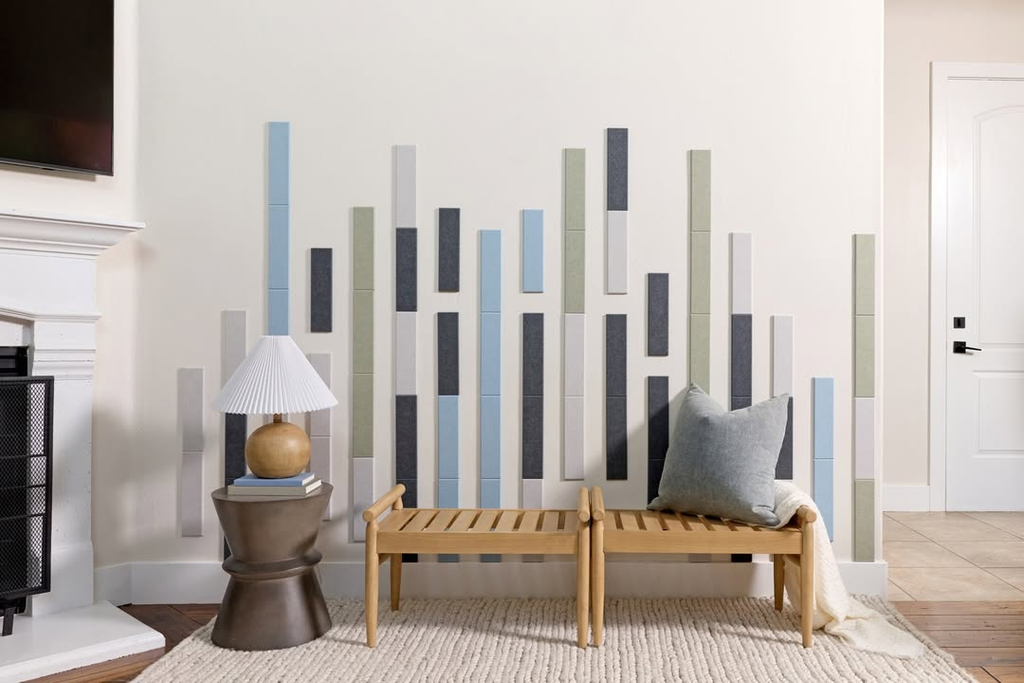
A single wall with pattern or texture changes how a whole room reads, and it’s the most dramatic rental friendly upgrade per dollar I know.
The reason it matters is that rental walls are usually flat builder-grade white, and one wall of removable wallpaper gives the room a focal point it would otherwise never have.
Buy a sample first and stick it somewhere hidden, like inside a closet. Leave it for a week, then peel it off. If it lifts paint, you’ve just learned something for $5 instead of $120.
Matte, textured walls (the slightly bumpy kind) hold wallpaper poorly, and cheap paint peels with the adhesive. Smooth, properly cured paint is the best case.
Pro tip: Peel slowly at a low angle, pulling back toward the wall rather than straight out, and use a hair dryer on low to soften the adhesive if it fights you. Rushing is how paint comes off with it.
2. Hang art with adhesive strips, and respect the weight rating
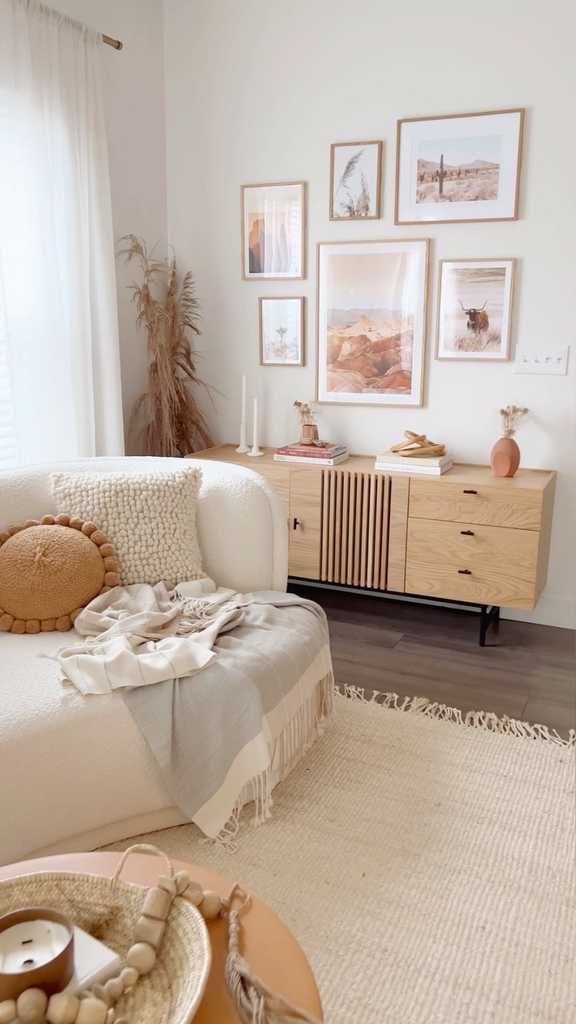
Adhesive strips work. They also fail, and nearly every time it’s because someone ignored the weight limit or didn’t let the wall surface prep properly. Wipe the wall with rubbing alcohol, press the strip for a full 30 seconds, and then wait an hour before hanging anything.
The weight rating on the package is for one strip under ideal conditions. For a large frame, I use more strips than the package suggests, and I never hang heavy glass over a bed or couch. My cousin Dani learned this at 2 a.m.
when a framed print slid off her bathroom wall after a hot shower. Humidity weakens adhesive, so keep strips out of steamy rooms.
| Hanging Method | Best For | Damage Risk | Rough Cost |
|---|---|---|---|
| Adhesive strips | Light frames, posters | Low if removed correctly | $5–$12 |
| Removable hooks (adhesive) | Keys, towels, small decor | Low | $5–$10 |
| Small nail or pin | Lightweight frames | Tiny hole, usually fine, check lease | $1–$5 |
| Leaning art ledge or floor mirror | Large mirrors, heavy art | None | $30–$150 |
| Picture rail or tension pole | Gallery displays | None | $20–$60 |
3. Lean big art instead of hanging it
The fix for heavy mirrors and oversized prints is simply not hanging them. A large floor mirror leaned against the wall looks designed, makes a small room feel bigger, and puts zero holes in anything.
Layer a smaller piece or two in front of it, tilt slightly, and you’ve got a gallery look from the floor.
Two trade-offs: leaned mirrors can slide on hard floors, so add a small rubber stopper or a strip of non-slip rug pad underneath. And if you have kids or pets, anchor it somehow or skip this one.
4. Ask about painting, and get it in writing
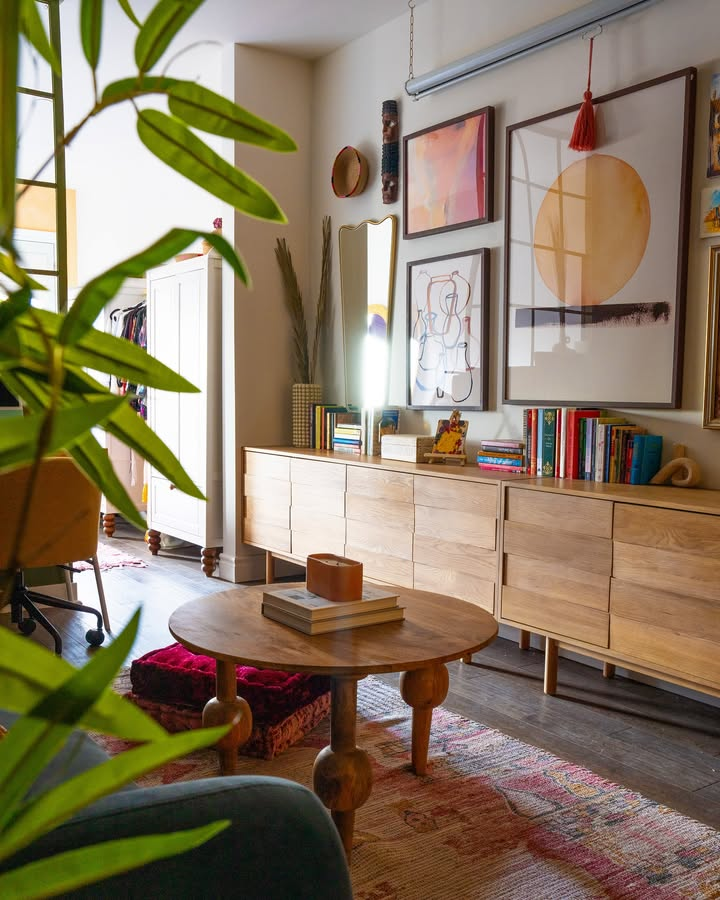
This isn’t a hack so much as an overlooked option. A surprising number of landlords will approve painting, especially if you offer to repaint to the original color or leave it freshly done. Some will even reimburse paint costs because it saves them a turnover job.
If they say yes, ask for the exact color and sheen of the existing paint, and snap a photo of the can or the label if there’s one.
My friend Sophia repainted her rental’s entryway closet doors twice before landing on the right white. Turns out “white” has about forty undertones, and the landlord’s “white” was a warm cream. Matching beats guessing.
5. Add fabric to the wall: tapestries, fabric panels, and curtains as art
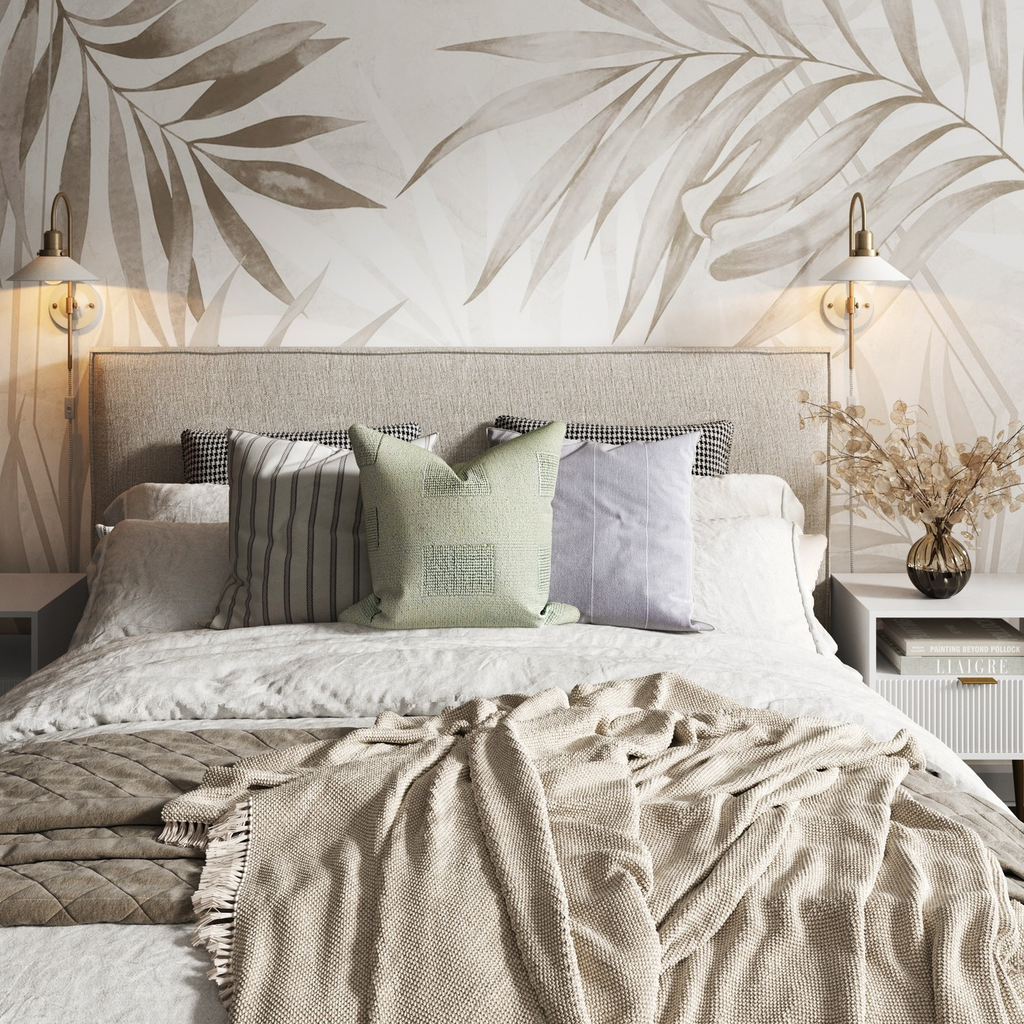
Fabric is the underrated wall solution. A large tapestry or a lightweight rug hung with removable hooks adds texture and soaks up echo in empty, hard-surfaced apartments. Another trick I like is hanging floor-to-ceiling curtains over a bare wall (or a window you don’t love). It reads as a deliberate design choice.
Avoid heavy woven pieces on adhesive hooks. Go for linen, cotton, or other lightweight fabrics, and use a lightweight tension rod or a curtain rod mounted on the top of the window frame rather than into the drywall.
Lighting Upgrades for Renters: The Biggest Change for the Least Money
If I could only change one thing in a rental, it would be the lighting. Most apartments come with a single harsh overhead and a lot of shadows. Fixing this is the difference between “dorm” and “home.”
6. Swap every bulb to warm white
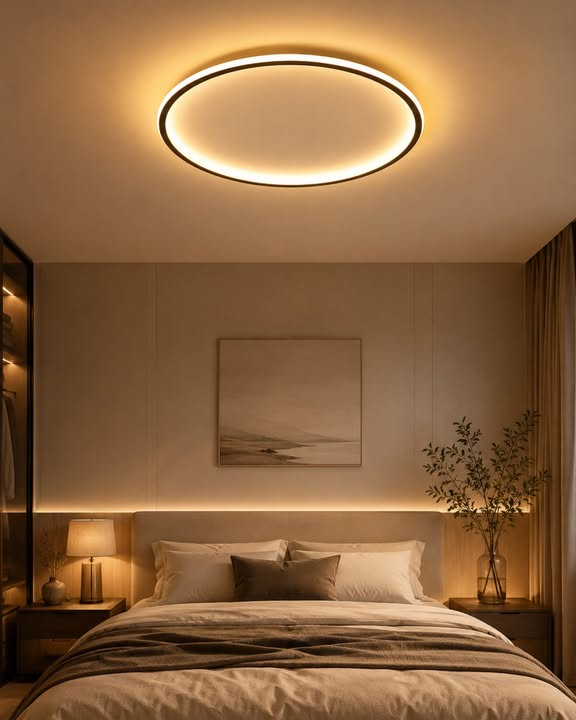
Check the label on your bulbs. Anything labeled 4000K–5000K (or “daylight”) will give your living room the vibe of a dentist’s office.
Swap in bulbs around 2700K for living spaces and bedrooms. It costs a few dollars per bulb and makes the biggest difference of anything on this entire list, honestly.
Keep the original bulbs in a labeled bag in case the lease requires you to return them (some do, and some landlords supply specific bulbs).
7. Add plug-in wall sconces
Plug-in sconces give you the look of hardwired lighting with no electrician and no holes beyond a small hook. Mount them with an adhesive strip or a single small screw (if your lease allows tiny holes), and run the cord down the wall using a paintable cord cover. Cord covers are cheap and much less visible than a dangling wire.
If the cord is bothering you, hide it behind a nightstand or headboard. I mounted a pair on either side of my bed and finally got rid of the nightstand lamps that kept getting knocked over.
8. Use floor lamps and arc lamps instead of overhead lighting
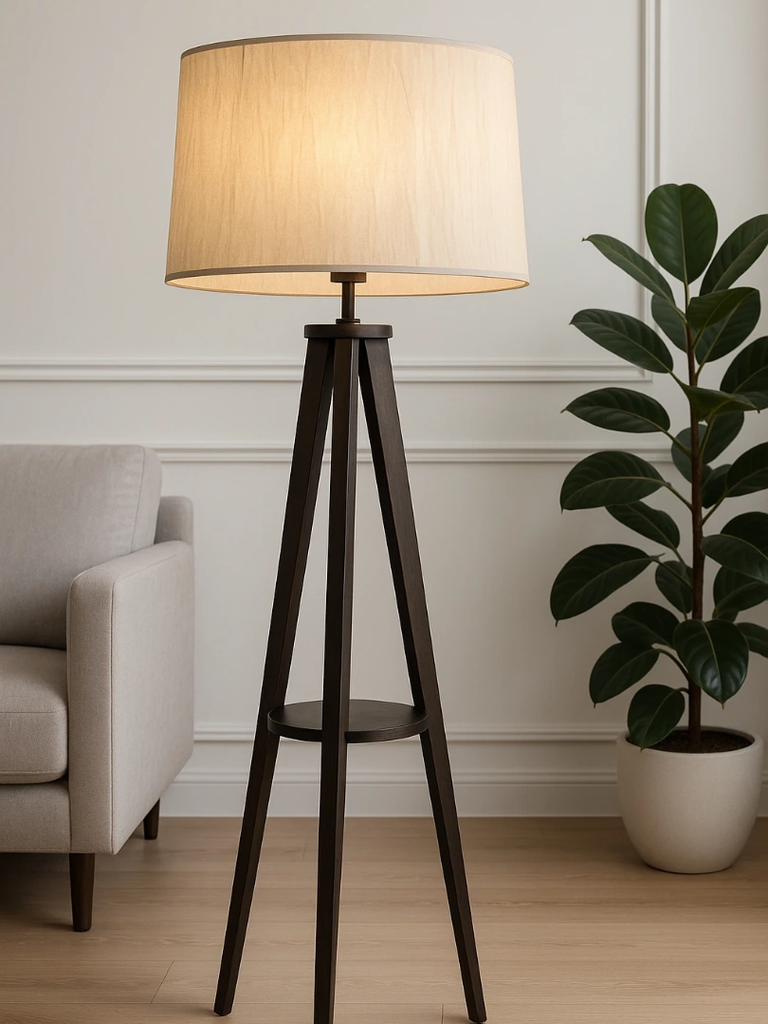
The best rental lighting strategy is to avoid the ceiling light entirely. Three lamps at different heights beat one overhead fixture every time. Put a floor lamp in the corner, a table lamp on a shelf, and an arc lamp over the sofa if the layout allows it.
For kitchens and entryways where you can’t easily add a lamp, I like swapping in a plug-in pendant (the kind with a long cord and a ceiling hook). A hook in the ceiling is a tiny hole, but check your lease. If you can’t do that, a table lamp on a counter works surprisingly well.
Pro tip: Put your lamps on a smart plug or a simple timer so the whole room switches on at once at sunset. It’s a little thing, but it makes coming home to a dark apartment feel nicer.
9. Install LED strip lights under cabinets and behind furniture
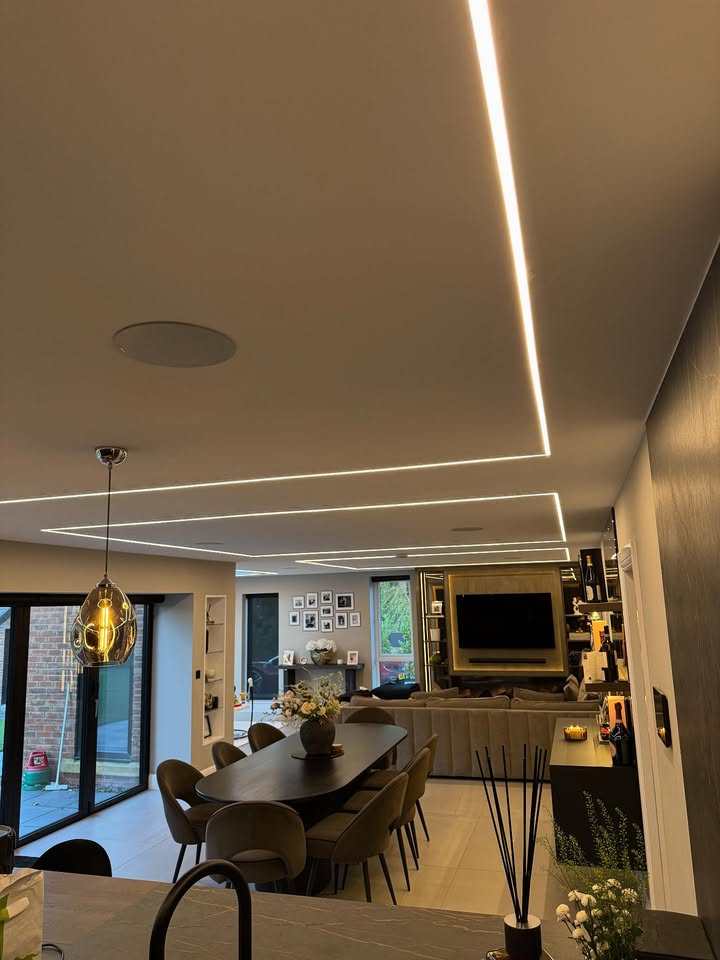
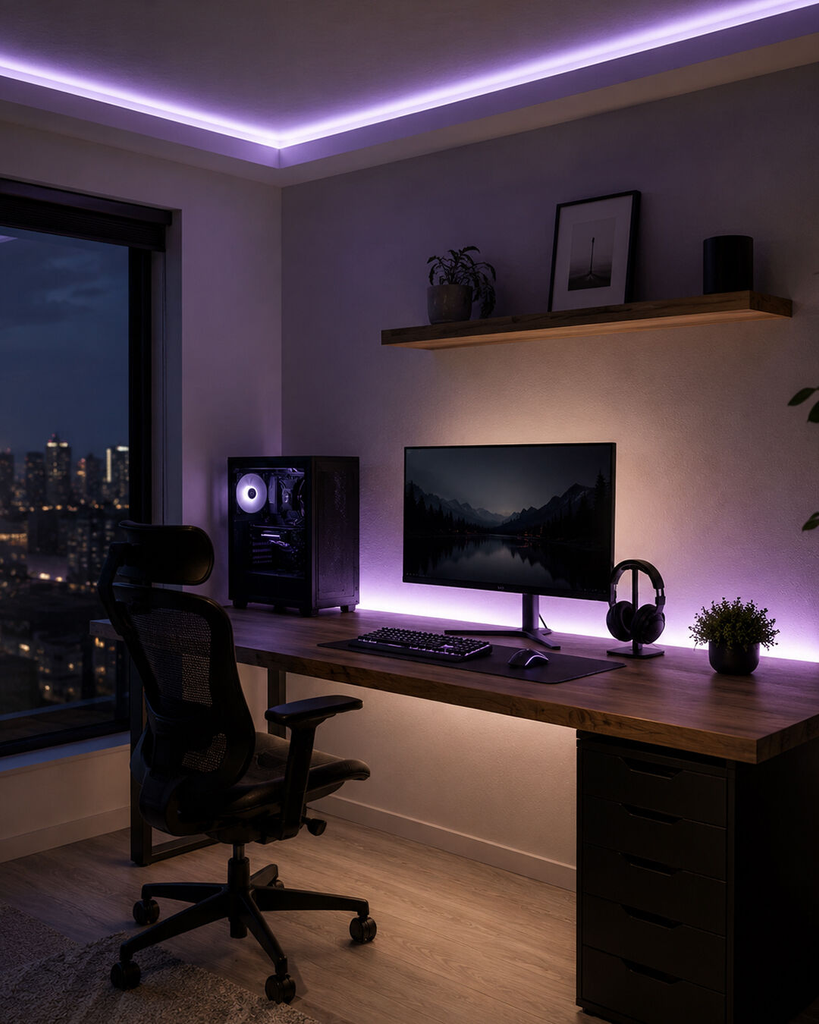
Battery or USB-powered LED strips stick with light adhesive and make a dark kitchen counter usable. Behind a TV, headboard, or bookshelf, they add soft ambient light. Choose warm white, not the color-changing kind, unless you really mean it.
The adhesive on cheap strips is the weak point. If you put them on textured surfaces, use mounting clips instead of the included tape, and test a short piece first. Removing adhesive from painted walls can take paint with it, so heat gently and go slowly.
Renter Friendly Flooring Fixes
Flooring is the part of a rental you can’t change but you live on every day. These fixes are about covering the problems and protecting what’s underneath.
10. Use an oversized area rug with a real rug pad
Most renters buy a rug that’s too small. A rug in a living room should be large enough for at least the front legs of all the furniture to sit on it (usually 8×10 or 9×12 in a standard living room). It covers worn floors, damaged carpet, and weird stains while anchoring the room’s layout.
Skip the cheap pad. A thin non-slip pad can leave a residue or discolor vinyl and hardwood over time, particularly rubber-backed ones. Look for felt-and-natural-rubber pads and confirm they’re safe for your floor type.
A decent rug pad adds $30–$70 to the cost but protects both the rug and the floor.
11. Try peel-and-stick floor tile, but only if you can reverse it
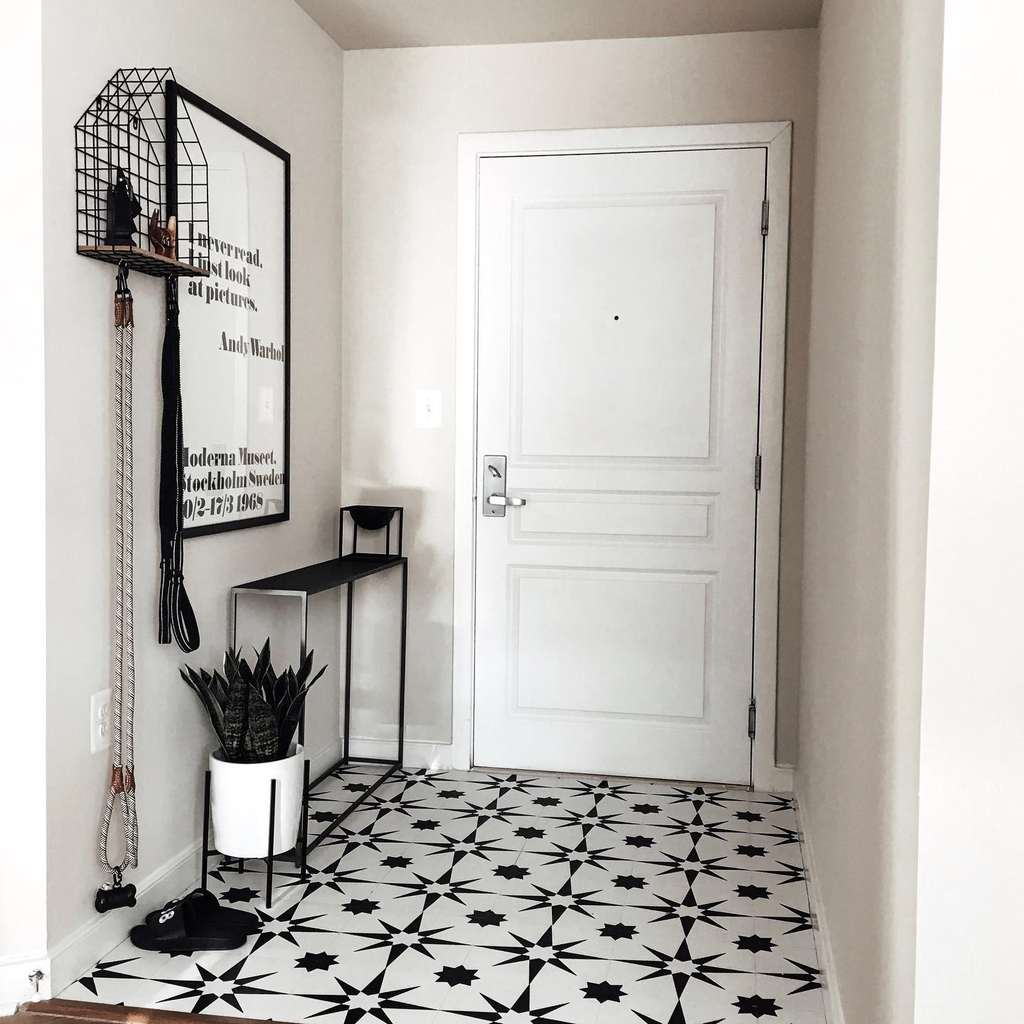
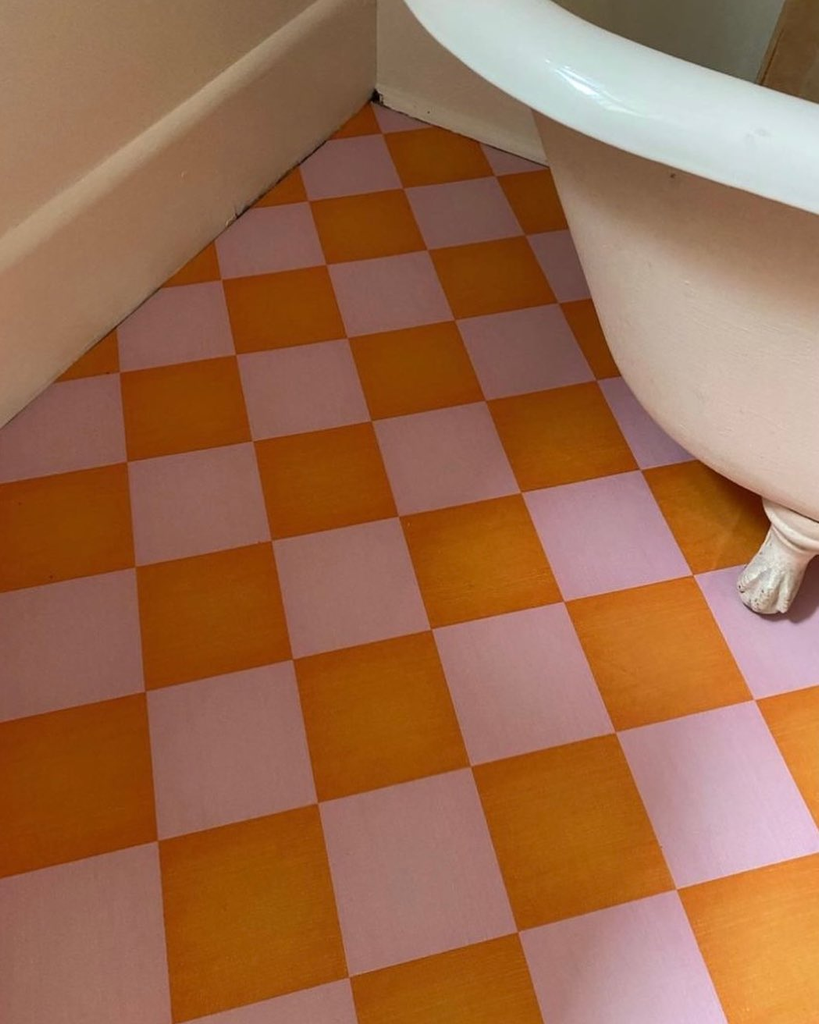
I’ll be honest, this is the riskiest idea in the post, and I’d only recommend it with permission. Peel-and-stick vinyl tile can transform ugly kitchen or bathroom flooring, but the adhesive can be very difficult to remove from old linoleum or soft vinyl, and a lot of landlords won’t allow it.
If you do get approval, apply it only over clean, smooth, fully flat flooring, and keep a few spare tiles. If you don’t want to risk it, a washable runner or a large vinyl floor mat (the printed kind that looks like cement tile) delivers about 70% of the effect with none of the commitment.
12. Put felt pads on everything with legs
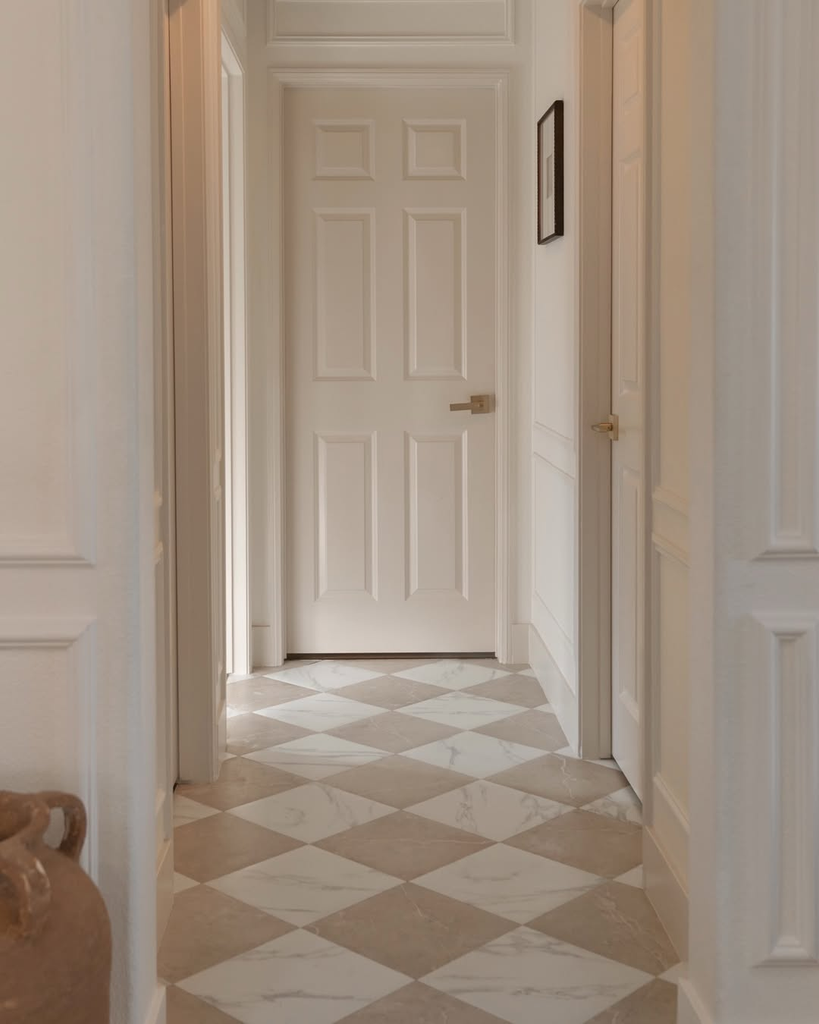
It’s not glamorous, but scratched hardwood is one of the most common deductions I hear about. Felt pads on every chair, table, and dresser leg cost a few dollars for a pack, and they prevent the scratches that turn into $200 refinishing charges.
Replace them every few months, because they pick up grit and wear down.
For heavy furniture you slide around, use sliders when moving it and then pop the pads back on. Never drag anything, even on carpet.
Rental Kitchen Upgrades Without Losing Your Deposit
Rental kitchens are typically the most dated part of the apartment, and the part you use most. Fortunately they’re also the most fixable.
13. Add a peel-and-stick backsplash
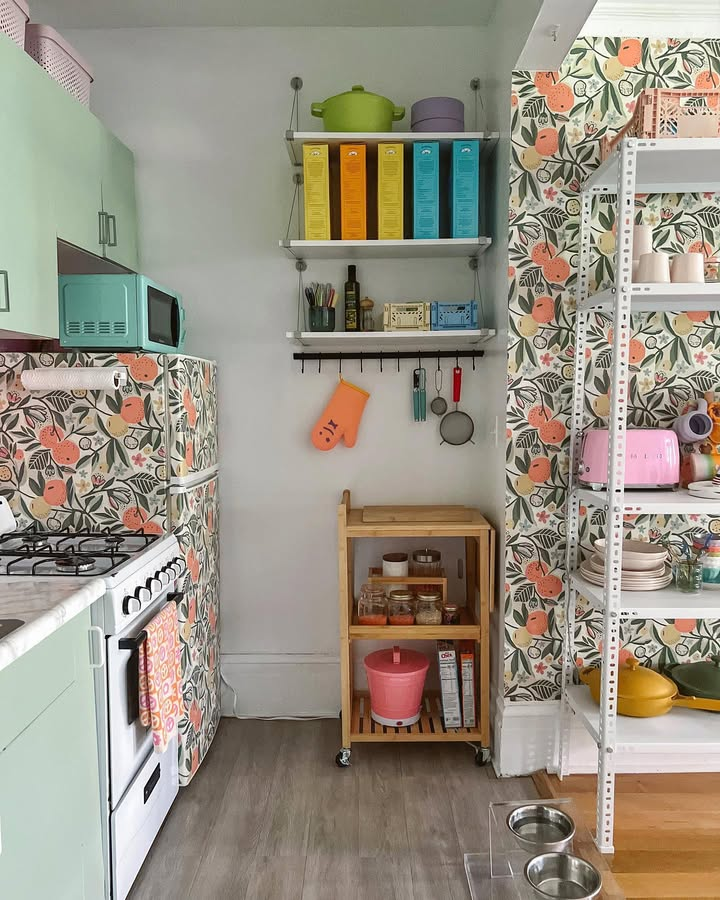
Peel-and-stick backsplash tile is the most popular kitchen upgrade among renters I know, and it looks surprisingly real when installed carefully. Gel-style tiles with a slightly raised surface look better than flat decals.
Clean the wall, start in the center so your pattern stays balanced, and use a sharp craft knife around outlets.
The risk is the same as with wallpaper: smooth, well-sealed paint comes off cleanly, and flat, cheap paint can peel. Test it behind the fridge or in a corner first. Expect to spend $40–$150 for a typical backsplash, which is a lot less than the cost of hating your kitchen for a year.
14. Swap cabinet hardware and keep the originals
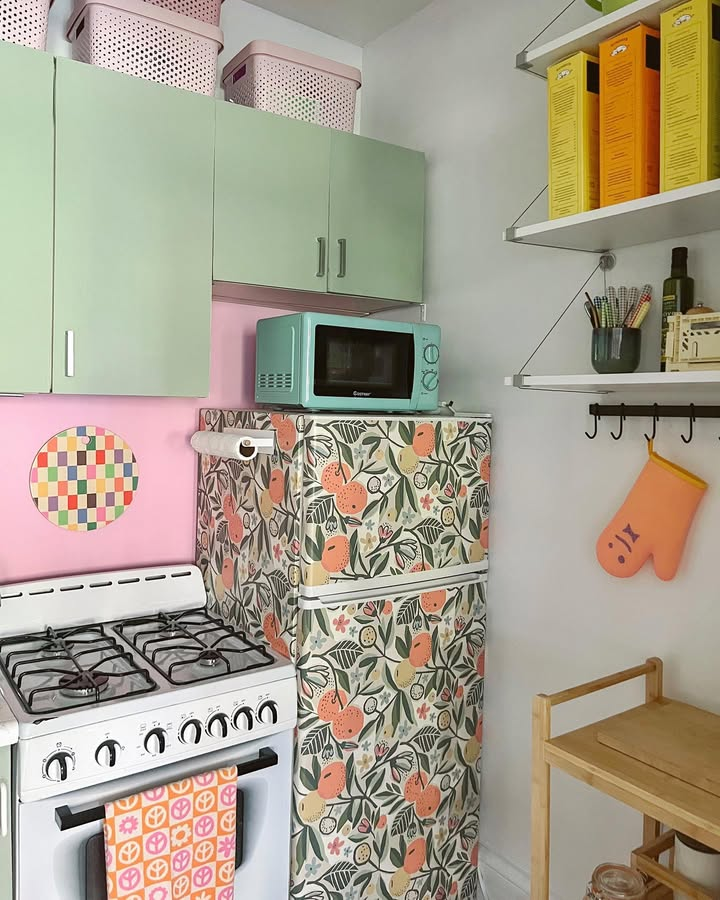
New pulls on old cabinets make a bigger difference than anyone expects. It takes ten minutes with a screwdriver, and as long as you drop the original hardware in a labeled bag, it’s fully reversible.
Measure the distance between the screw holes (called the center-to-center measurement) before buying, because mismatched holes are the most common mistake.
If your cabinets have a single-hole knob, stay with knobs. If you want a different shape or size of pull, stick with whatever matches the existing holes. Matte black, brushed brass, or simple white ceramic are the finishes I see work with almost any rental.
15. Cover counters and drawers with contact paper
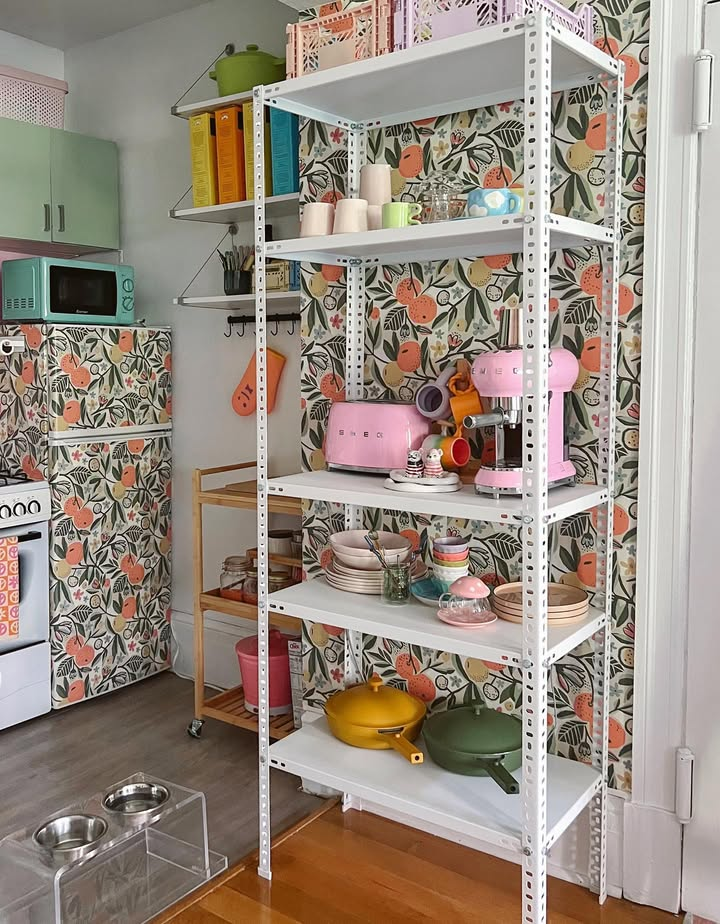
Shelf liner and contact paper are cheap, widely available, and removable if you pick a good-quality one.
Use it inside drawers and cabinets, on the back of open shelving, or on laminate counters you don’t love. Look for a thicker product and press out bubbles with a plastic card as you go.
The trade-off: contact paper on a countertop won’t survive hot pans or constant moisture. Use it for the look, not as a work surface, and always use a cutting board and trivets over it.
16. Add storage with tension rods, rolling carts, and over-the-sink racks
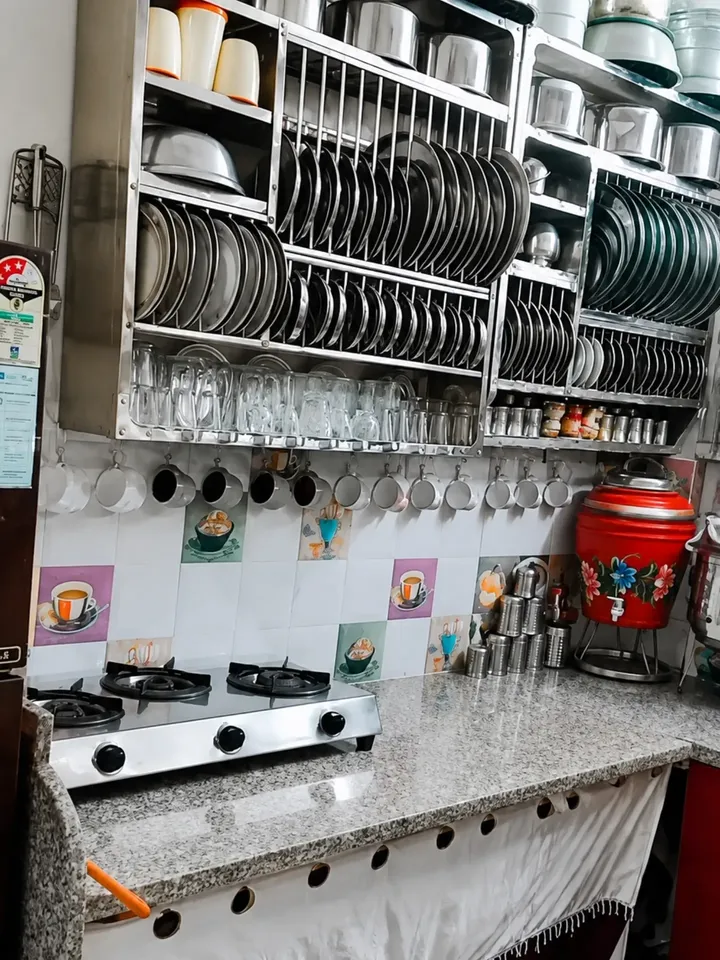
Most rental kitchens are short on cabinets and counter space. A tension rod under the sink holds spray bottles.
A rolling cart next to the fridge gives you the pantry you never had. A drying rack that fits over the sink frees up counter space completely.
I tried the over-the-door pantry organizer first, and it kept hitting the door frame and falling off within a week, so I wouldn’t waste your money there. A freestanding cart or a narrow shelf almost always beats anything that hangs.
Bathroom Hacks for Renters
Bathrooms are small, damp, and often the least loved room in an apartment. A few smart swaps go a long way.
17. Swap the showerhead (and keep the original)
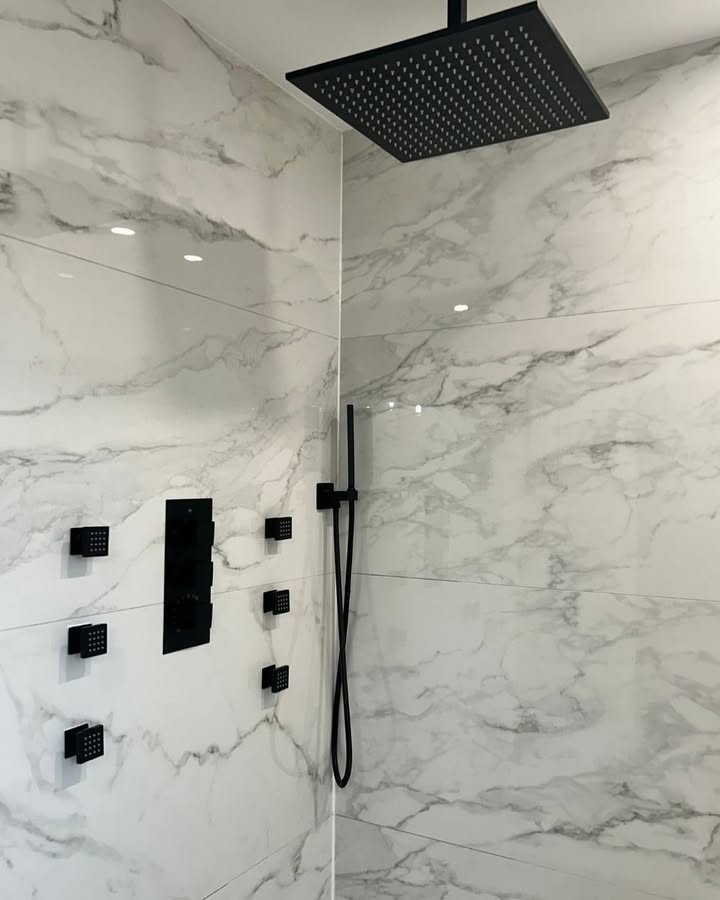
A good showerhead is one of the best reversible upgrades available. It takes about five minutes, usually needs only a wrench and plumber’s tape, and you can reinstall the original when you move out.
Look for one with a handheld option if you can, since it makes cleaning the tub much easier.
Check your water pressure rating and your lease first. Some buildings have flow restrictors or limit changes to plumbing fixtures, so ask before you buy.
18. Use a freestanding over-toilet shelf instead of mounting one
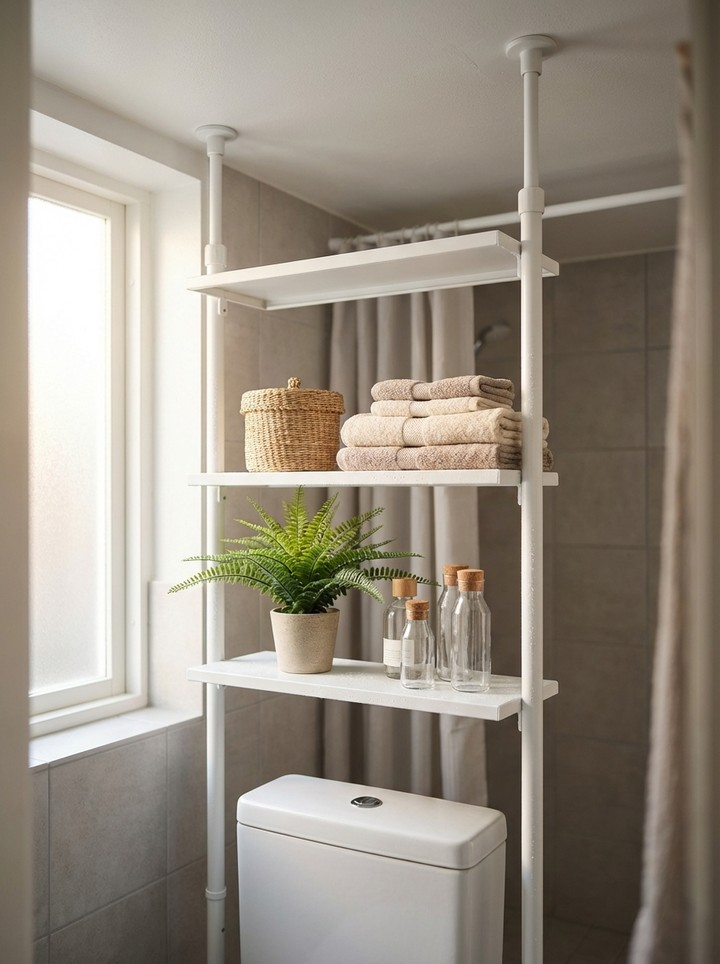
Bathrooms rarely have enough storage, and drilling into tile is a very fast way to lose a deposit.
A freestanding over-toilet etagere or a narrow rolling cart gives you towel and toiletry storage with no installation. Make sure the footprint fits around your toilet and doesn’t block the tank lid.
Choose something with a moisture-resistant finish. Raw wood and cheap particleboard swell in a humid bathroom within a few months.
19. Upgrade the shower curtain, bath mat, and towel situation
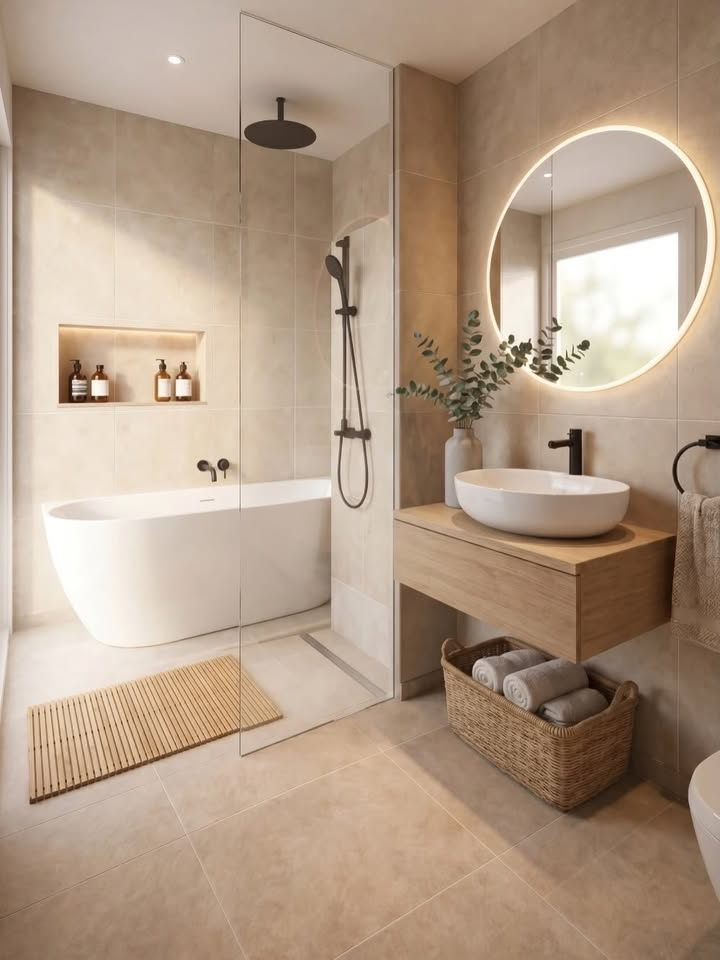
This is the cheapest and most visible bathroom change you can make. A weighted, mildew-resistant fabric shower curtain liner, a better curtain, and a thick bath mat make the whole room feel more finished.
Swap out the standard builder-grade towel bar only if your lease allows it. Otherwise, a freestanding towel stand or an over-the-door hook set gives you the same function.
Matching towels in one color family does more for a small bathroom than any decorative accessory.
Smart Storage Ideas for Small Apartments
Storage is the most common complaint I hear from renters, especially in studios and one-bedrooms. These are the ones that work without bolting anything into the wall.
20. Double your closet with tension rods and stackable bins
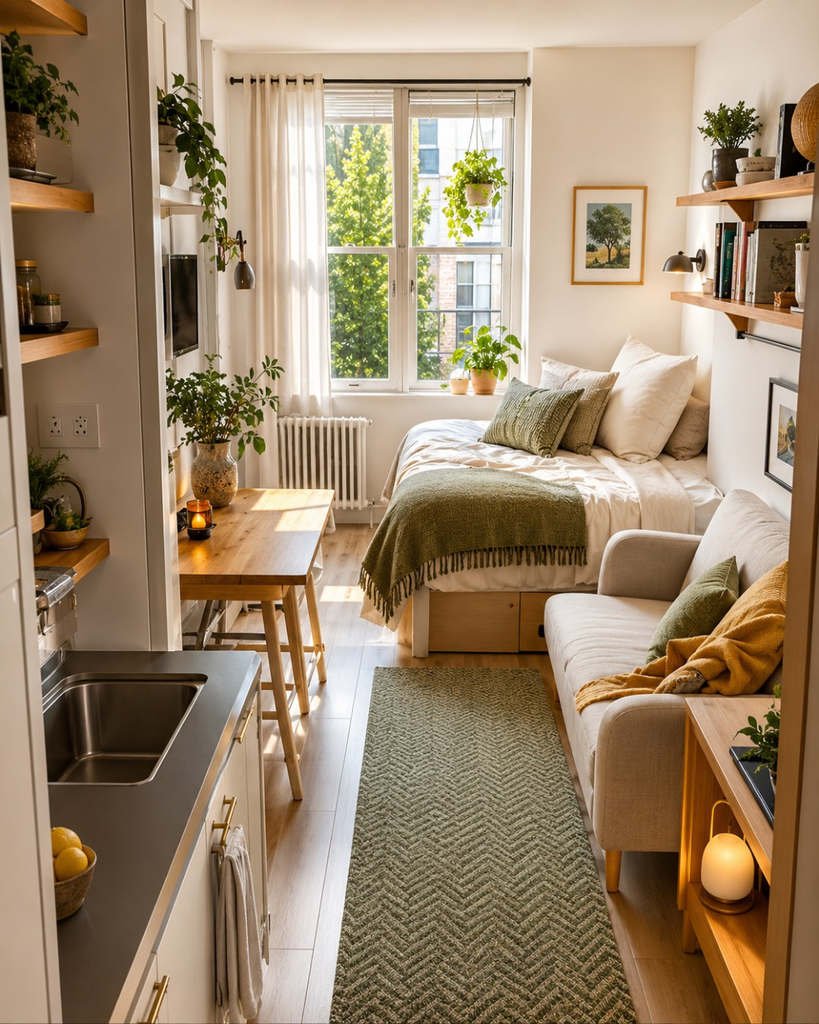
A second tension rod below the first doubles the hanging space for shirts, skirts, and folded pants. Add a stackable shelf or cube organizer on the floor for shoes and bags.
My studio apartment is 410 square feet and the closet is basically a suggestion, so this alone gave me about 40% more usable space.
Check the weight rating on the rod, and don’t expect a standard tension rod to hold a winter coat collection. For heavier items, use a freestanding garment rack instead.
21. Choose freestanding shelves, and anchor them if you can
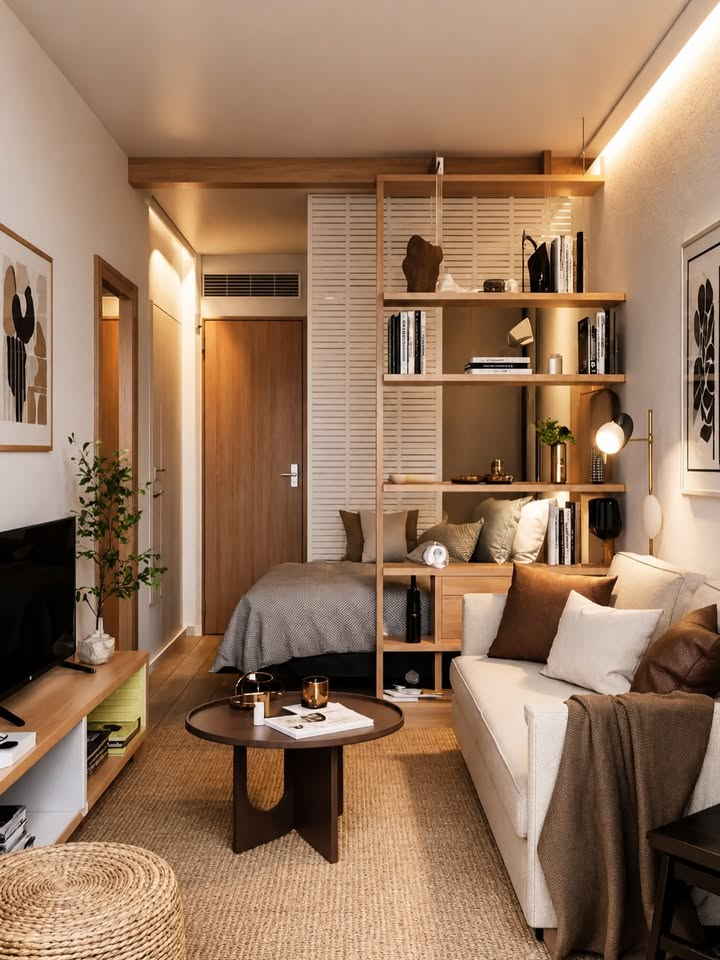
Tall bookshelves tip over, and that’s a real safety issue, not just a deposit issue. If your lease allows a single anchor into a stud, do it.
If it doesn’t, choose a low, wide bookcase with a stable base, and keep heavier items on the bottom shelves. Skip tall, narrow units in homes with kids or pets.
I’d always rather ask my landlord for permission to anchor one piece of furniture than risk a tip-over, and most landlords are fine with it, since a tiny anchor hole is cheaper to patch than an injury is to deal with.
22. Lift the bed and use the space underneath
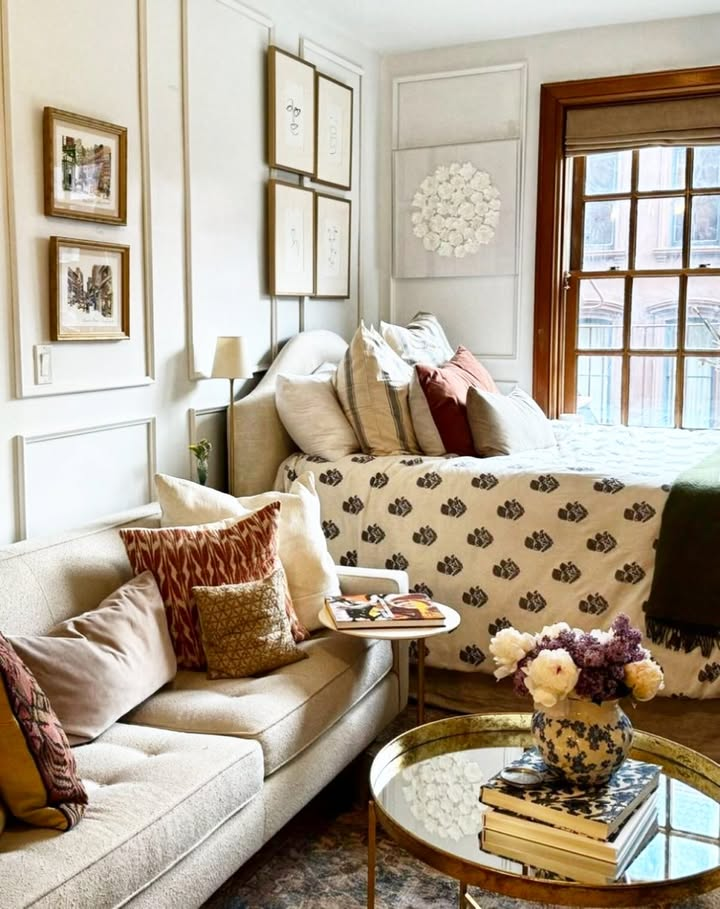
Bed risers add 6–8 inches of clearance, which is enough for flat storage bins, suitcases, and off-season clothing. Look for sturdy risers that fit your bed frame’s leg style, and add a bed skirt or a long duvet so the bins aren’t visible.
The trade-off is height. A very high bed in a small bedroom can feel awkward, especially under a low ceiling. Try the lower end of the range first.
23. Divide a studio with curtains, bookcases, or a folding screen
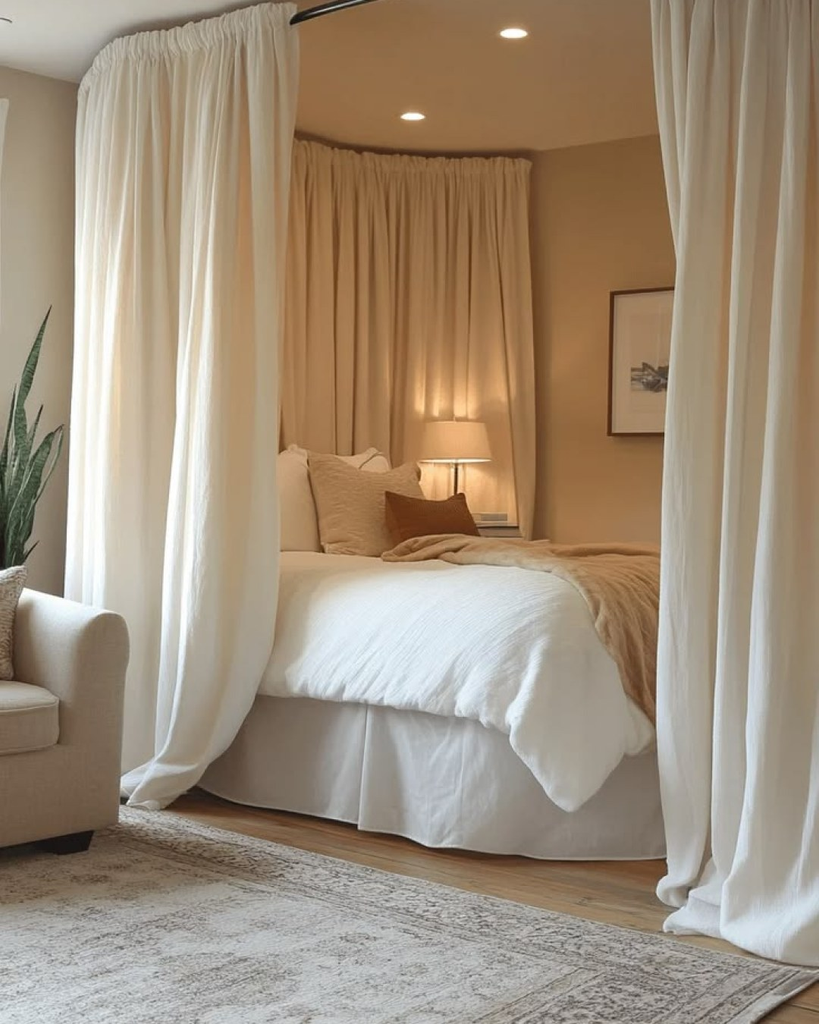
If you live in a studio, defining zones makes it feel like more than one room. A ceiling-mounted track is usually out, but a tension-mounted curtain rod, an open bookcase, or a folding screen lets you separate the bed from the living area without drilling. Open shelving works especially well because it keeps light flowing.
Pro tip: Put a rug under each zone, even if they’re small. Different floor coverings tell your eye where one “room” ends and the next begins.
Windows, Doors, and Everything Else
The last few hacks are the odd ones: the things people forget until a month into the lease.
24. Use window film and layered curtains for privacy and light
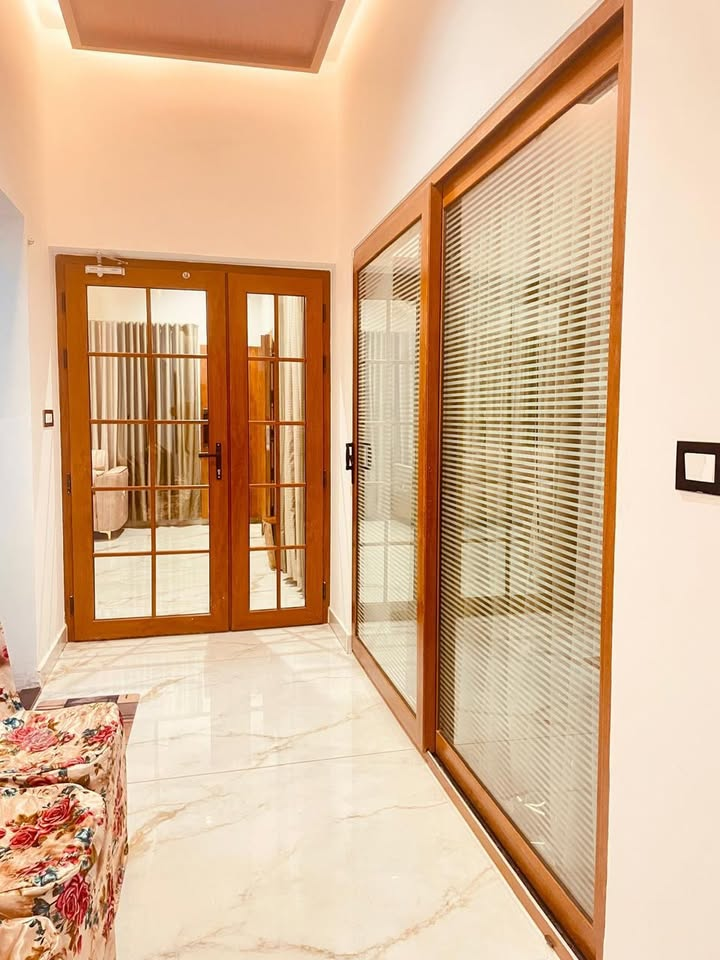
Static-cling window film sticks with water, not adhesive, so it peels off without residue. Frosted film is great for bathrooms, ground-floor windows, and any window that faces a neighbor. Pair it with a sheer curtain panel on a tension rod and you get privacy without losing the daylight.
If the existing blinds are bent or yellowed, hang curtains over them rather than replacing them. Curtains hung high and wide make windows look larger and the ceiling feel taller.
25. Cover ugly doors and closet openings with curtains
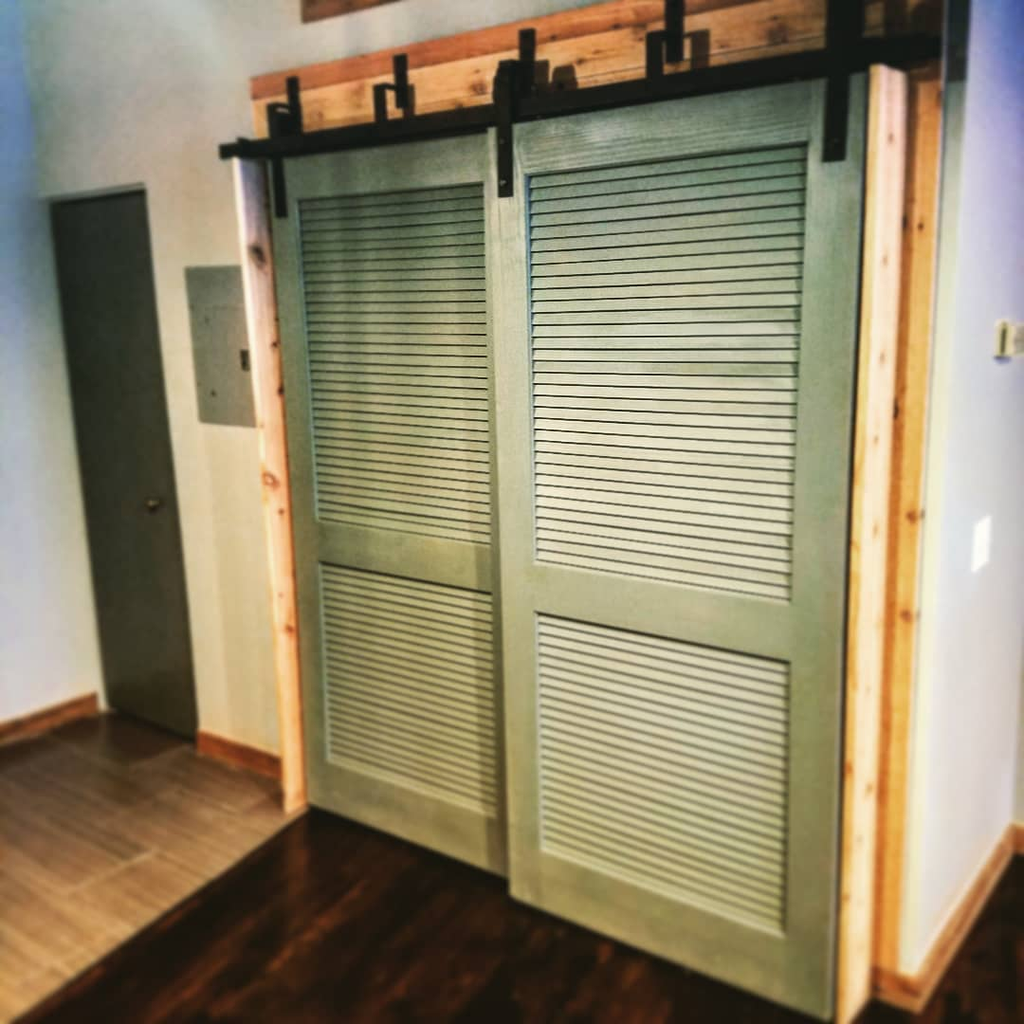
Bi-fold doors and flimsy hollow closet doors are some of the least attractive things in a rental. If you can safely remove them (and store them somewhere safe), replace them with a simple linen curtain on a tension rod. It’s softer, makes the room feel larger, and costs under $40.
If your lease prohibits removing doors, hang a curtain panel over the front using removable hooks or a tension rod above the frame. It’s not the same, but it softens the look.
26. Add renter-safe security and smart-home basics
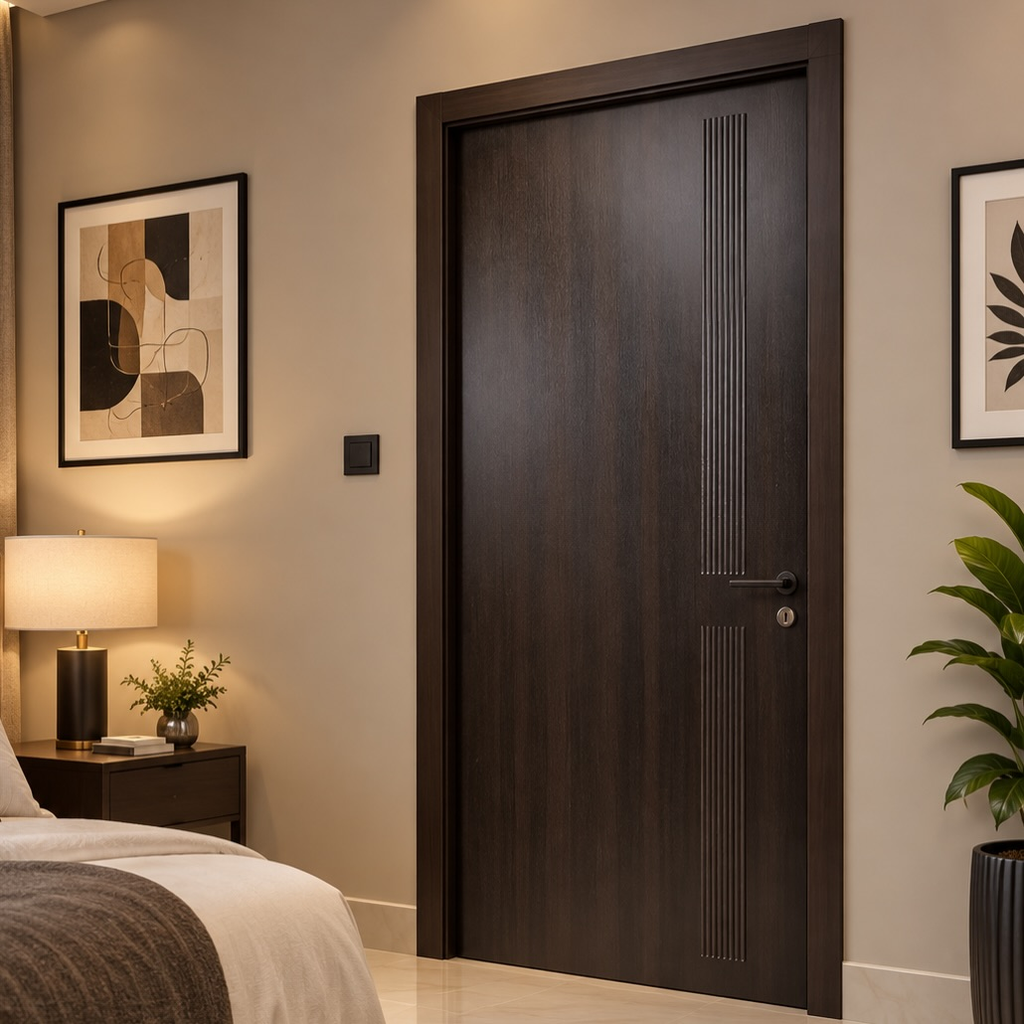
A portable door lock or a door-stop alarm adds security without touching the existing hardware. Battery-powered smart plugs, a video doorbell that mounts with a no-drill kit, and a plug-in motion light are all reversible.
Before installing any camera or doorbell, check your lease and your building’s rules, since some buildings restrict exterior-facing devices.
If you want a smart lock, ask your landlord first. Some are fine with it as long as you keep the original hardware and reinstall it when you leave.
27. Build a move-out kit from day one
This is the hack that makes the other 26 safe. Get a plastic tub or a large box and label it with your address. Every time you swap something out (bulbs, cabinet pulls, the showerhead, a curtain rod, even the toilet seat), put the original in the bin.
Add the spare adhesive tiles, extra wallpaper, matching paint information, and a copy of any written approvals from your landlord.
When move-out day arrives, you can put everything back in an afternoon and take the photos that prove it. I do this on every move now, and I haven’t had a deduction since.
How Much Do Rental Upgrades Cost? A Realistic Budget
Here’s a rough sense of what these changes cost so you can plan. Prices vary by region and brand, so treat the numbers as ballparks.
| Budget Tier | What You Can Do | Approximate Cost |
|---|---|---|
| Under $50 | Warm bulbs, felt pads, shelf liner, adhesive hooks, a new shower curtain | $30–$50 |
| $50–$150 | Plug-in sconces, one accent wall of removable wallpaper, cabinet pulls, a bed riser set | $75–$150 |
| $150–$400 | A large area rug and pad, peel-and-stick backsplash, a rolling kitchen cart, a floor lamp | $200–$400 |
| $400+ | Freestanding shelving, curtains and rods for the whole apartment, a good mirror, lighting layers | $400–$800 |
If you’re on a tight budget, my order of operations is bulbs first, then lamps, then a rug, then wall art. That sequence gives you the biggest visible difference for the least spending.
Final Thoughts on Rental Friendly Apartment Hacks
If I were starting over in a new rental tomorrow, I’d do three things before unpacking a single box.
I’d photograph everything, I’d swap every bulb to warm white, and I’d start that move-out bin. Everything else can happen slowly over the first few months as you figure out how you actually use the space.
The point of all of this isn’t to make a rental look like you own it. It’s to make it feel like yours while you’re living there, and to hand the keys back without a fight. Do that, and you’ll get your deposit back and you’ll be a lot less afraid of your own walls than I was.
And if there’s one thing you take from this post, let it be that asking your landlord is almost always worth it. The worst answer is “no,” and you’ve lost nothing. The best answer is a freshly painted wall.


Leave a Reply